This post may contain affiliate links. Please read our disclosure policy.
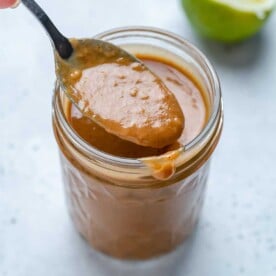
This Homemade Thai Peanut Dressing is a creamy, flavorful sauce full of delicious Asian flavors. It is easy to make with pantry staple ingredients, gluten-free, dairy-free, and low-carb. Perfect for salads, noodle dishes, or dipping fresh veggies.
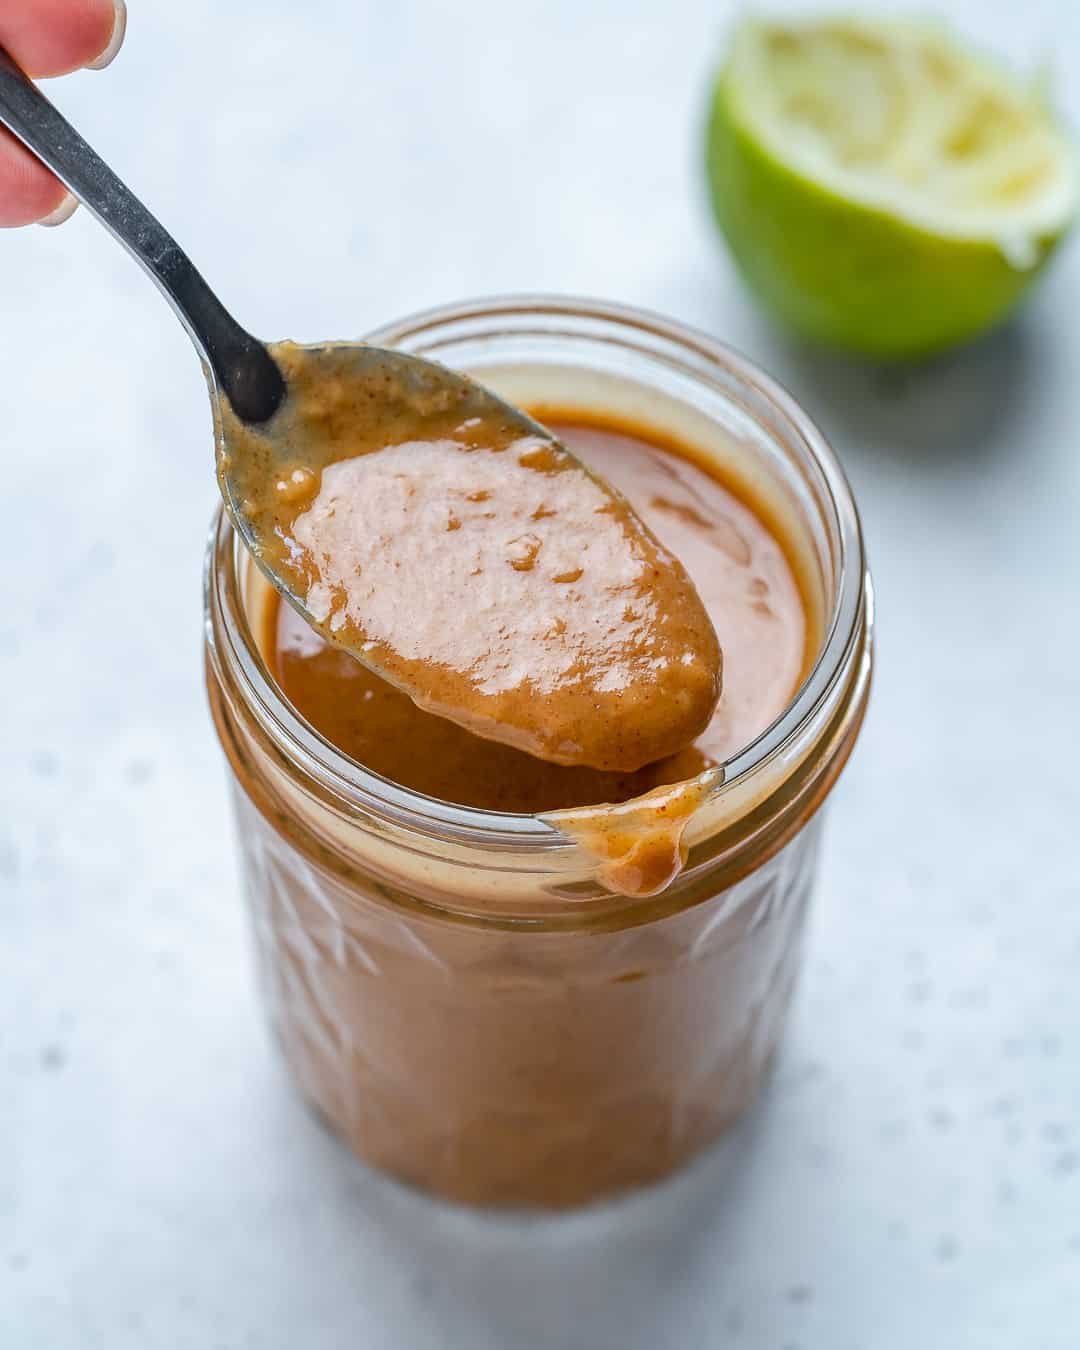
If you are a fellow peanut butter lover, this is a great recipe for you! It uses natural, creamy peanut butter as the base, then adds a touch of sweetness and a hint of spice to balance all of the flavors.
Looking for serving ideas? Try substituting this dressing in this Asian Shrimp Zucchini Noodles or drizzling it on top of our Asian Chicken Cups.
Recipe Overview
Why You Will Love it
- It’s easy. You can make this recipe in under 10 minutes, start to finish. Just some measuring and mixing, that’s it!
- It adds flavor to lots of recipes. This is one of those sauces that you can use on lots of other dishes to instantly boost the flavor. It complements dishes with Asian flavors, grilled meats, fresh veggies, and more!
Ingredients needed
Below is a list of ingredients you will need to make this dressing. Full measurements are listed further down below in the recipe card.
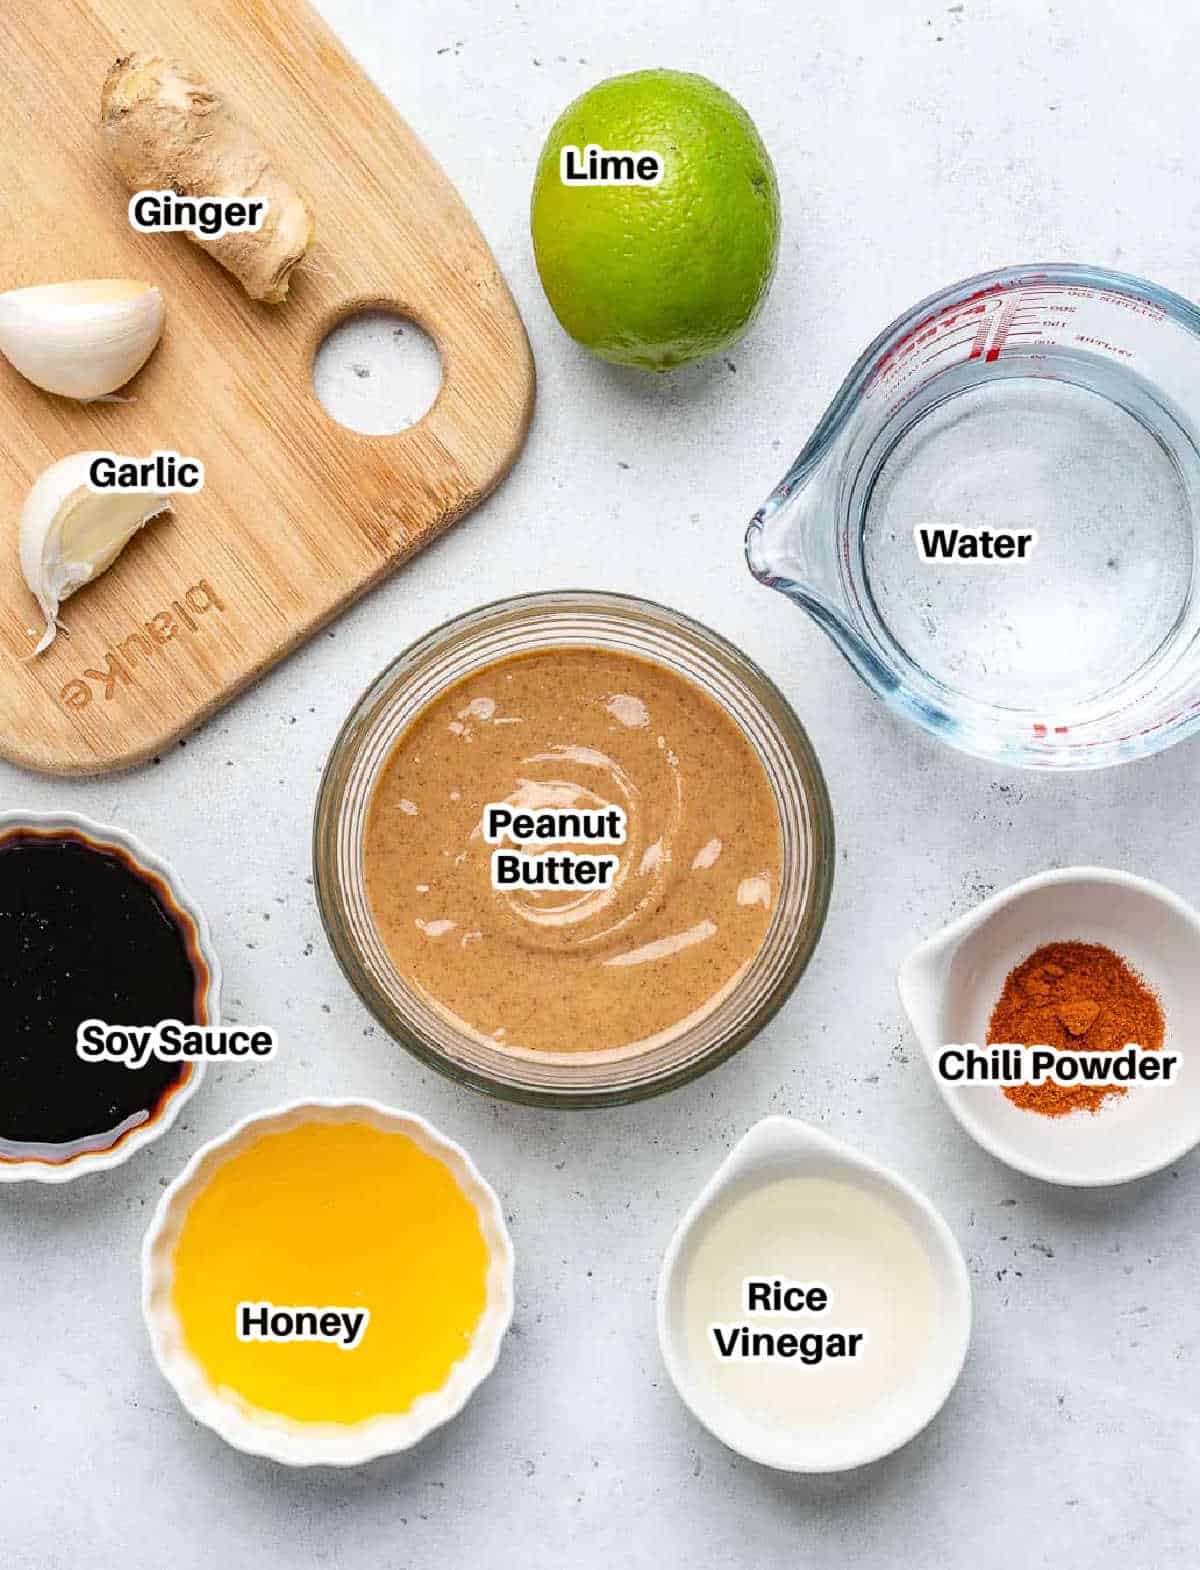
- Drippy peanut butter: Any Brand you like
- Low sodium soy sauce or coconut amino
- Rice vinegar
- Honey or maple syrup
- Chili powder
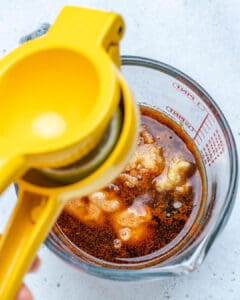
- Lime juice
- Garlic cloves: I prefer fresh. Please use fresh ginger for the best taste.
- Ginger root: fresh works best instead of powder
- Water
How to Make Thai Peanut Sauce
Below is a step-by-step guide on how to make this peanut dressing.
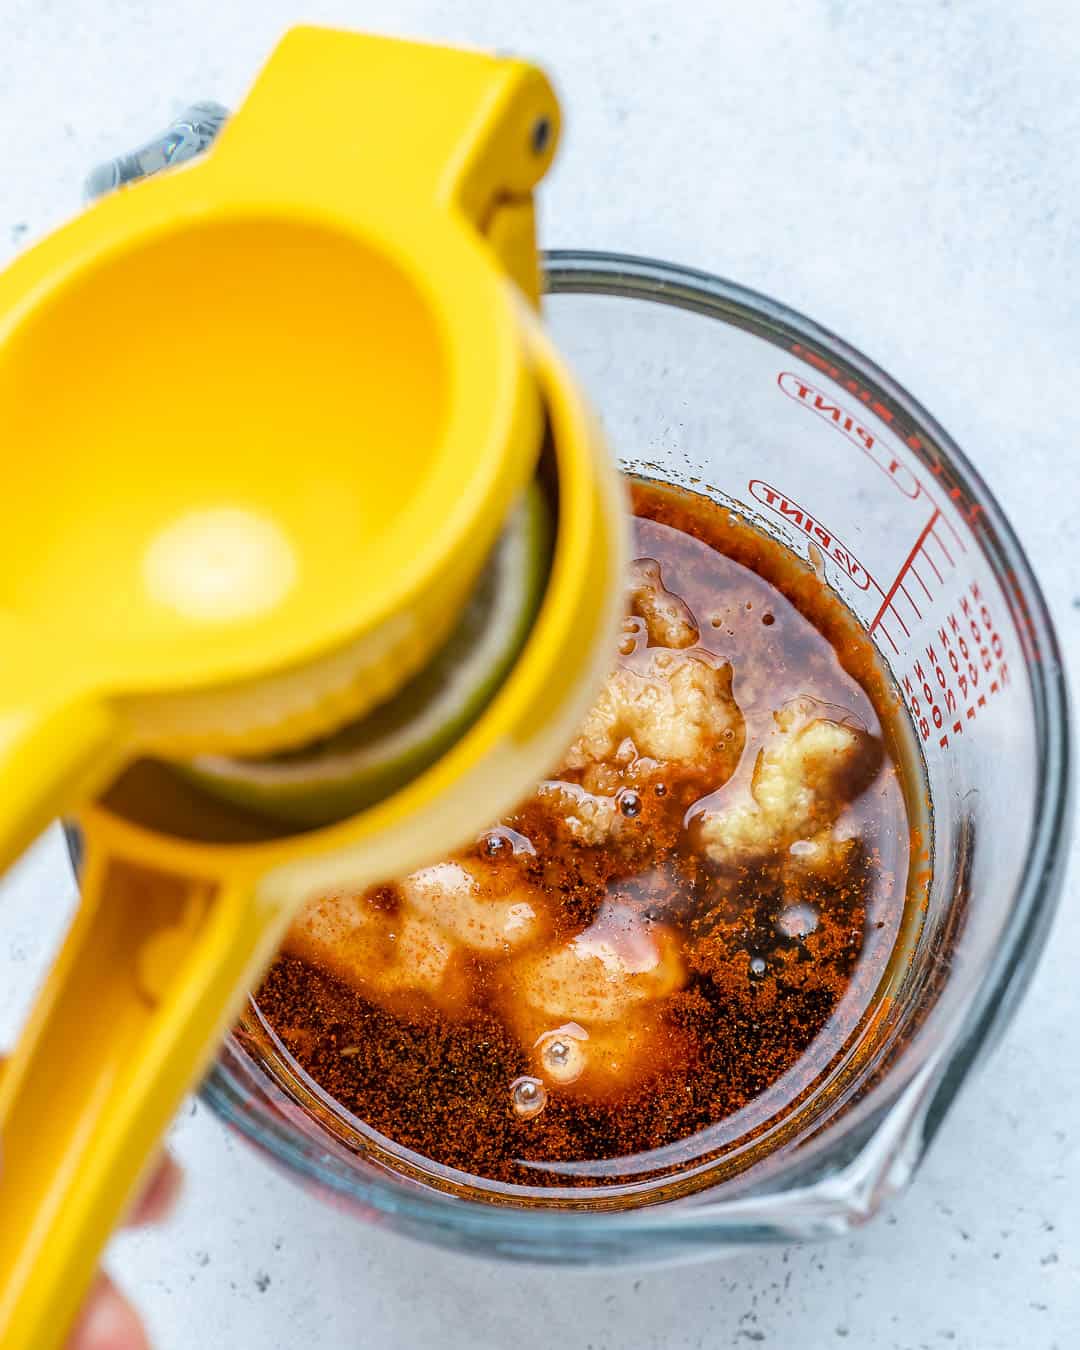
Step 1: Put the peanut butter, garlic, and ginger in a bowl. Add the soy sauce, rice vinegar, honey, chili powder, and fresh lime juice.

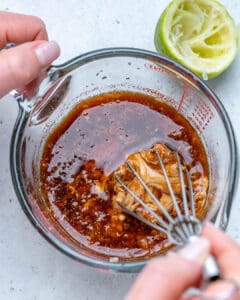
Step 2: Using a whisk, start mixing the ingredients together.
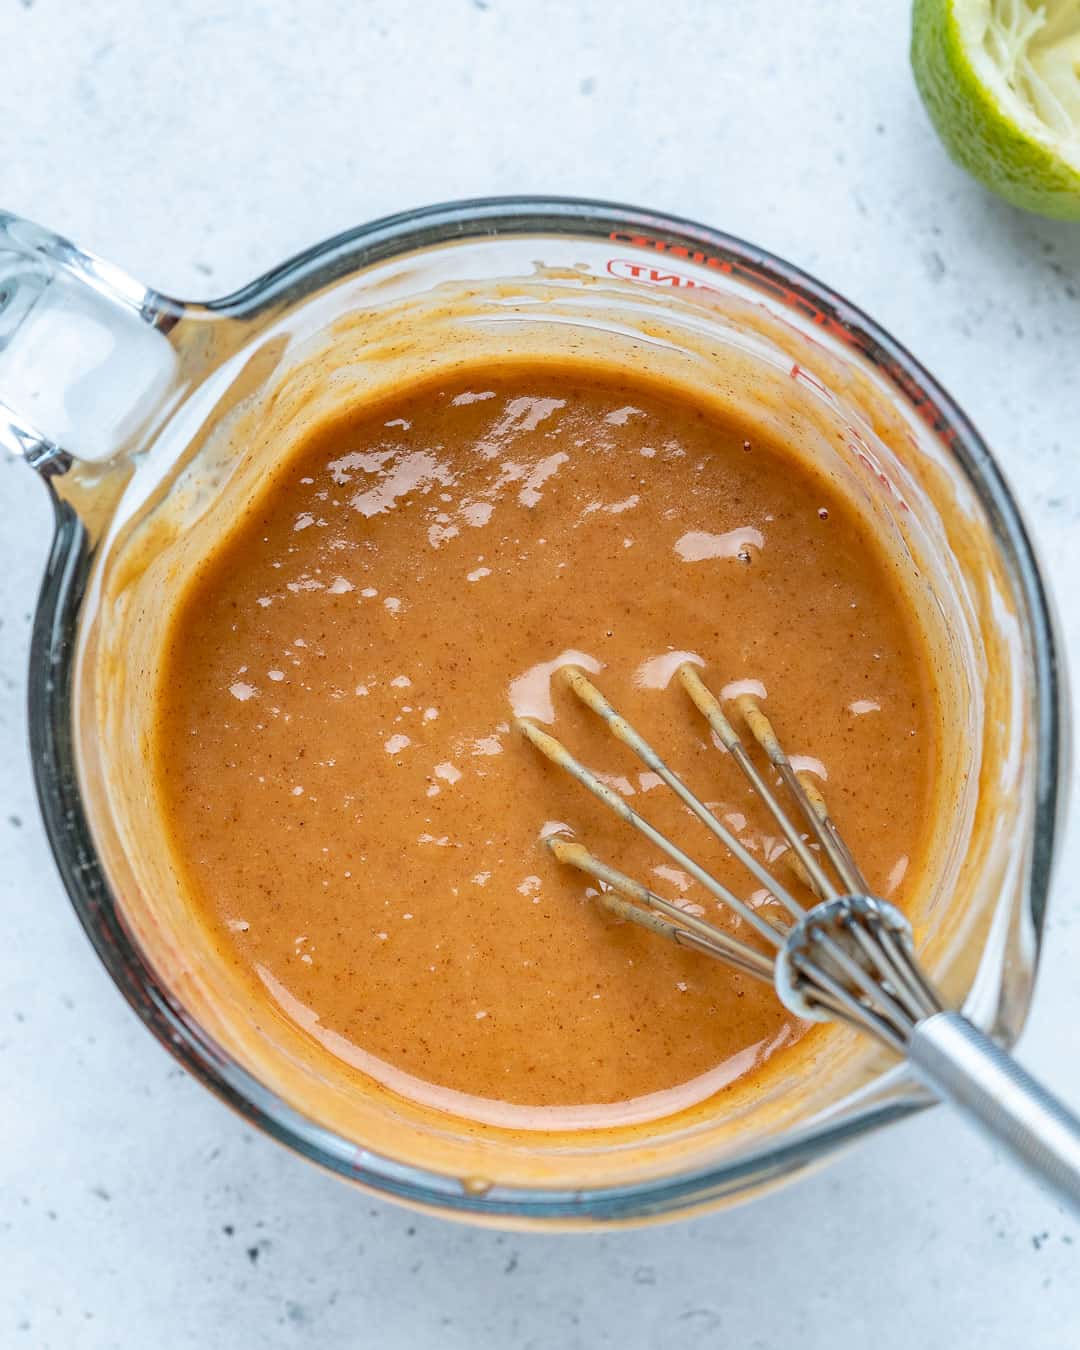
Step 3: Keep whisking until you get a creamy texture. If the sauce is too thick, add warm water until the desired consistency is reached. The sauce should be smooth and creamy.
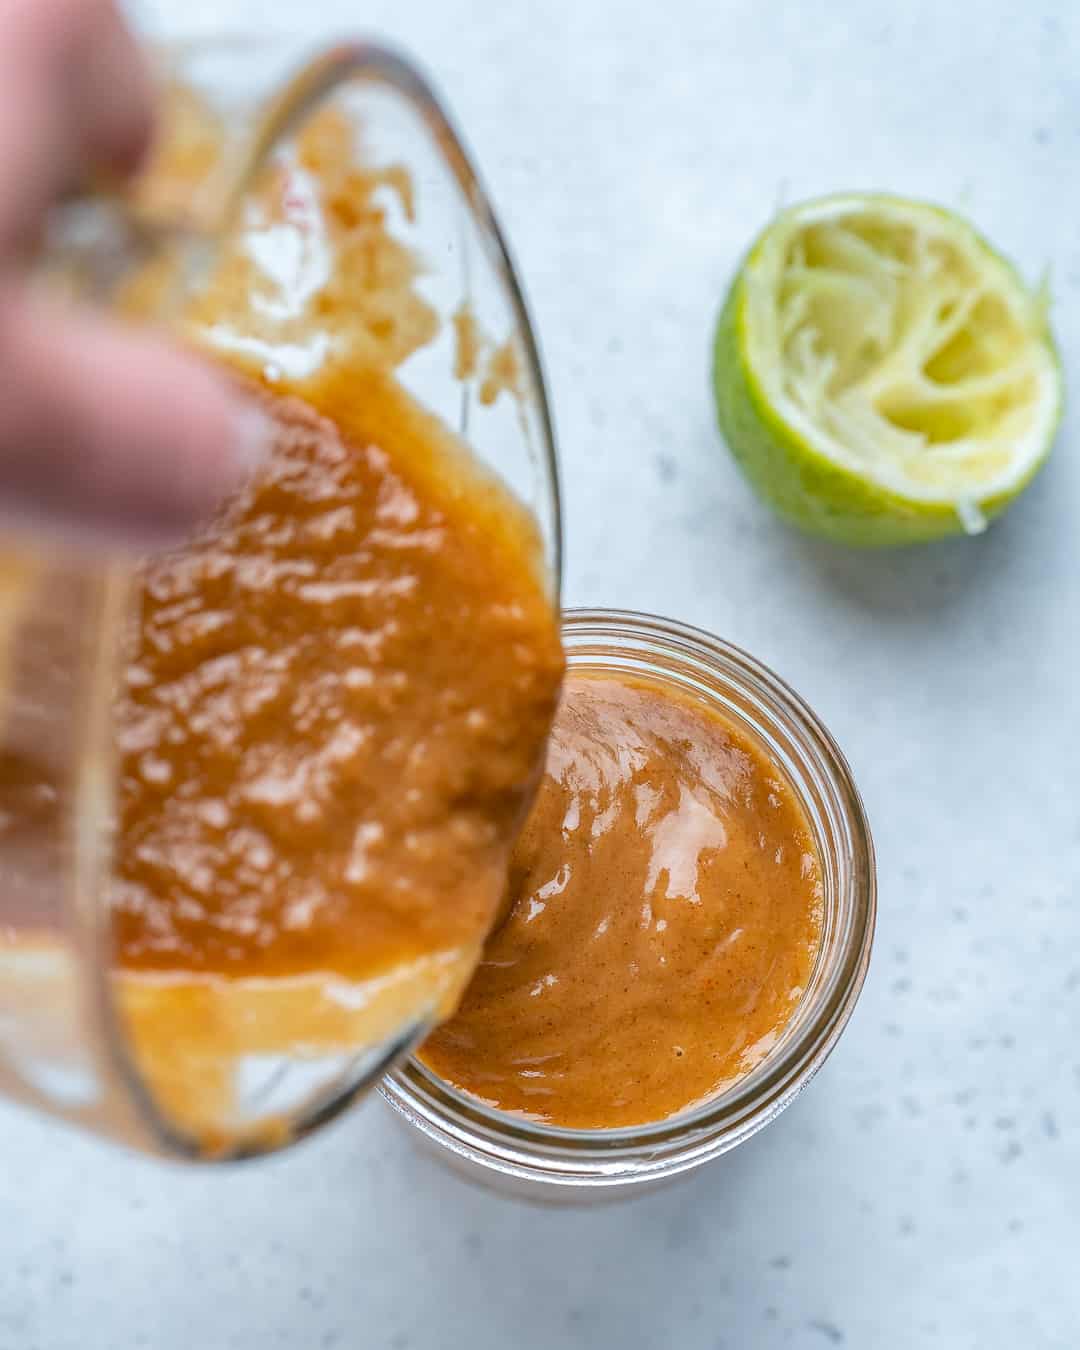
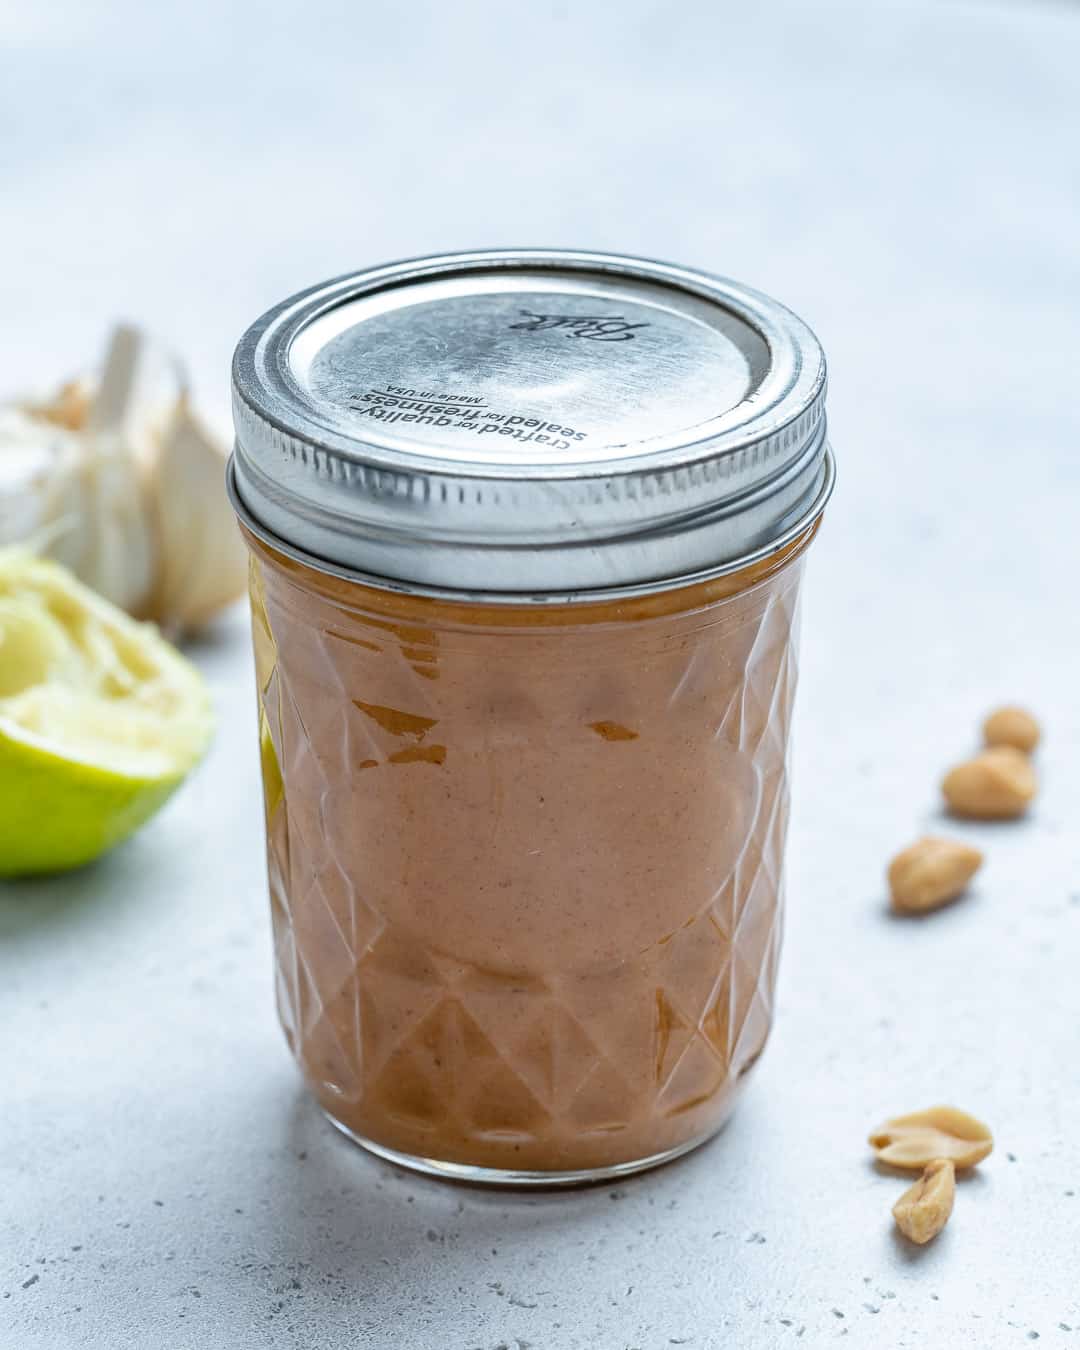
Step 4: Pour the sauce into a serving bowl to serve, or into a jar to store. Store in the refrigerator for up to 6 days.
Tips from my kitchen
- I used all-natural, unsweetened peanut butter that doesn’t have the extra sugar commonly found in regular peanut butter.
- Use low sodium or substitute with coconut amino.
- It is best to use freshly squeezed juice, not the bottled stuff from the store. It makes all the difference in flavor.
- Must use fresh garlic and Ginger.
Common Questions
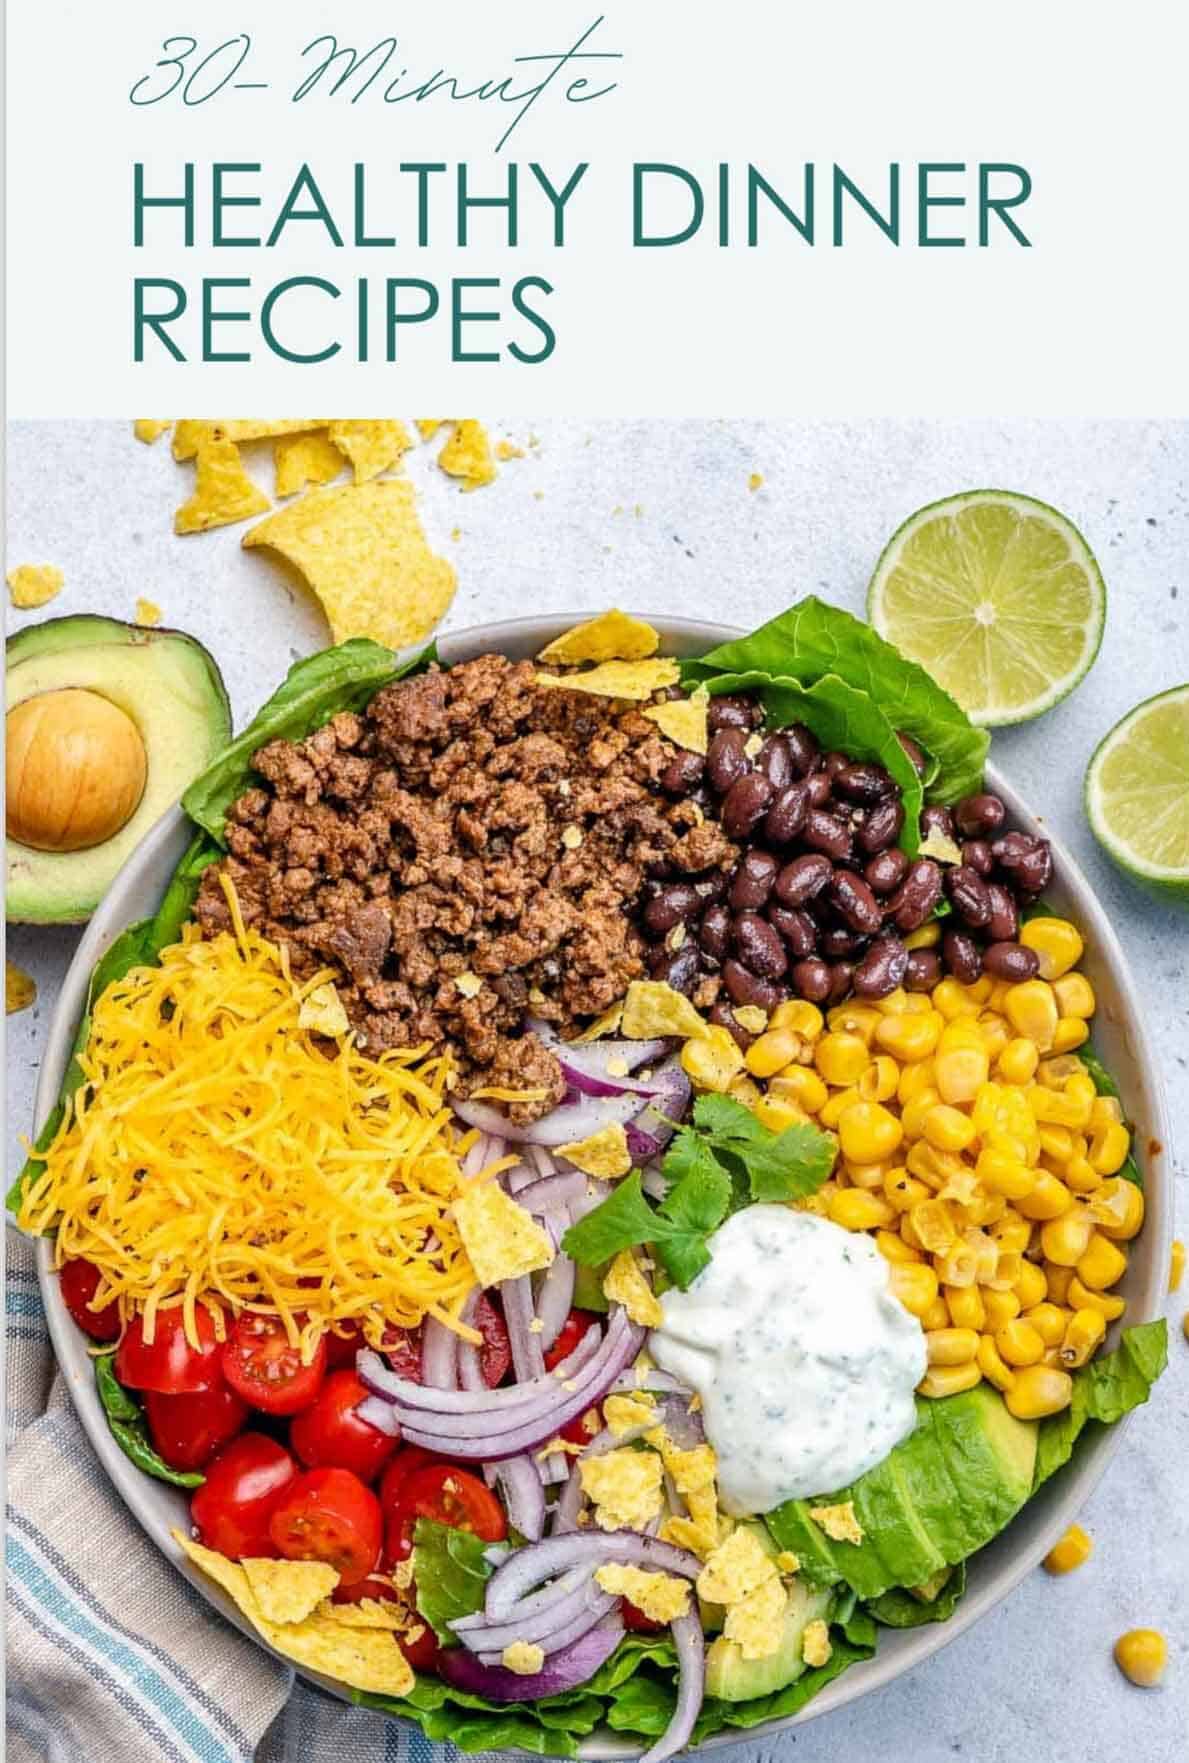
Try it as a dip for fresh veggies, flatbread, or spring rolls. Or drizzle it on top of noodle bowls, rice bowls, or salads. It is also great with grilled meats and roasted veggies.
Yes, Thai Peanut Dressing should be refrigerated for up to 6 days. It may go bad if left at room temperature.
This dressing lasts well in the fridge for up to 6 days. It does expire after about a week. Re-warm it in the microwave for 15-30 seconds, stirring halfway through. If it becomes too thick, whisk in warm water until it is the right consistency.
You may also like
- Asian Chopped Chicken Salad
- Shrimp Salad with Peanut Dressing
- Easy Orange Chicken Stir Fry
- Creamy Cilantro Lime Dressing
- Homemade Ranch Dressing
- Chinese Scallion Sesame Pancakes
- Asian Chicken Cups Recipe
- Baked Cashew Chicken and Veggies
If you try a recipe and you like it, leave me some feedback in the comment section below, and don’t forget to rate it! I would love it if you shared it with friends and family.
FOLLOW me on FACEBOOK | INSTAGRAM | PINTEREST | TWITTER for all of my latest blog posts and recipes.
Homemade Thai Peanut Dressing
Ingredients
- ½ cup drippy peanut butter, all-natural and unsweetened
- 2 tablespoons low sodium soy sauce, or coconut aminos for gluten-free
- 1 tablespoon rice vinegar
- 2 tablespoons honey, or maple syrup
- ½ teaspoon chili powder, or to taste
- 1 lime, juiced
- 2-3 garlic cloves, grated
- 1 tablespoon ginger root, grated
- 2-4 tablespoons warm water, to thin the sauce
Instructions
- In a small mixing bowl, add the ½ cup drippy peanut butter, 2-3 garlic cloves, and 1 tablespoon ginger root.

- Stir in the 2 tablespoons low sodium soy sauce, 1 tablespoon rice vinegar, 2 tablespoons honey, ½ teaspoon chili powder, and 1 lime juice. Mix well until combined.
- If the mixture is too thick, add 2-4 tablespoons warm water until the desired consistency is reached.
- Transfer dressing to a serving bowl and serve. Store in an air-tight container or jar in the refrigerator for up to 6 days.


Notes
- Drippy peanut butter: This is all-natural, unsweetened peanut butter that doesn’t have the extra sugar commonly found in regular peanut butter. It also doesn’t have the extra ingredient that binds it together, so the oil often separates to the top. Mix the peanut butter well before measuring.
- Soy sauce: Use low sodium for a healthier option, or substitute with coconut amino. Both have a slightly salty flavor that pairs well with this recipe.
- Lime juice: Use freshly squeezed juice, not the bottled stuff from the store. It makes all the difference in flavor.
- Garlic cloves: For the texture of the sauce, it is better to grate the cloves on a Microplane rather than to mince them.
- Ginger root: My favorite trick for ginger is to peel the skin off with the back of a spoon and then freeze the whole root in a zipper bag. When ready to use, grate it over a Microplane from frozen to make it super easy. Then pop the leftover back in the freezer for next time.
- Storing: Store in a jar or air-tight container in the fridge for up to 6 days.
Nutrition
Nutrition information is automatically calculated, so should only be used as an approximation.
Super yummy!!! I substituted Smooth Light peanut butter (the “normal” kind – not all-natural) as this was what I had already, reduced sodium soya sauce, and ground ginger/garlic instead of fresh. I also went with maple syrup rather than honey. I used it on a salad
with dried cranberries, greens, chopped peppers/carrots, and chicken. I used 4 tbsp of warm water and I found it a bit runny, so I would probably cut back on the warm water next time, but the flavour was delicious.
Absolutely delicious! I’m mixing it with Cassava fusilli (grain free pasta), shredded carrots, beets, parsley, scallions, and a bit of celery. Thank you!