This post may contain affiliate links. Please read our disclosure policy.
I always have a jar of pickled red onions in my fridge. They take ten minutes to make, last three weeks, and go on just about everything. Once you make your first batch you will keep making them.
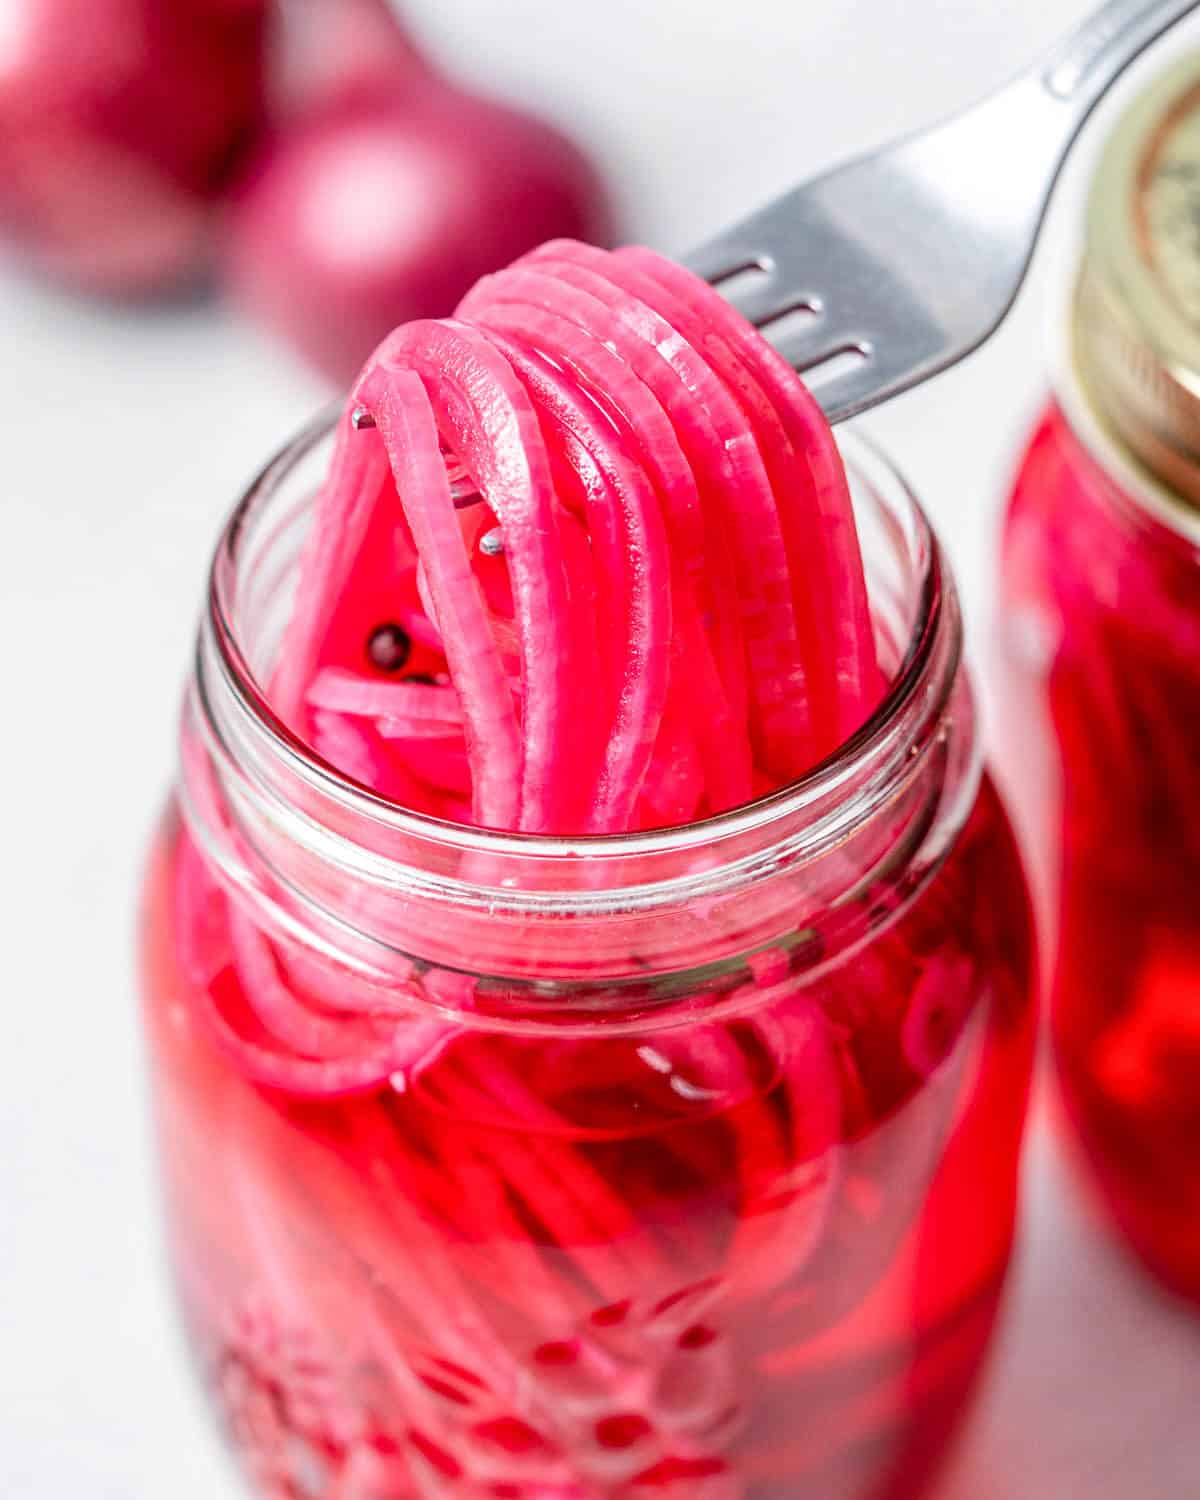
Pickling Red Onions: So Easy, Ready in an Hour, and Good for Weeks
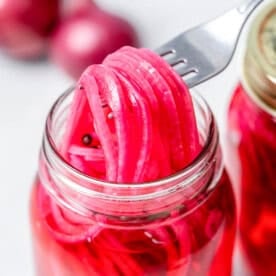
Pickled Red Onions are the perfect tangy, vibrant topping to brighten up any dish! With just a few simple ingredients and almost no effort, you can make these easy pickled onions that pack a huge flavor punch.
The sweet-tart brine quickly transforms raw red onion into crisp, electric pink pickled slices that add a zesty kick to everything from avocado toast with eggs and shrimp tacos to breakfast sandwiches and burgers like our spinach feta cheese turkey burger and so much more!
Tips Before You Start
- Slice the onions thin. This is worth repeating. It makes a huge difference in texture.
- Use a glass jar, not plastic. The vinegar and the pink color will both stain plastic, and the smell tends to stick around.
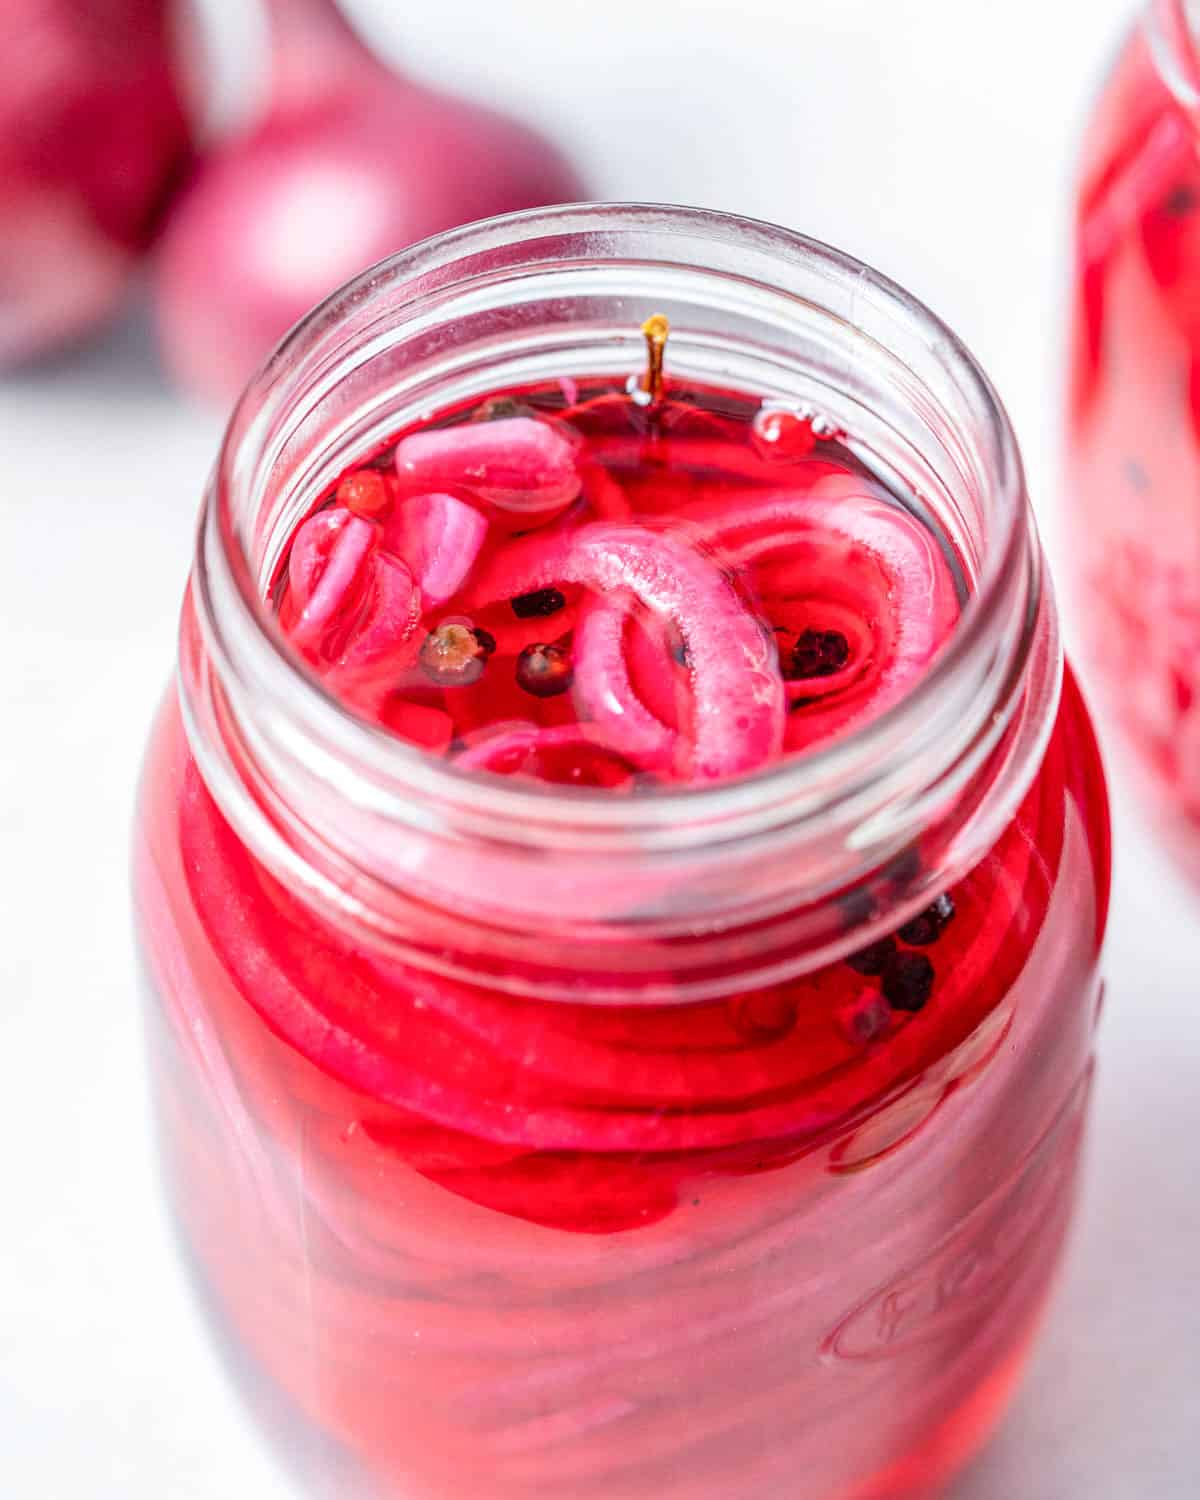
- Press the onions down after pouring the brine. If any onions are sticking up above the liquid, they will not pickle evenly.
- Kosher salt works better than table salt here. Table salt can make the brine slightly cloudy and the flavor is less clean.
- The onions will look like too many to fit in the jar. They are not. They compress once the hot brine hits them.
How Long Do Pickled Red Onions Last?
Up to three weeks in the fridge in a sealed jar. They hold their texture and flavor the whole time. If your jar makes it past three weeks, you are not using them enough.
Recipe Overview
Ingredients Needed
This easy pickled red onion recipe requires just a handful of simple ingredients that you likely already have in your pantry and fridge:
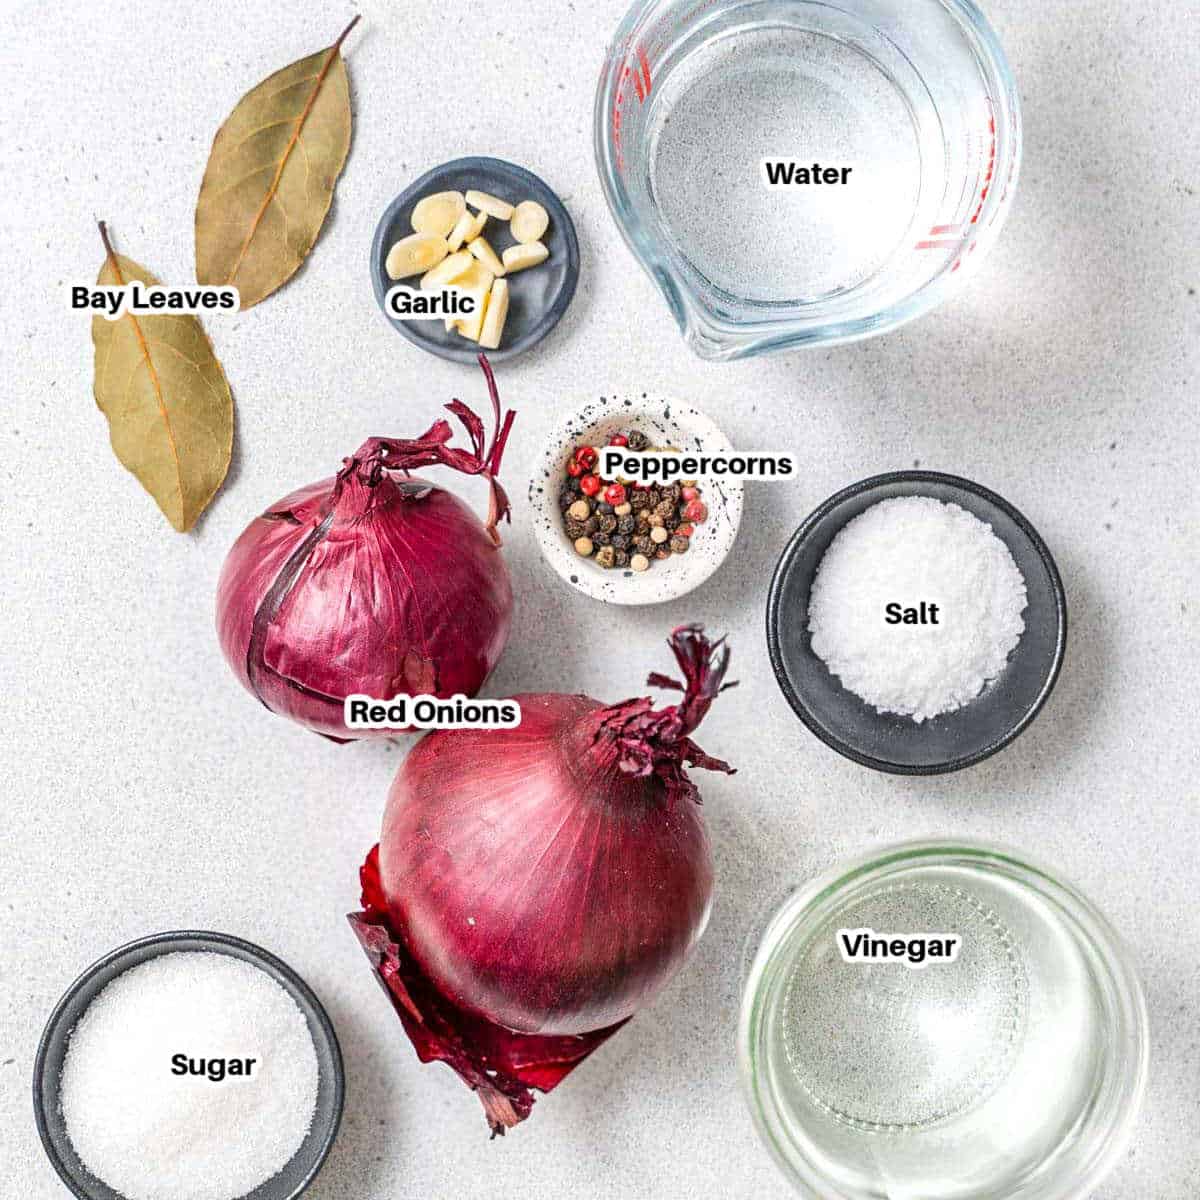
- Red onions: You’ll need 1 large or 2 small red onions. The vibrant purple color gives the pickled onions their signature bright pink hue.
- Vinegar: Use plain white vinegar or swap in apple cider vinegar for a little more flavor. The vinegar is key for quickly pickling the onions.
- Water: Combined with the vinegar to make the pickling liquid.
- Sugar: A bit of granulated sugar or cane sugar balances the puckery vinegar with just a touch of sweetness.
- Salt: Kosher salt enhances all the flavors.
- Peppercorns: Whole peppercorns add aroma and a mild peppery note. You can use black, white, or a mix.
- Bay leaves: These provide subtle background flavor in the brine.
- Garlic (optional): For a little extra zing, add a couple cloves of garlic to the pickling liquid.
Variations
Want more heat? Add a pinch of red pepper flakes or tuck a dried chili into the jar before you pour the brine.
Want a deeper flavor? Swap the white vinegar for red wine vinegar. The color goes darker and the taste gets a little stronger.
Want it sweeter? Bump the sugar up to 3 tablespoons. Some people prefer it that way, especially if they are putting these on something spicy.
Want to try different aromatics? A few sprigs of fresh thyme or a small piece of cinnamon stick all work well added into the jar.
How to make this recipe for pickled red onions
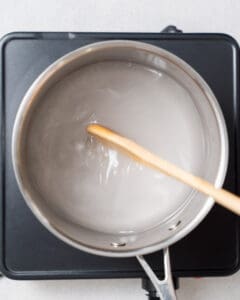
Make the pickling brine: In a small saucepan, combine the vinegar, water, sugar, salt, peppercorns, and bay leaves. Bring the mixture to a boil over medium-high heat, stirring frequently to fully dissolve the sugar and salt. Once boiling, remove from heat and let cool slightly.
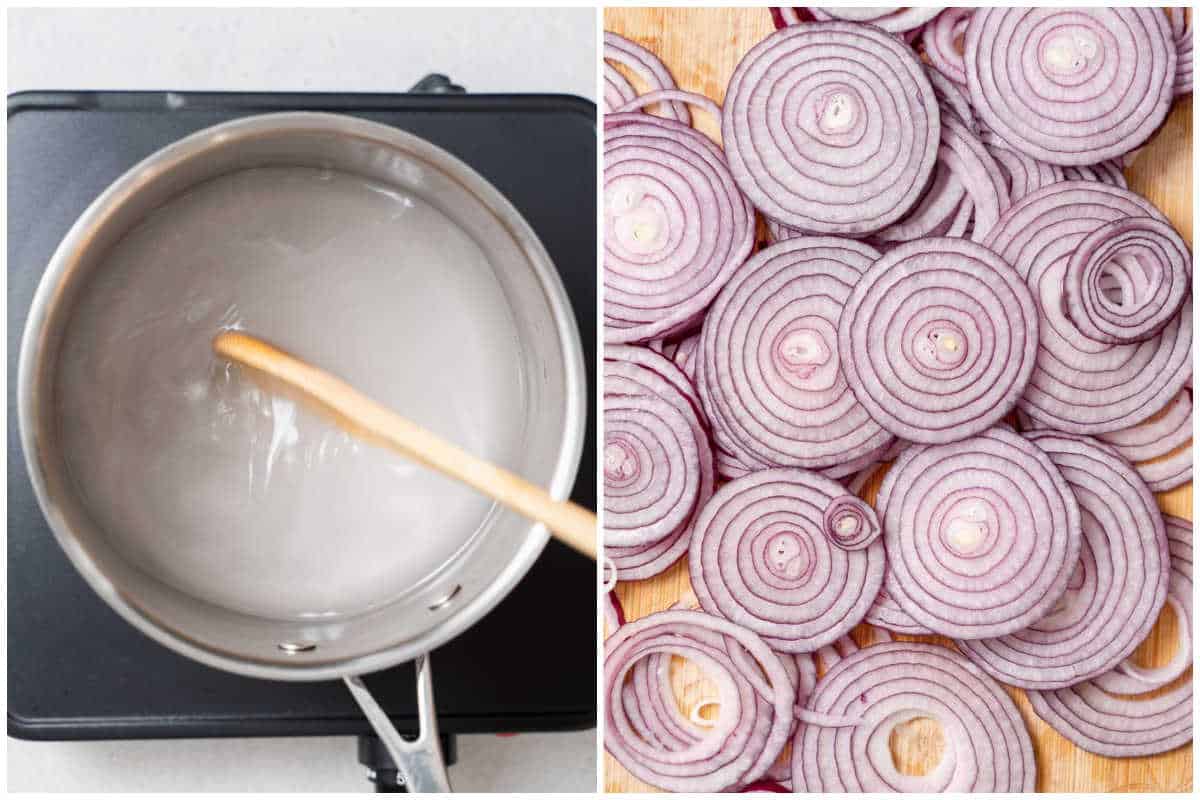
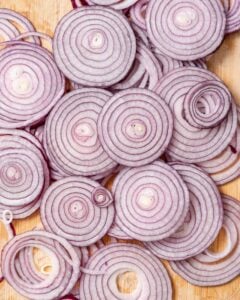
Prep the onions: While the pickling liquid cools, thinly slice the red onions into strips or rounds using a sharp knife or mandoline slicer. Having them thinly sliced ensures they’ll quickly pickle.
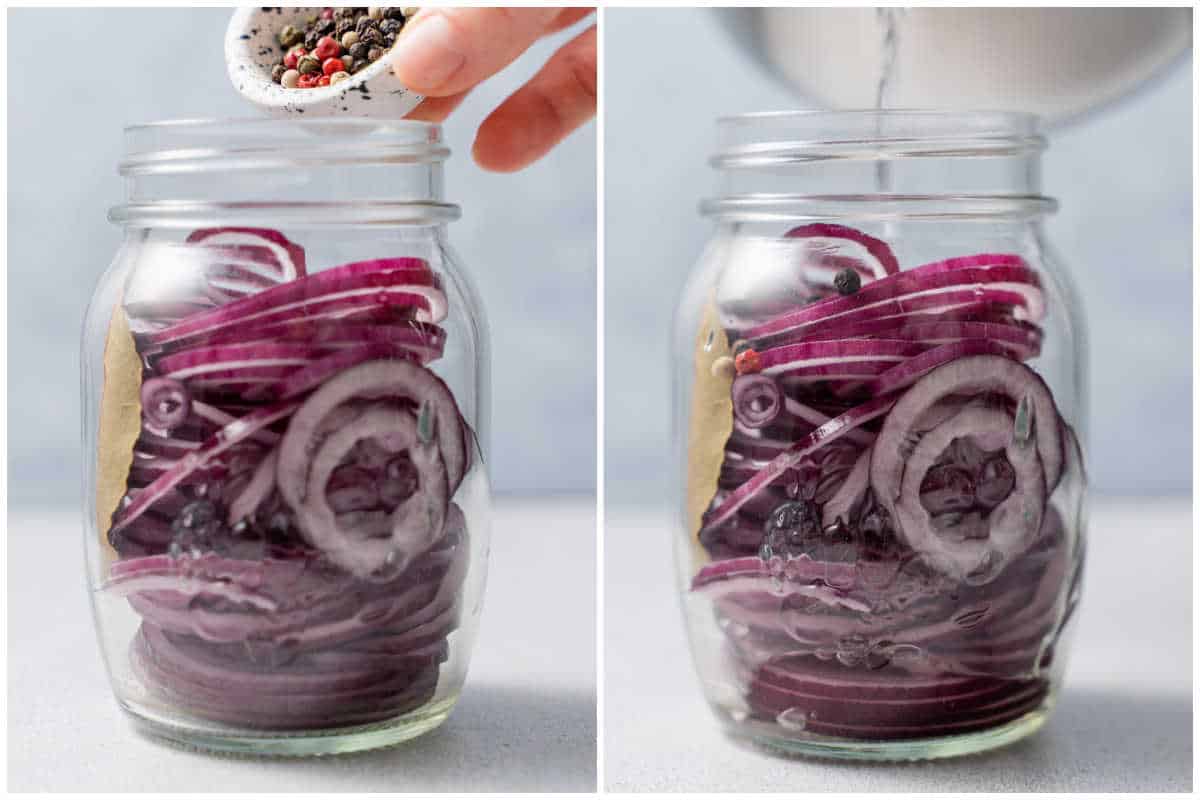
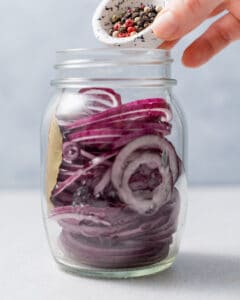
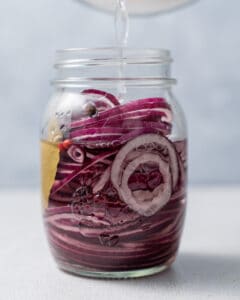
Pack the jars: Divide the sliced red onions between two 16 oz mason jars or another heat proof container with a tight lid. Pour the hot pickling brine over the onions, ensuring they are fully submerged.
Cool and pickle: Allow the jars of onions and brine to cool to room temperature, then secure the lids. Transfer to the refrigerator to pickle for at least 1 hour, or up to overnight for more intense flavor.
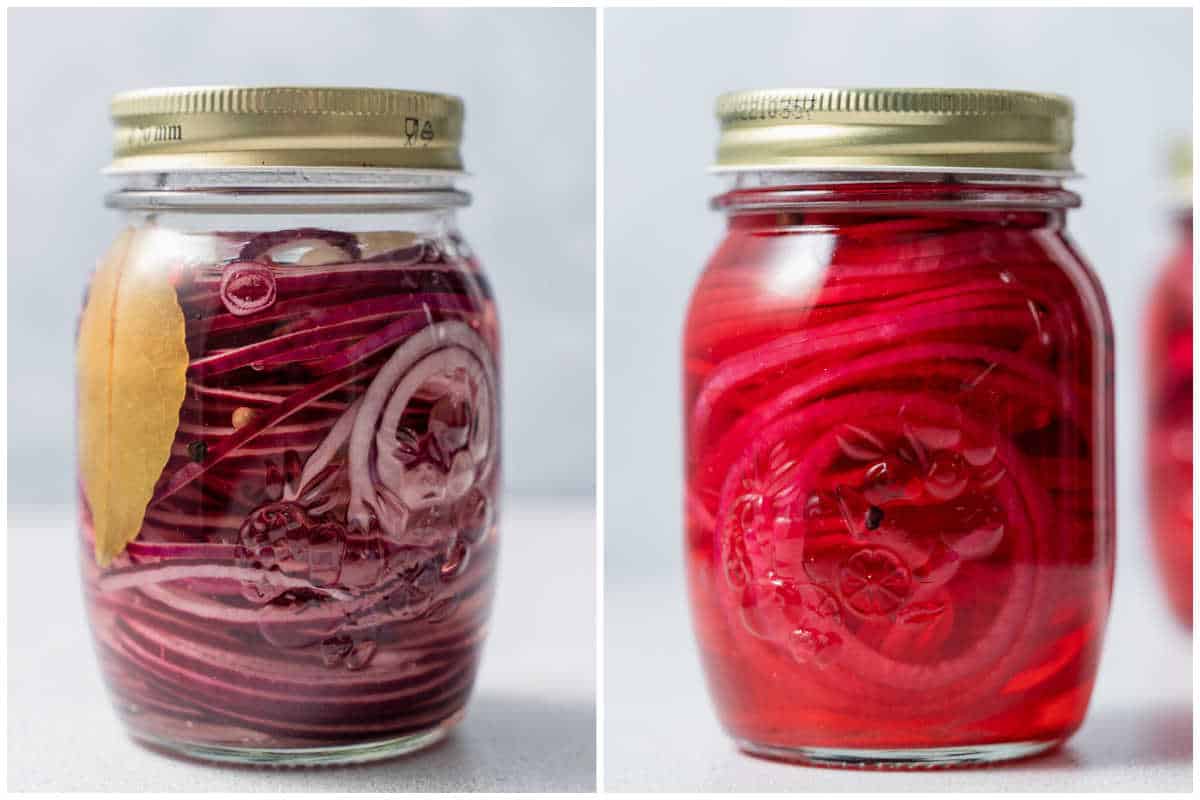
Enjoy! After pickling for an hour or more, the onions will be tender, tangy and bright pink. They’re ready to enjoy on sandwiches, salads, burgers and more. Properly stored, they’ll keep for 3 weeks.
Common questions
Absolutely! While white vinegar or apple cider vinegar are most common, you can experiment with other vinegar varieties like white wine vinegar, rice vinegar or even balsamic for a deeper, richer flavor.
The sugar helps balance the pungent vinegar flavor. However, if you prefer things on the tangier side, you can reduce or omit the sugar entirely. Just know the pickled onions will have quite a strong vinegar bite without it.
The salt in the pickling brine is key for keeping the onions crisp and preventing them from becoming mushy as they pickle. As long as you use the recommended amount of salt, they should stay nice and crisp-tender.
What to Put Pickled Red Onions On
The short answer is almost anything. Here is where they can be served perfectly:
- Tacos: This is probably the most obvious use and also the best one. They cut through the fat of the meat and add a brightness that salsa alone cannot do. You can see how I added them to my ground beef tacos.
- Burgers: Skip the raw onion. Pickled onions do the same job with way more flavor and no harsh bite.
- Grain bowls: A spoonful of these on top of rice, roasted vegetables, and whatever protein you have turns meal prep into something you actually want to eat. They will be perfect over this chicken shawarma bowl.
- Eggs: Scrambled eggs, fried eggs, breakfast burritos. Try it once and you will not go back. I served it over my avocado and egg toast.
- Sandwiches: Turkey, pulled beef, chicken, BLT. They work on all of it.
- Salads: A few rings thrown on top of a green salad do more than croutons.
Storage Recommendations
Once you learn how to pick red onion, you’ll want to store them properly so you can enjoy that bright, zesty flavor for weeks on all your favorite dishes!
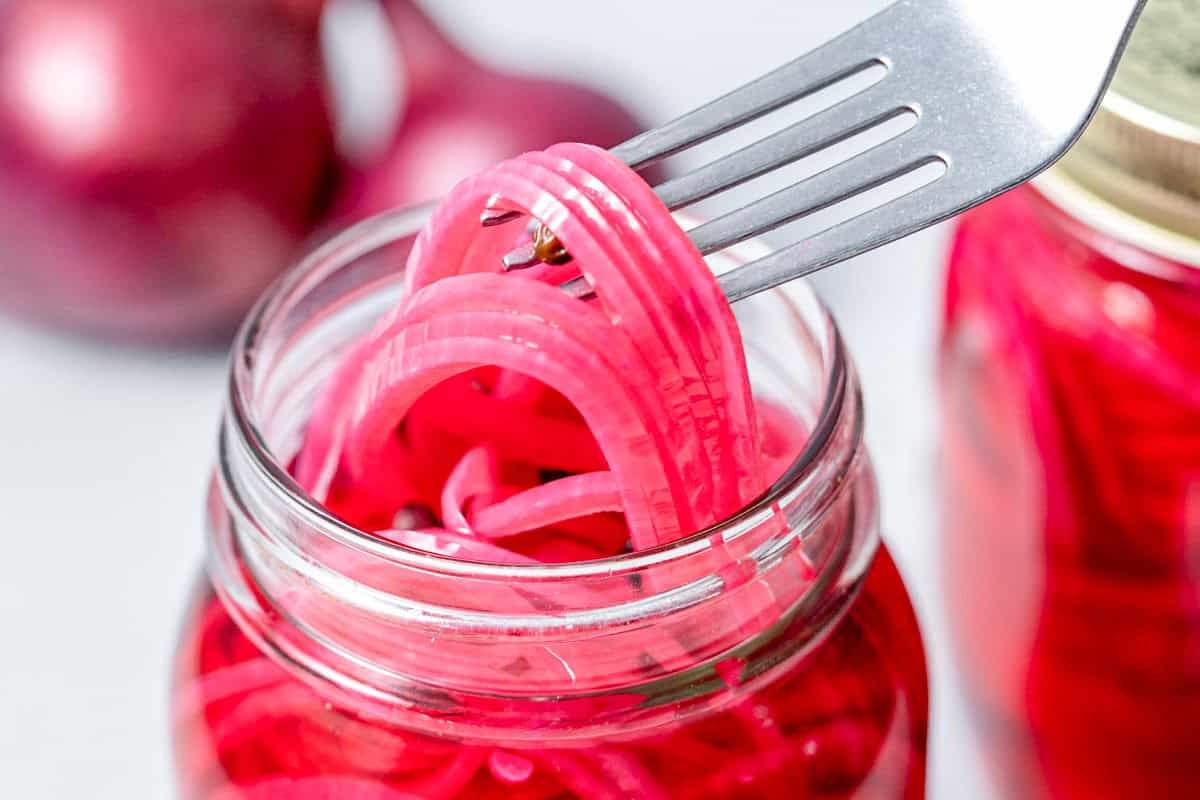
- Refrigerate: Once the onions have finished pickling for at least an hour, make sure to refrigerate them promptly. Pack the pickled red onions along with their brine into sealed jars or airtight containers. For best quality and crispness, try to use up your pickled onions within 3 weeks. They’ll last a bit longer, but may start to get mushy after that.
- Freeze: I do not recommend it. Freezing kills the crisp texture and once they thaw out they turn soft and mushy. Since they already last three weeks in the fridge there is really no reason to freeze them anyway. If you want them to last longer just make a fresh batch.
More Topping Recipes
- How to Caramelize Onions
- Easy Chimichurri Sauce
- Homemade Strawberry Jam
- Homemade BBQ Sauce Recipe
- Homemade Pesto Sauce
If you try a recipe and you like it, leave me some feedback in the comment section below, and don’t forget to rate it! I would love it if you shared it with friends and family.
Pickled Red Onions (Better Than Store-bought)
Ingredients
- 1 large red onion, or 2 small red, peels and either sliced or cut into rounds.
- 1½ cups water
- 1½ cups white vinegar, or 1 cup apple cider vinegar * See notes
- 2 tablespoons sugar, or cane sugar
- 1 tablespoon kosher salt
- 1 teaspoon mixed peppercorns, divided
- 2 bay leaves
Optional:
- 2 garlic cloves
Instructions
- In a Medium saucepan over medium heat, add the 1½ cups white vinegar, 1½ cups water, 2 tablespoons sugar, and 1 tablespoon kosher salt. Mix and let it boil for a couple of minutes or until the sugar has completely dissolved.

- Set the pot aside for a couple of minutes to cool off while you slice the 1 large red onion.
- Using a sharp chef’s knife or a mandolin slicer, thinly slice the onions either long ways or into rounds.
- Divide the onions into two 16-oz mason jars. Add the 2 bay leaves and 1 teaspoon mixed peppercorns. If you are going to use the 2 garlic cloves, add one to each jar.
- Pour the liquid over the onions into the mason jars equally until the onions are covered.
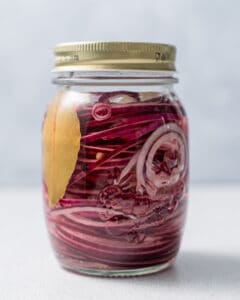
- Set the mason jars aside uncovered to cool completely close the lid and then transfer them to the fridge for at least an hour or overnight. Good for up to 3 weeks in the fridge.
Notes
-
- Serving size: 1/4 cup
- For the vinegar: You can do a mix. Use 0.5 cups white vinegar and 0.5 cups apple cider vinegar
- Slice the onions thin. The thinner the onion, the faster it pickles and the better the texture. A mandoline on the thinnest setting is ideal.
- You can swap in red wine vinegar for the white vinegar if you want a deeper, slightly more robust flavor.
- Add a pinch of red pepper flakes or a dried chili to the jar if you want a little heat.
- These go well on tacos, burgers, grain bowls, eggs, sandwiches, and salads. Once you have a jar in the fridge you will start putting them on everything. .
Nutrition
Nutrition information is automatically calculated, so should only be used as an approximation.