This post may contain affiliate links. Please read our disclosure policy.
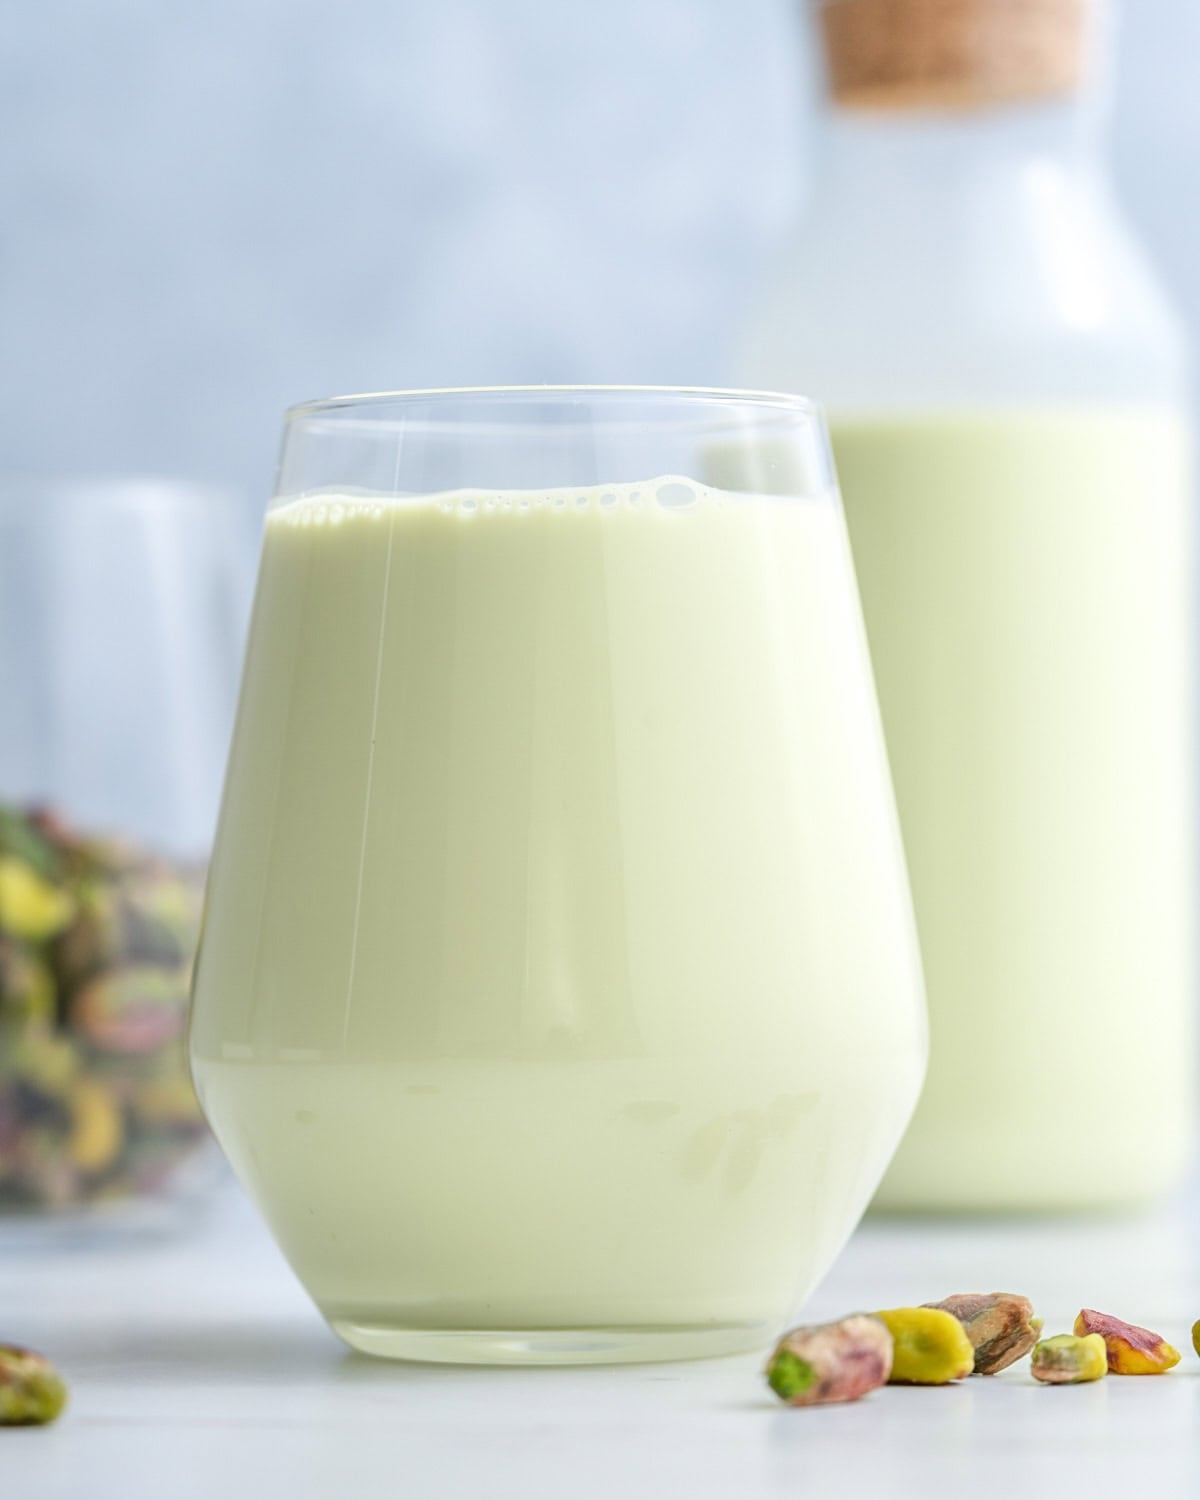
This super Creamy Homemade Pistachio Milk is rich, smooth, and full of real pistachios (no artificial flavors here!). Unlike store-bought nut milk, it’s not watered-down, and has a naturally sweet, earthy flavor that’s just so good.
Many nut milks you buy from the store actually contain a tiny percentage of nuts in their recipe. The result? Watery, flavorless nut milks that leave much to be desired. When you make nut milk at home, you’ll never go back to the store-bought stuff!
This homemade pistachio milk is packed with real pistachios, which lend a super-creamy texture and tons of nutty flavor to this tasty drink. I like to sip it cold from the fridge on its own, but it also works great in lattes, hot chocolate, overnight oats, and smoothies.
For more delicious pistachio-filled recipes, try my Homemade Pistachio Butter and Fluffy Pistachio Muffins.
Recipe Overview
Ingredients Needed
Below are the ingredients you’ll need to make Homemade Pistachio Milk. The full quantities are listed on the recipe card further down the post.

- Pistachios: Adds a creamy texture and an earthy, nutty flavor to this milk. I like to use raw pistachios for a light, clean flavor. Measure them after you’ve removed the shells.
- Filtered water: I use filtered water, but you can also use bottled drinking water. Tap water is fine, as long as it’s safe to drink, but it may alter the taste of the milk.
- Maple syrup: Adding a touch of sweetness highlights the nuts’ flavor, but it is optional. Agave nectar or honey also works well. Instead of maple syrup, add 2 pitted Medjool dates
- Vanilla extract: Brings a dessert-like flavor to the nut milk. Feel free to omit if you want the pistachio flavor to be more prominent.
- Sea salt: I highly recommend adding a little pinch of salt, as it enhances all the flavors in this delicious non-dairy milk.
Tips before you get started
- Use raw, unsalted pistachios: Salted pistachios will change the flavor and make the milk taste off. Raw gives you a clean, slightly sweet, nutty base.
- Soak for a smoother texture: Soak the pistachios for at least 4 hours or overnight. This softens them and helps your blender create a creamier milk. After the nuts have soaked, you can peel off their papery outer skins. This will give the milk a brighter green color and smoother texture.
- Blend long enough: Blend for a full 1 to 2 minutes. The longer you blend, the richer and smoother the milk will be.
- Strain well: Use a nut milk bag or fine mesh strainer. For extra smooth milk, strain twice. If you don’t have a nut milk bag, a muslin or cheesecloth-lined mesh strainer also works well.
- Add sweetness slowly: If you’re adding any sweetener like dates, maple syrup, or honey, start small. You can always blend in more.
- Store properly: Keep it in a sealed glass jar in the fridge and shake well before using, since natural separation is normal.
How to Make Pistachio Milk
Below is a step-by-step process for making pistachio milk at home. Easy and delicious.

Step 1: Add the raw pistachios to a bowl and cover with water. Let them soak for at least 6 hours or overnight. This will soften them and make the milk creamier.
Step 2: Next, drain the soaked pistachios and rinse them thoroughly under cool water. You may try removing some of the skin from the pistachios to achieve a deeper green color, but it is not necessary.

Step 3: Place the soaked pistachios in a high-speed blender and add 3 cups of water, maple syrup (if using), vanilla extract, and a pinch of salt. Blend on high for 1–2 minutes until completely smooth.
Step 4: If you prefer a smooth milk texture, I recommend straining. Pour the pistachio milk through a nut milk bag or fine mesh strainer. For extra creaminess, you can skip this step, but you will need to shake the milk well before using.

Step 5: Taste the milk and adjust if necessary by adding more water if you prefer a lighter consistency, or more sweetener if you prefer a sweeter consistency.
Step 6: Pour the milk into a glass bottle or jar, and store it in the fridge for up to 4 days. Shake before each use.

Common Questions
Store in an airtight container or glass jar in the fridge for up to 4 days.
Yes! Freeze in an airtight container for up to 3 months. Thaw overnight in the fridge and shake well before drinking.
Natural, homemade nut milk doesn’t contain added emulsifiers or thickeners, so the solids will separate from the liquids as it sits. This is totally fine! Just give it a good shake to help everything mix before you drink it.
I recommend using unsalted nuts so that the milk doesn’t turn out too salty. If using salted nuts, soak for 6 hours in filtered water, then drain and re-cover with water. Soak for a further 6 hours. This double soaking should help to remove most of the salt from the outside of the nuts, but you will find the milk to be saltier than when using raw, unsalted nuts.
Roasted pistachios have a deeper, toastier flavor than raw nuts. You can use roasted pistachios to make milk; the nuts will be drier, so you may need to use more water to get a creamy result.
The pistachios need at least 6 hours of soaking time (preferably overnight) to soften them enough to blend into a creamy texture. If you’re short on time, you can simmer them in a pot of boiling water for 15-30 minutes until they’ve doubled in size and feel softened.
For the smoothest texture, yes. If you don’t mind a little pulp and have a high-powered blender, you can skip straining.

How to use pistachio milk
You can use pistachio milk in smoothies, coffee, oatmeal, chia pudding, overnight oats, or in most baking recipes to replace any milk, or anywhere you would use almond milk or oat milk. Here are some recipes you can make using pistachio milk
You may also like
- Pumpkin Cream Cold Brew
- Mocha Protein Shake
- Coffee Smoothie
- Strawberry Protein Smoothie
- Mango Smoothie
Thanks for stopping by and trying one of my recipes. If you enjoyed it, please leave a rating and share your thoughts in the comments. It really helps, and I love hearing from you
Creamy Homemade Pistachio Milk

Ingredients
- 1 cup raw unsalted pistachios, shelled
- 3-4 cups filtered water, depending on how creamy you like it
- 1-2 tablespoons maple syrup or honey, optional but recommended
- 1 teaspoon vanilla extract, optional
- 1 pinch sea salt
Instructions
- Add the 1 cup raw unsalted pistachios to a bowl and cover with filtered water. Let them soak for at least 6 hours or overnight. This will soften them and make the milk creamier.
- Next, drain the soaked pistachios and give them a good rinse under cool water. You may try to remove some of the skin from the pistachios for a deeper green color, but it is not necessary.
- Place the soaked pistachios in a high-speed blender and add 3-4 cups filtered water (see note), 1-2 tablespoons maple syrup or honey (if using), 1 teaspoon vanilla extract, and a 1 pinch sea salt. Blend on high for 1–2 minutes until completely smooth.

- If you prefer a smooth milk texture, I recommend straining. Pour the pistachio milk through a nut milk bag or fine mesh strainer. For extra creaminess, you can skip this step, but you will need to shake the milk well before using.
- Taste the milk and adjust if necessary by adding more water if you prefer a lighter consistency or more sweetener.
- Pour the milk into a glass bottle or jar, and store it in the fridge for up to 4 days. Shake before each use.


Notes
Storage:
- Store in an airtight container in the fridge for up to 4 days.
- Freeze in an airtight container for up to 3 months. Thaw overnight in the fridge and shake well before drinking.
Variations & Tips:
- After the nuts have soaked, you can peel off their papery outer skins. This will give the milk a brighter green color and smoother texture.
- This milk freezes well, so you can always make a larger batch and store it in the freezer for easy use.
- If you don’t have a nut milk bag, a muslin or cheesecloth-lined mesh strainer also works well.
- I like to use a ratio of 1 cup shelled pistachios to 3 cups filtered water for a really creamy texture. You can up this to 4 cups of water if you prefer a lighter texture.
- Use a high-powered blender like a Vitamix or Ninja to get the creamiest texture. Lower-powered blenders won’t be able to break down the nuts as much, resulting in a thinner nut milk.
- Double-strain the nut milk (passing it through the nut milk bag twice) to get the smoothest texture.
- Lightly roasting the pistachios before blending gives the milk a deeper, almost dessert-like flavor.
- Consider adding 1/4 tsp of ground cardamom or almond extract
Nutrition
Nutrition information is automatically calculated, so should only be used as an approximation.