This post may contain affiliate links. Please read our disclosure policy.
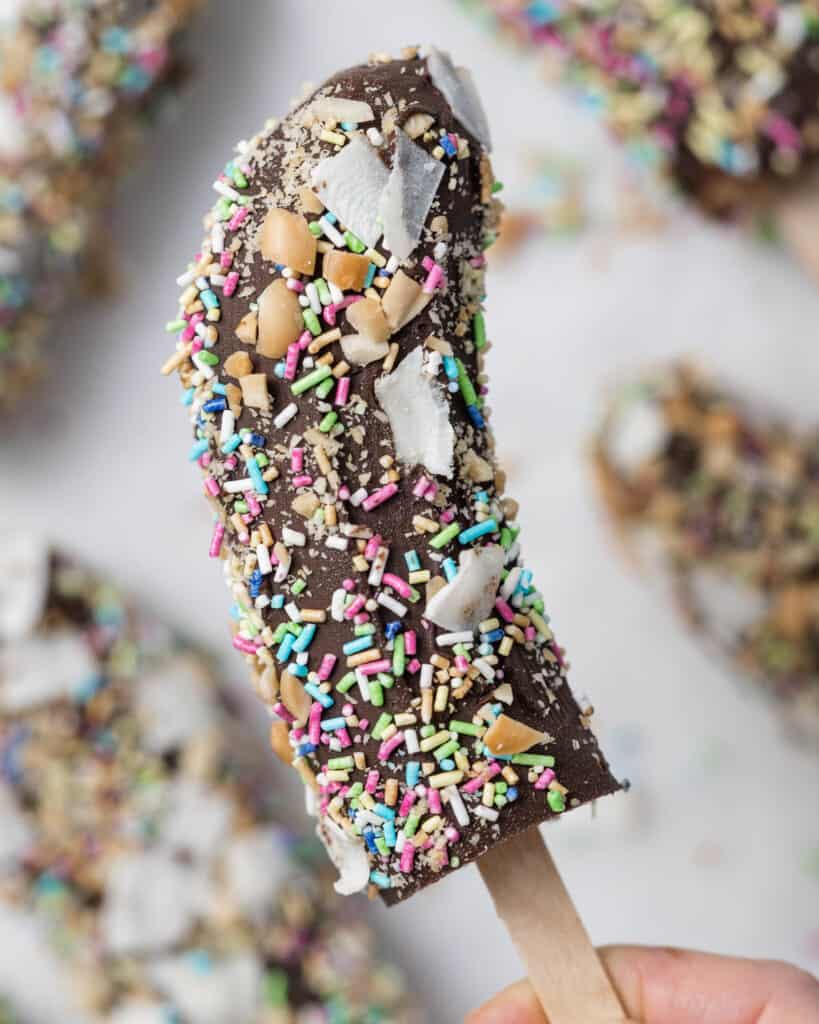
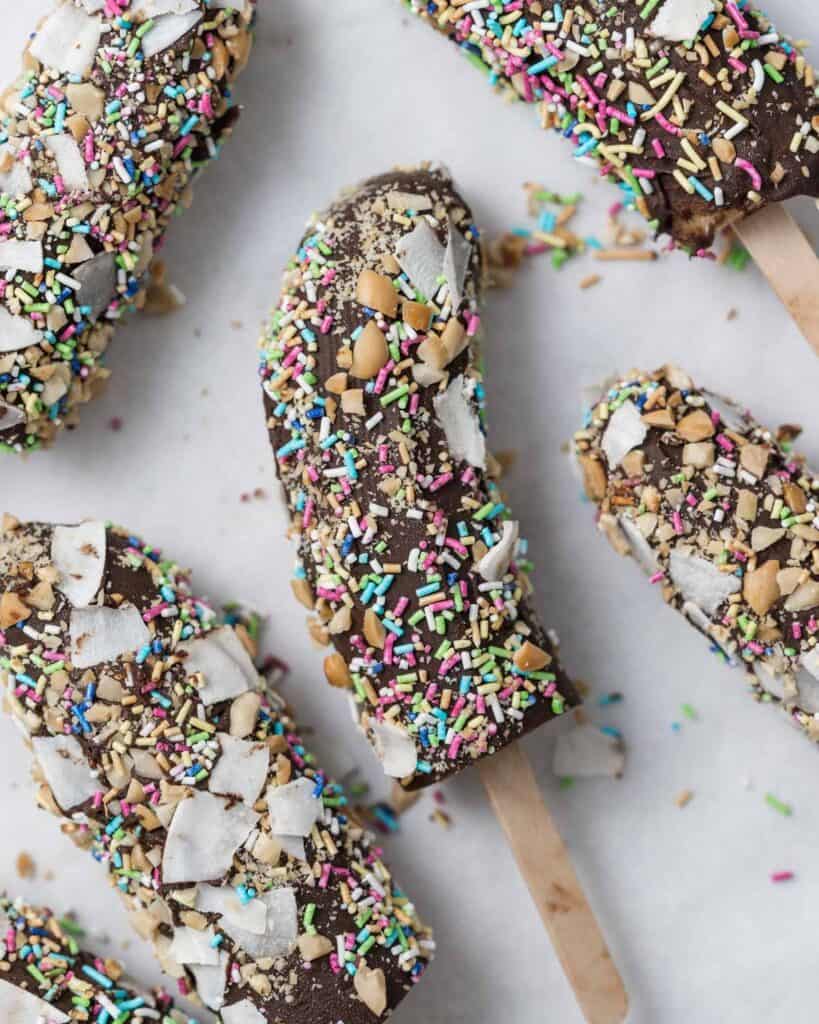
Looking for a fun, nostalgic treat that’s easy to make and delicious? You’re going to love these Chocolate-Covered Banana Pops! These frozen treats combine the fresh, fruity sweetness of ripe bananas with a thick coating of chocolate.
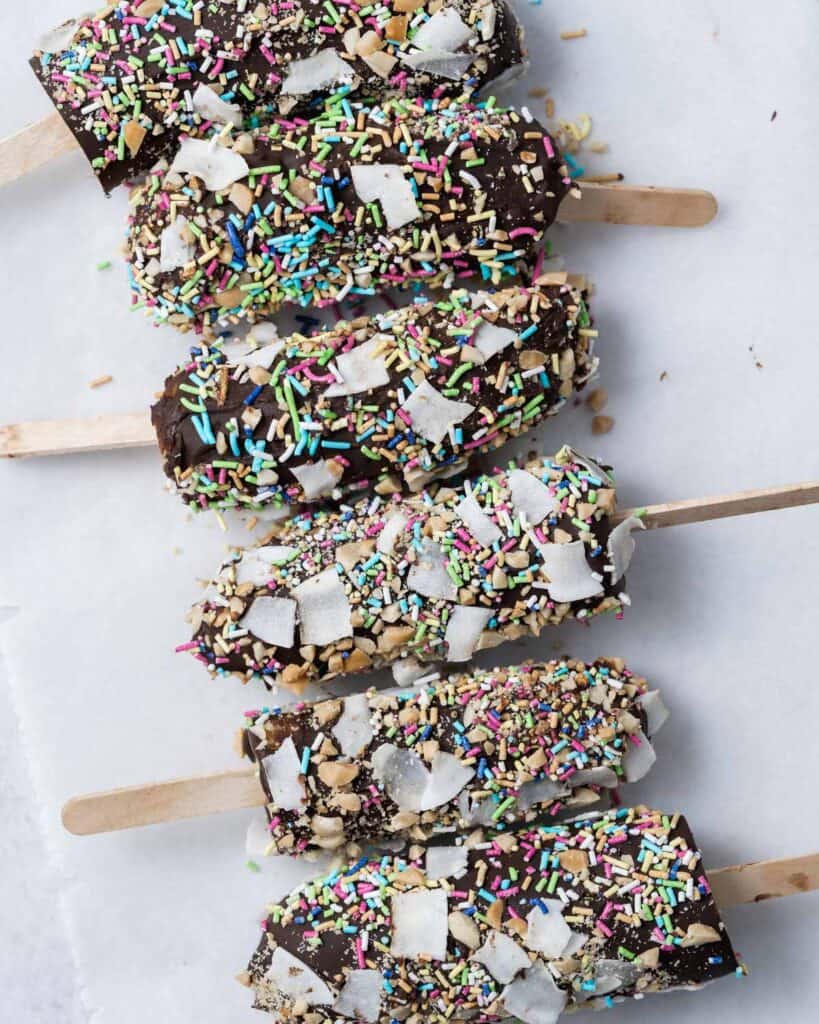
Banana pops make the perfect warm-weather snack or party treat that kids and adults will love. They’re cool, creamy, and irresistibly chocolatey – the ultimate indulgence on a hot day. Sometimes the simplest treats are the best!
But what I really love about them is how effortless they are to whip up. Just a few simple ingredients like bananas, chocolate chips, and your favorite toppings. A quick dip in melted chocolate and you’ve got a frozen handheld treat that’s sure to make everyone feel like a kid again.
The best part? These chocolate-covered bananas are gluten-free and dairy-free, so anyone can enjoy them. If you love the flavor combination of fruit and chocolate, be sure to check out Greek Yogurt Fruit Dip and Healthy Chocolate Bark!
Why You Will Love This Recipe
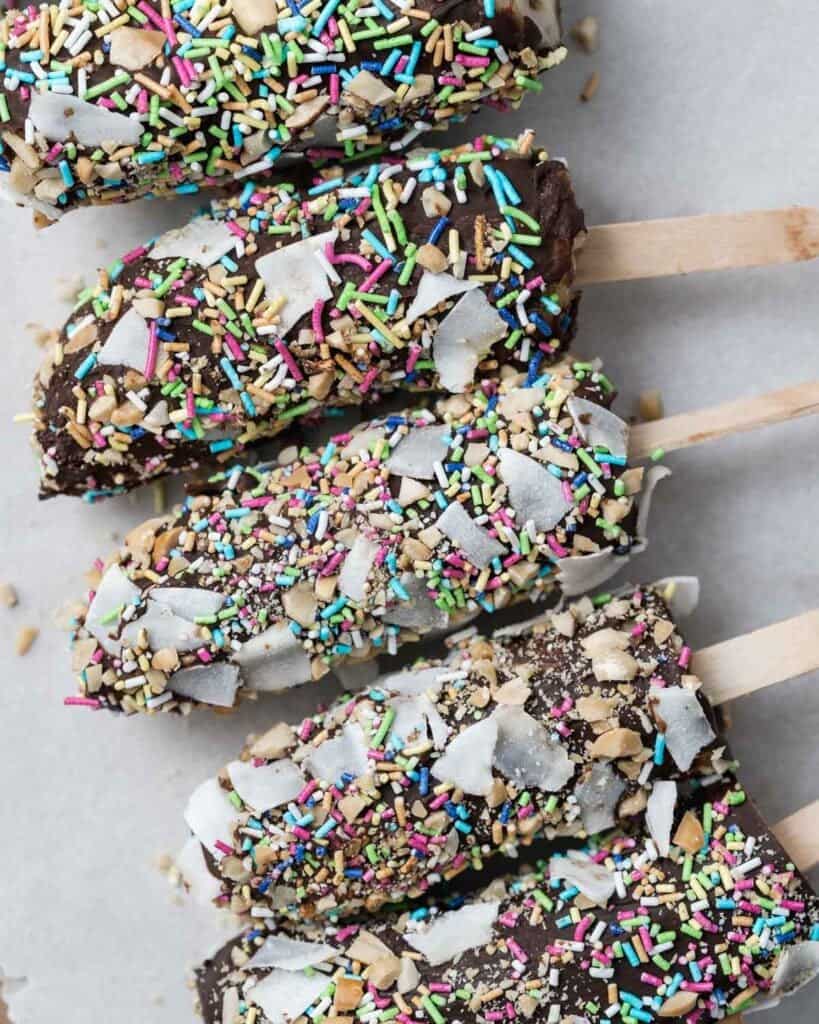
- Bursting with Flavor: Ripe bananas are dipped in rich chocolate and topped with your favorite crunchy or sweet extras like chopped nuts, coconut, or sprinkles.
- Quick and Easy Treat: With just a few simple ingredients and very little hands-on time, you can whip up a batch of these frozen banana pops for an easy dessert or snack.
- Perfect for Any Occasion: From kids’ parties to summer BBQs and even fancy dinner parties, these chocolate-coated bananas are always a crowd-pleaser. I love them because they’re nostalgic, fun, and always put a smile on everyone’s face.
- Totally Customizable: While they’re delicious on their own, banana pops are a blank canvas for your favorite toppings and mix-ins. Go classic with chopped nuts or get creative with crushed cookies, shredded coconut, or even a drizzle of caramel or peanut butter!
- Allergy-Friendly Treat: These gluten-free and dairy-free chocolate banana pops mean no one has to miss out.
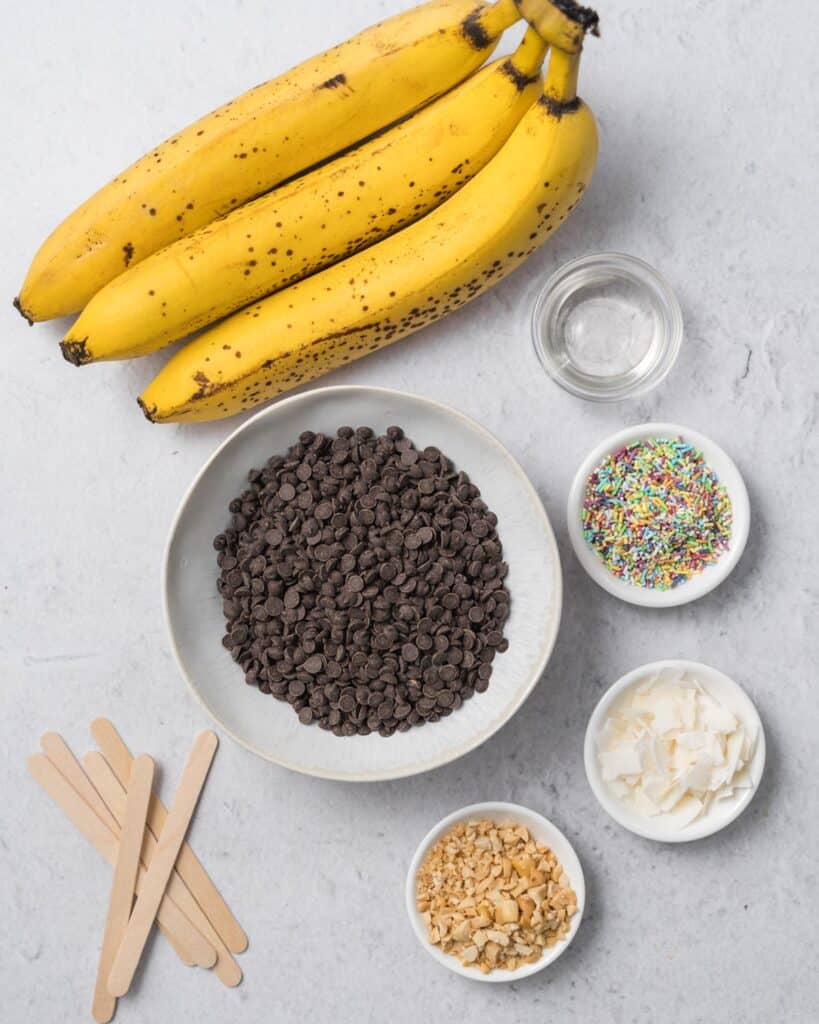
Ingredients Needed
Making these irresistible chocolate-covered banana pops is a breeze with just a handful of simple ingredients. Here’s what you’ll need:
- Bananas: The star of the show! Ripe but still firm bananas work best for these frozen treats because they’ll be easy to coat and hold their shape.
- Chocolate Chips: You can’t have chocolate-coated banana pops without the chocolate! Go for high-quality dark, semisweet, or even sugar-free chocolate chips. For a dairy-free option, use dairy-free chocolate chips.
- Coconut Oil: Just a touch of this helps create a silky smooth chocolate coating when melted with the chips.
- Toppings: Show off your creativity with fun toppings like chopped nuts, shredded coconut, sprinkles, crushed cookies, or candies. The options are endless!
- Popsicle Sticks: These will help you dip and coat the banana pieces easily without making a mess.
HOW TO MAKE BANANA POPS
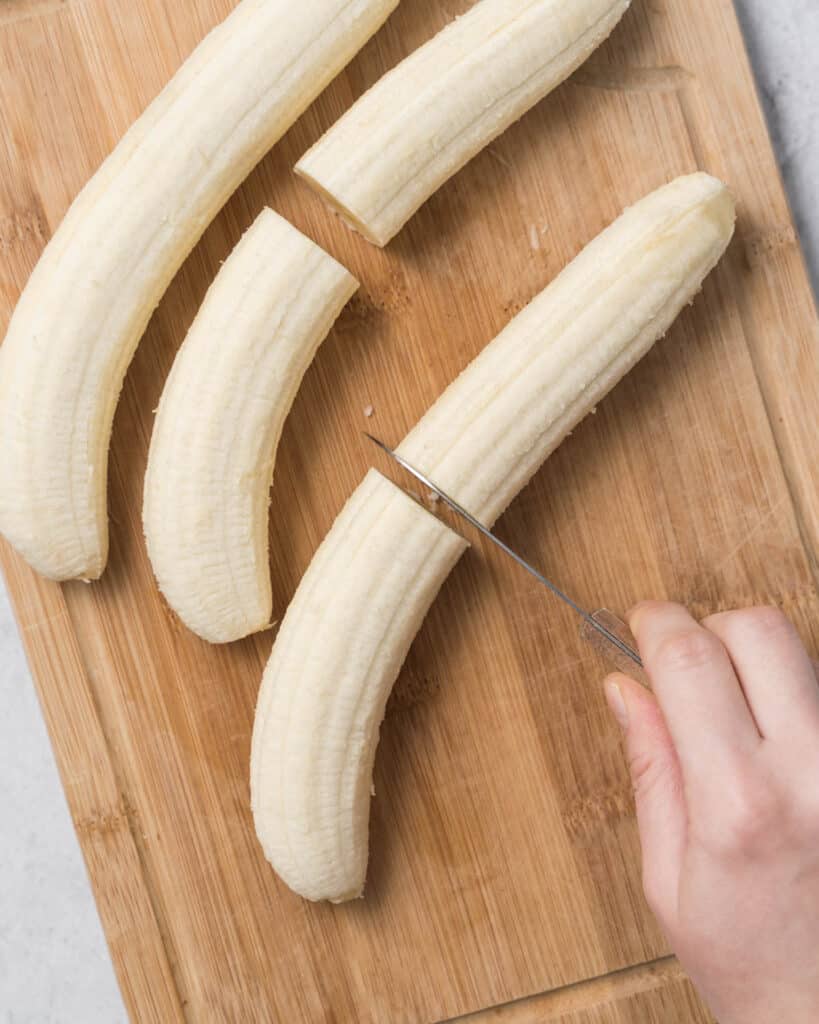
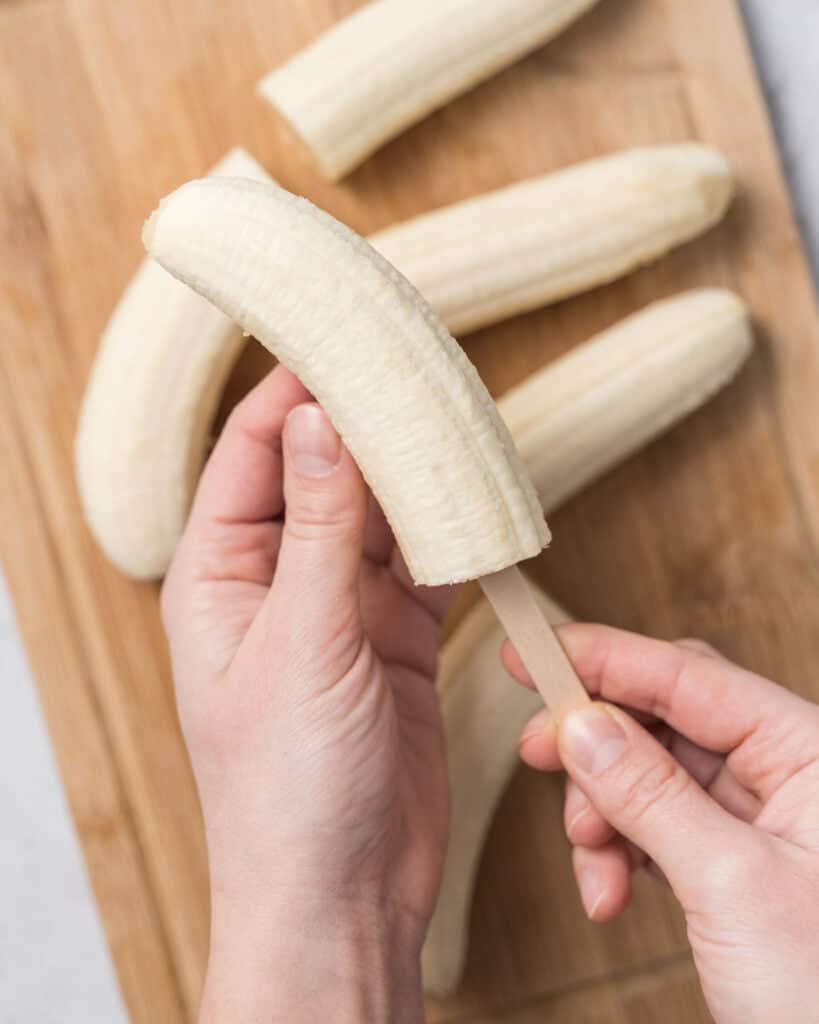
Prep the Bananas: Start by peeling 3 ripe but firm bananas. Cut each banana exactly in half crosswise to create 6 equal pieces. Carefully insert a popsicle stick into the flat end of each banana half.
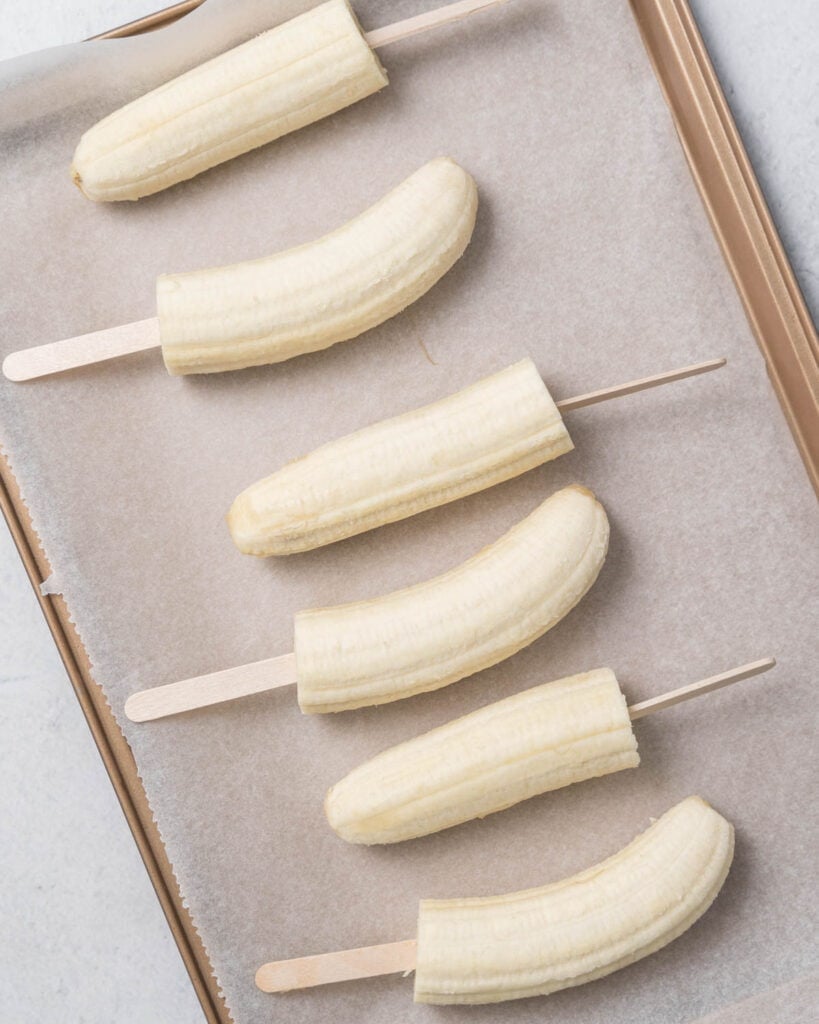
Freeze the Bananas: Line a baking sheet with parchment or wax paper. Arrange the banana pops in a single layer on the prepared baking sheet. Place the sheet in the freezer and freeze for 1 hour until very firm.
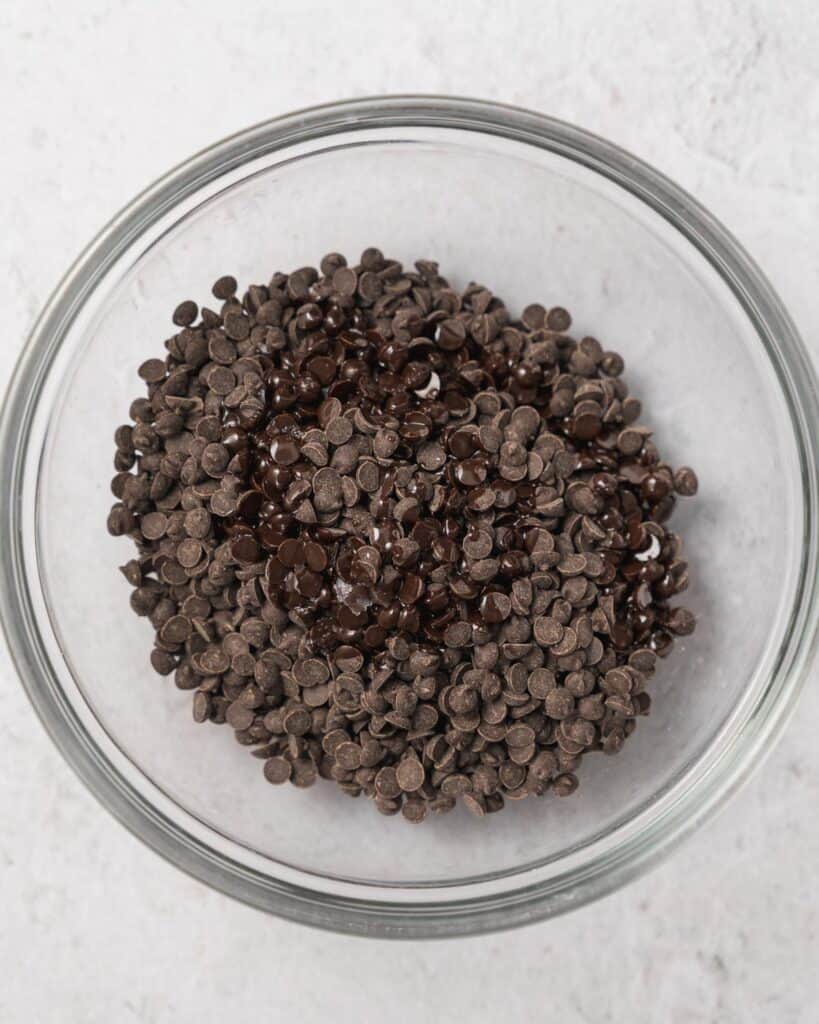
Melt the Chocolate Coating: Shortly before the 1-hour freeze time is up, melt the chocolate chips and coconut oil together. In a microwave-safe bowl, combine 1 cup of chocolate chips with 1 tablespoon of coconut oil. Microwave in 20-second intervals, stirring frequently, until completely melted and smooth.
Prep Your Toppings: While the chocolate melts, get your desired toppings ready. Some delicious options are chopped nuts, shredded coconut, sprinkles, crushed cookies, or candies.
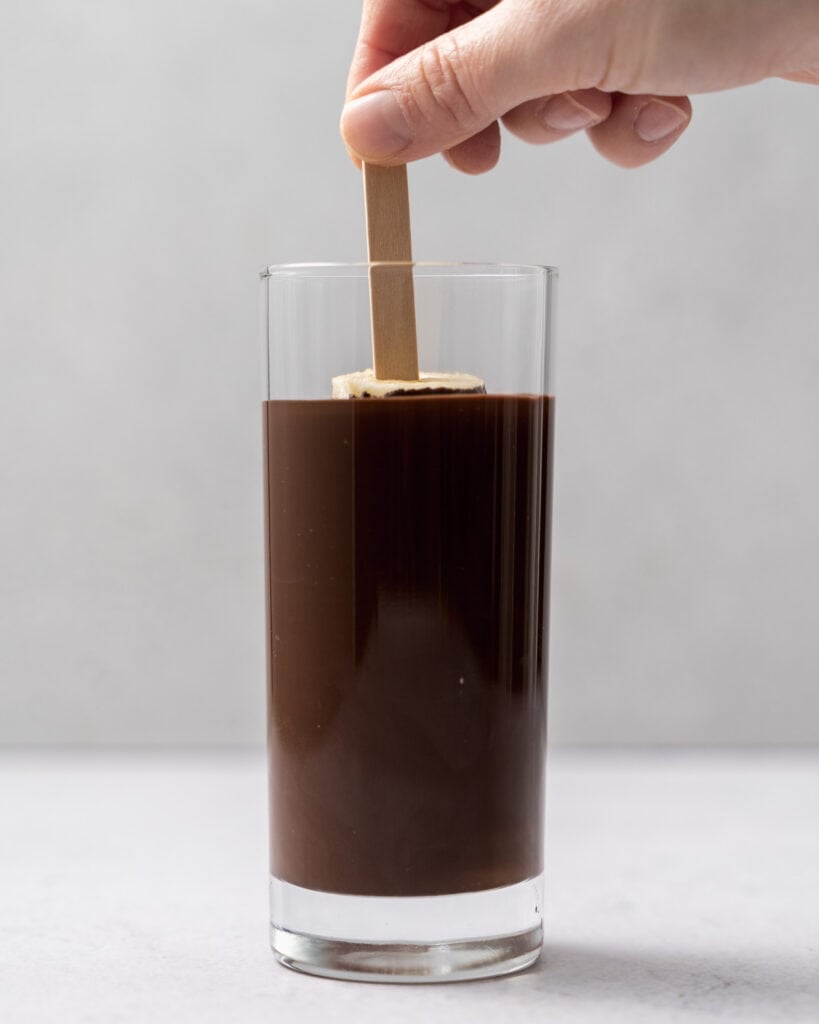
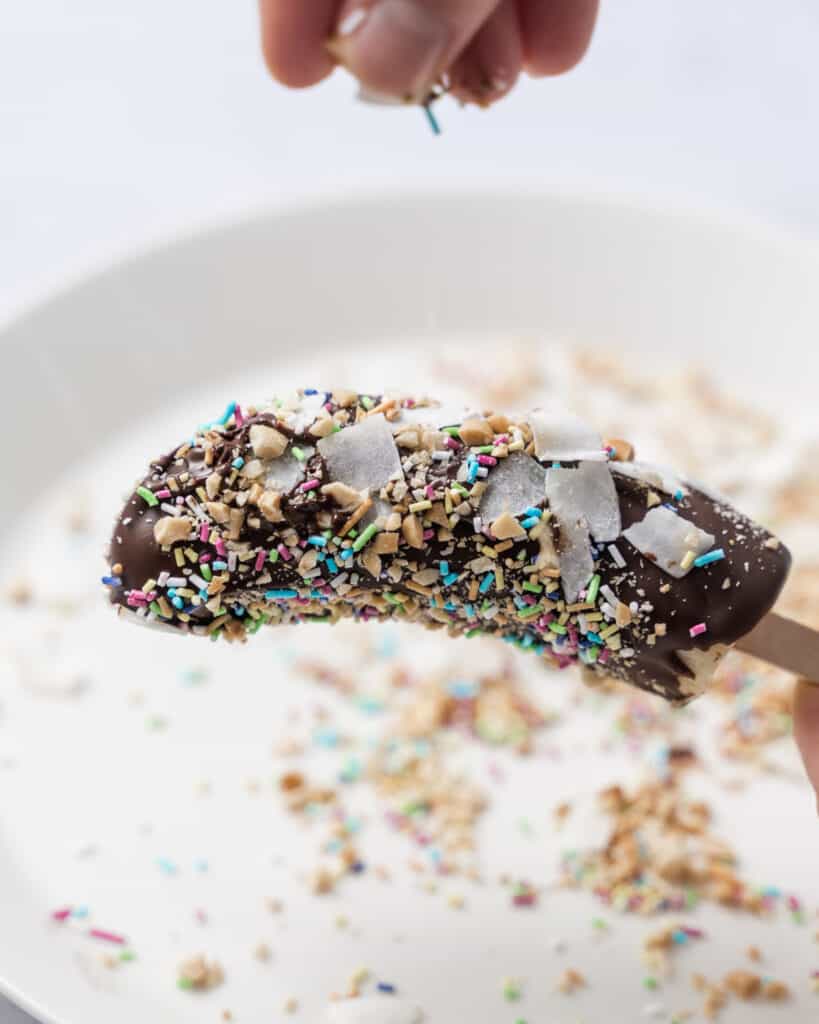
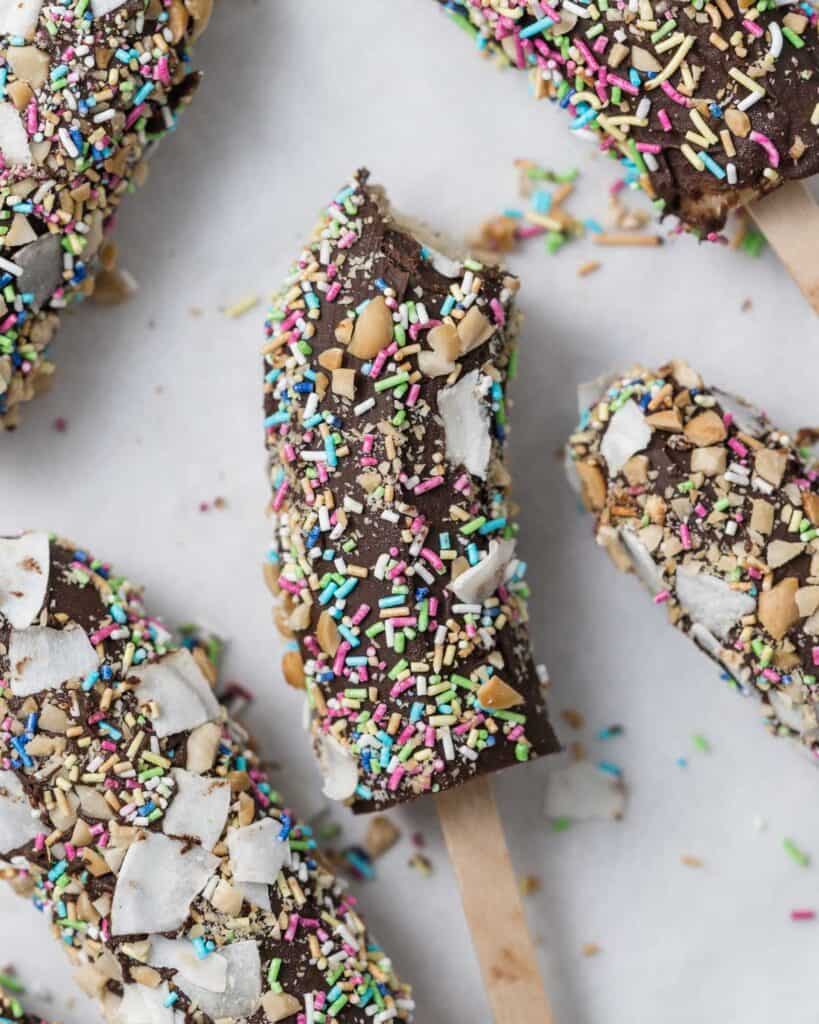
Coat the Banana Pops: Remove the frozen bananas from the freezer. Working quickly, dip and roll each frozen banana pop into the melted chocolate until fully coated. Allow any excess chocolate to drip off before immediately sprinkling or rolling in your chosen toppings.
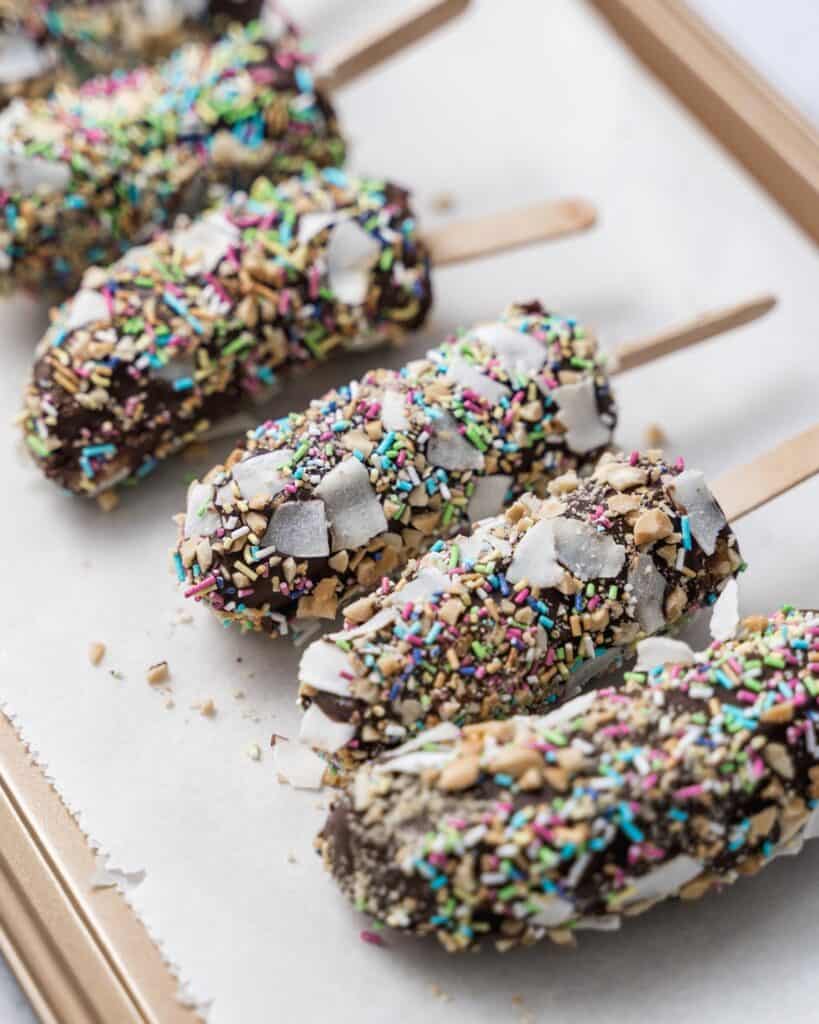
Freeze Until Set: Return the coated banana pops to the parchment-lined baking sheet. Once all pops are coated, place them back in the freezer for 20-30 minutes to allow the chocolate coating to completely set.
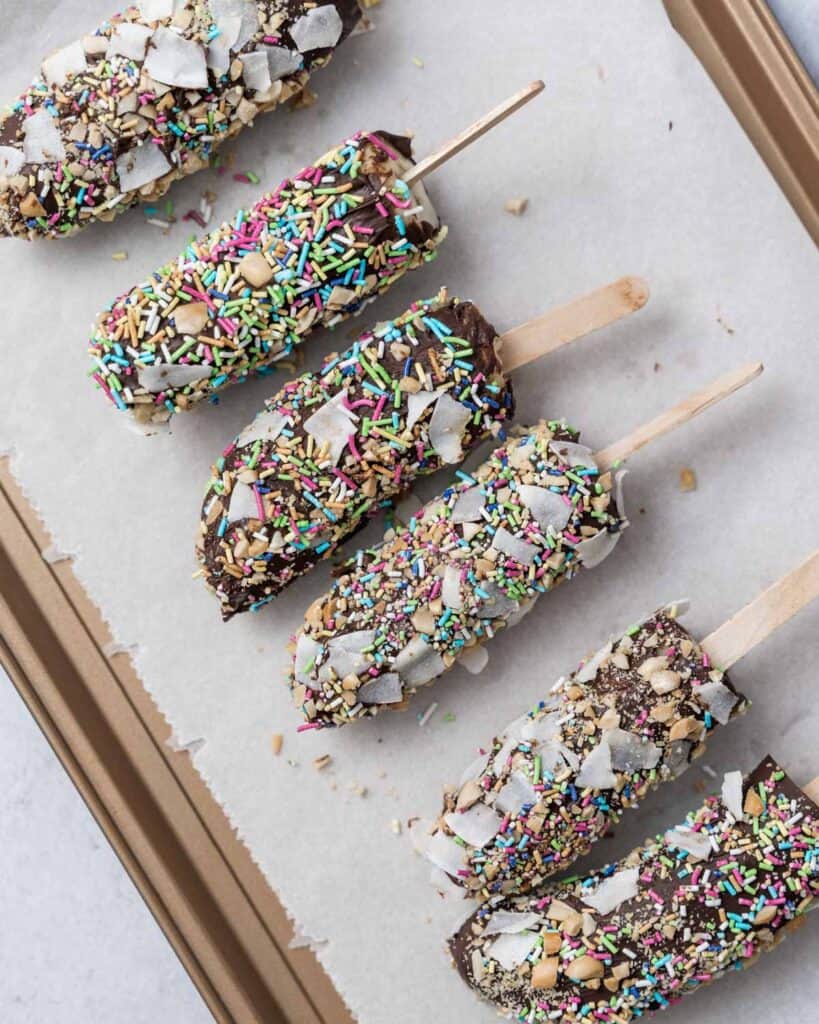
Enjoy! Once the chocolate has hardened, these chocolate-covered banana pops are ready to enjoy! For best texture, allow them to sit at room temperature for 5 minutes before digging in.
Expert Tips
- Work Quickly When Coating: Once the bananas are frozen and the chocolate is melted, work quickly to coat the banana pops. The chocolate can start to set and thicken if it cools too much.
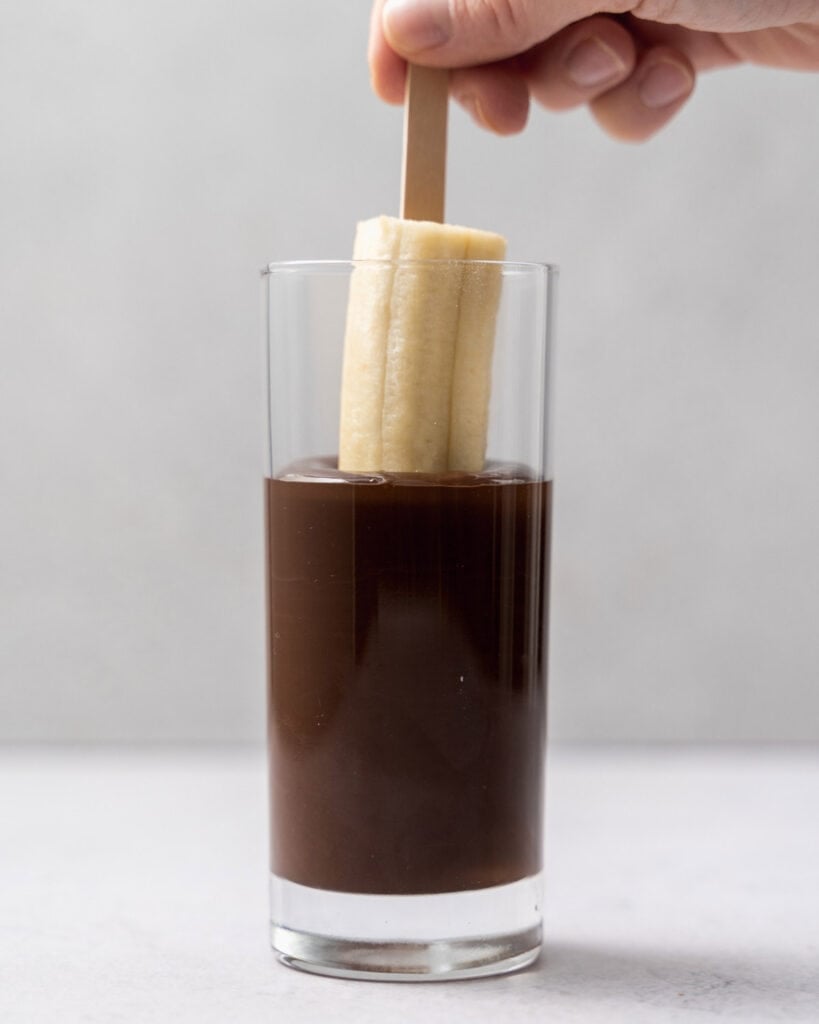
- Use a Tall Glass for Dipping: Pour the melted chocolate coating into a tall glass or jar. This will make it easier to fully submerge the banana pops for an even coating.
- Tap Off Excess Chocolate: After dipping each banana pop in the chocolate, gently tap and roll it to allow any excess coating to drip off before adding toppings. This prevents pools of chocolate.
- Have Toppings Ready: Prepare your chosen toppings like chopped nuts, sprinkles, etc., and have them nearby. You’ll want to coat the banana pops right after dipping them in the chocolate before they set.
- Use Parchment for Easy Release: Line your baking sheet with parchment or wax paper. This will prevent the chocolate-coated pops from sticking as they set in the freezer.
- Allow to Temper Before Serving: For the perfect texture, let the frozen banana pops sit at room temperature for 5 minutes before eating. This softens the chocolate coating slightly.
Frequently Asked Questions
Absolutely! While chocolate chips are convenient, you can use any type of chocolate you prefer for coating the banana pops. Good options include chopped baking chocolate, chocolate melting wafers, or even melted chocolate bars or baking squares. Just be sure to adjust the amount of coconut oil if needed to get a smooth, dippable consistency.
For a dressier banana pop, try drizzling with an extra coating of melted chocolate, caramel, or even white chocolate after the initial dipping. You can also roll them in finely chopped nuts, cookie crumbs, or colorful sprinkles. Getting creative with unique toppings makes them look gourmet!
If your frozen banana tastes bitter its because it is underripe and somewhat on the raw side. Make sure bananas are ripe but firm when making banana popsicles.
Storing Chocolate-Covered Banana Pops
These frozen chocolate banana treats are best enjoyed fresh, but you can certainly make them ahead if needed! Here are some tips for proper storage:
- Refrigerating: The chocolate coating will start to get soft and messy at room temperature. For the best texture, do not refrigerate uncoated banana pops – only freeze them.
- Freezing Uncoated: If making the banana pops in advance, freeze the bare banana halves on a parchment-lined baking sheet until solid, about 1 hour. Then transfer to an airtight freezer bag or container and freeze for up to 2 weeks before coating with chocolate.
- Freezing After Coating: Once fully coated and the chocolate has set, the assembled chocolate-covered banana pops can be stored in an airtight freezer-safe container or ziplock bag. Lay them flat in a single layer. They will keep well for up to 2 weeks.
More Healthy Chocolate Recipes
- Chocolate Waffles
- Chocolate Zucchini Muffins
- Almond flour Chocolate Cookies
- Hot Chocolate Oatmeal Bowl
- Chocolate Keto Brownies
- Keto Chocolate Chip Cookies
- Chocolate Chip Pumpkin Muffins
If you try a recipe and you like it, leave us some feedback in the comment section below, and don’t forget to rate it! We would love it if you shared it with friends and family.
Finally, please use our hashtag #healthyfitnessmeals on INSTAGRAM for a chance to be featured! FOLLOW Healthy Fitness Meals on FACEBOOK | INSTAGRAM | PINTEREST | TWITTER for all of our latest blog posts and recipes.
Chocolate Covered Banana Pops
Ingredients
- 3 ripe bananas, firm not soft
- 1 cup dark chocolate chips, (semisweet chocolate chips or sugar-free works)
- 1 Tablespoon coconut oil
- 2 tbsp coconut flakes
- 2 tbsp chopped roasted peanuts
- 2 tbsp sprinkles
- 6 Popsicle sticks
Instructions
- Peel the bananas and cut them in half right in the middle.
- Carefully insert a popsicle stick into each of the banana halves. Place them over a sheet pan that’s lined up with wax paper.
- Next, Place the sheet pan with the bananas in the freezer and freeze for an hour.
- Right before the one-hour mark, start melting the chocolate.
- To melt the chocolate, in a medium microwave-safe bowl, add the chocolate chips along with the coconut oil. Give it a quick toss.
- Microwave the chocolate chips in 20-second increments, until the chocolate is melted through and smooth.
- Pour the melted chocolate into a tall/thin glass cup and grab the frozen bananas from the freezer.
- Take each banana pop and carefully dip them one by one into the melted chocolate until they are fully coated. Remove from the chocolate and allow the excess melted chocolate to drip off the bananas back into the cup. (work at a fast pace *see note)
- Quickly sprinkle your toppings on each banana pop at this point before placing them back on the sheet pan.
- Place the sheet pan with the banana pops back in the freezer for another 20-30 minutes for the chocolate to set and the bananas to remain solid before serving. Enjoy!
Notes
- Work Quickly When Coating: Once the bananas are frozen and the chocolate is melted, work quickly to coat the banana pops. The chocolate can start to set and thicken if it cools too much.
- Use a Tall Glass for Dipping: Pour the melted chocolate coating into a tall glass or jar. This will make it easier to fully submerge the banana pops for an even coating.
- Tap Off Excess Chocolate: After dipping each banana pop in the chocolate, gently tap and roll it to allow any excess coating to drip off before adding toppings. This prevents pools of chocolate.
- Have Toppings Ready: Prepare your chosen toppings like chopped nuts, sprinkles, etc., and have them nearby. You’ll want to coat the banana pops right after dipping them in the chocolate before they set.
- Use Parchment for Easy Release: Line your baking sheet with parchment or wax paper. This will prevent the chocolate-coated pops from sticking as they set in the freezer.
- Allow to Temper Before Serving: For the perfect texture, let the frozen banana pops sit at room temperature for 5 minutes before eating. This softens the chocolate coating slightly.
Nutrition
Nutrition information is automatically calculated, so should only be used as an approximation.
Kids loved this. Thank