This post may contain affiliate links. Please read our disclosure policy.
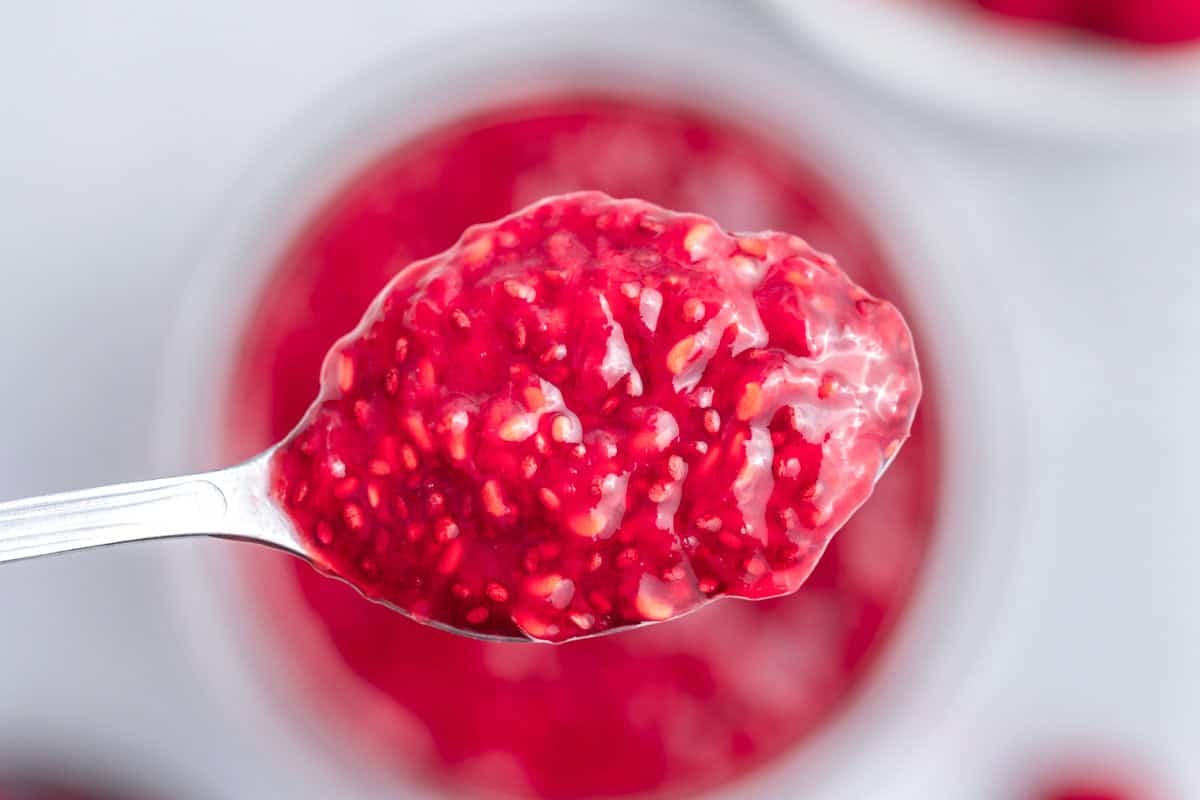
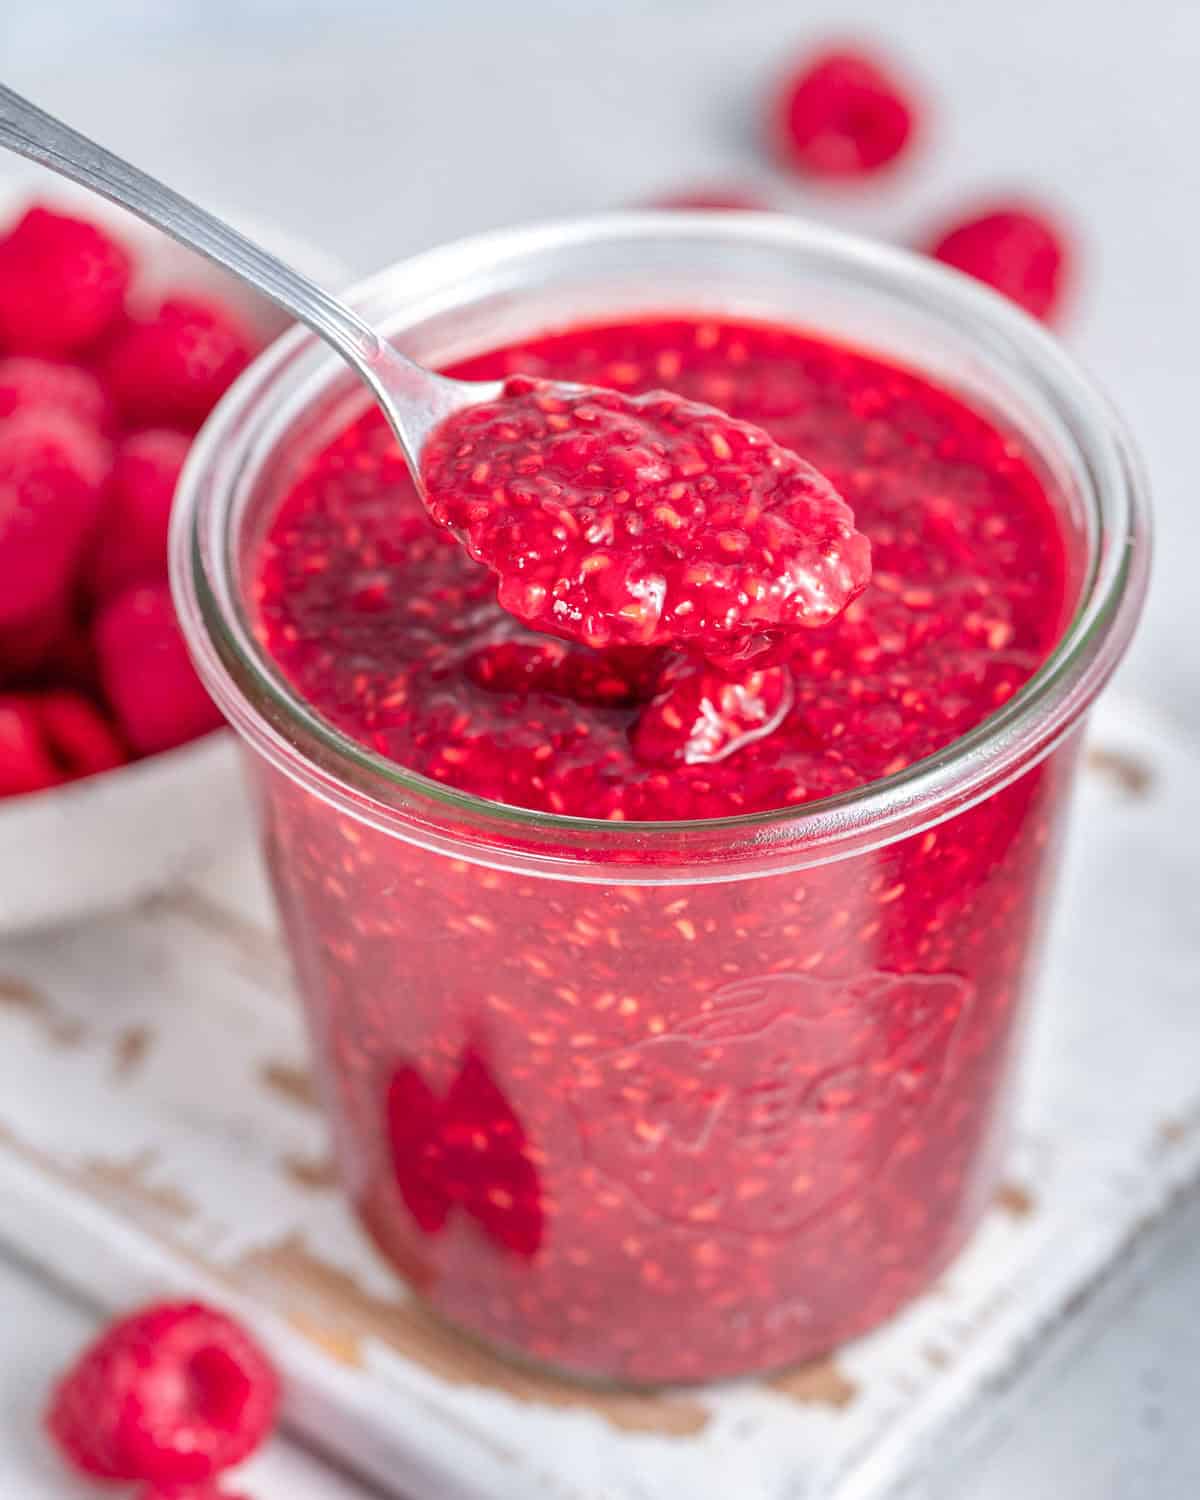
This simple, quick raspberry jam recipe uses chia seeds for added fiber and to help the jam thicken without pectin. It’s naturally sweetened with honey and balanced with fresh lemon juice plus vanilla.
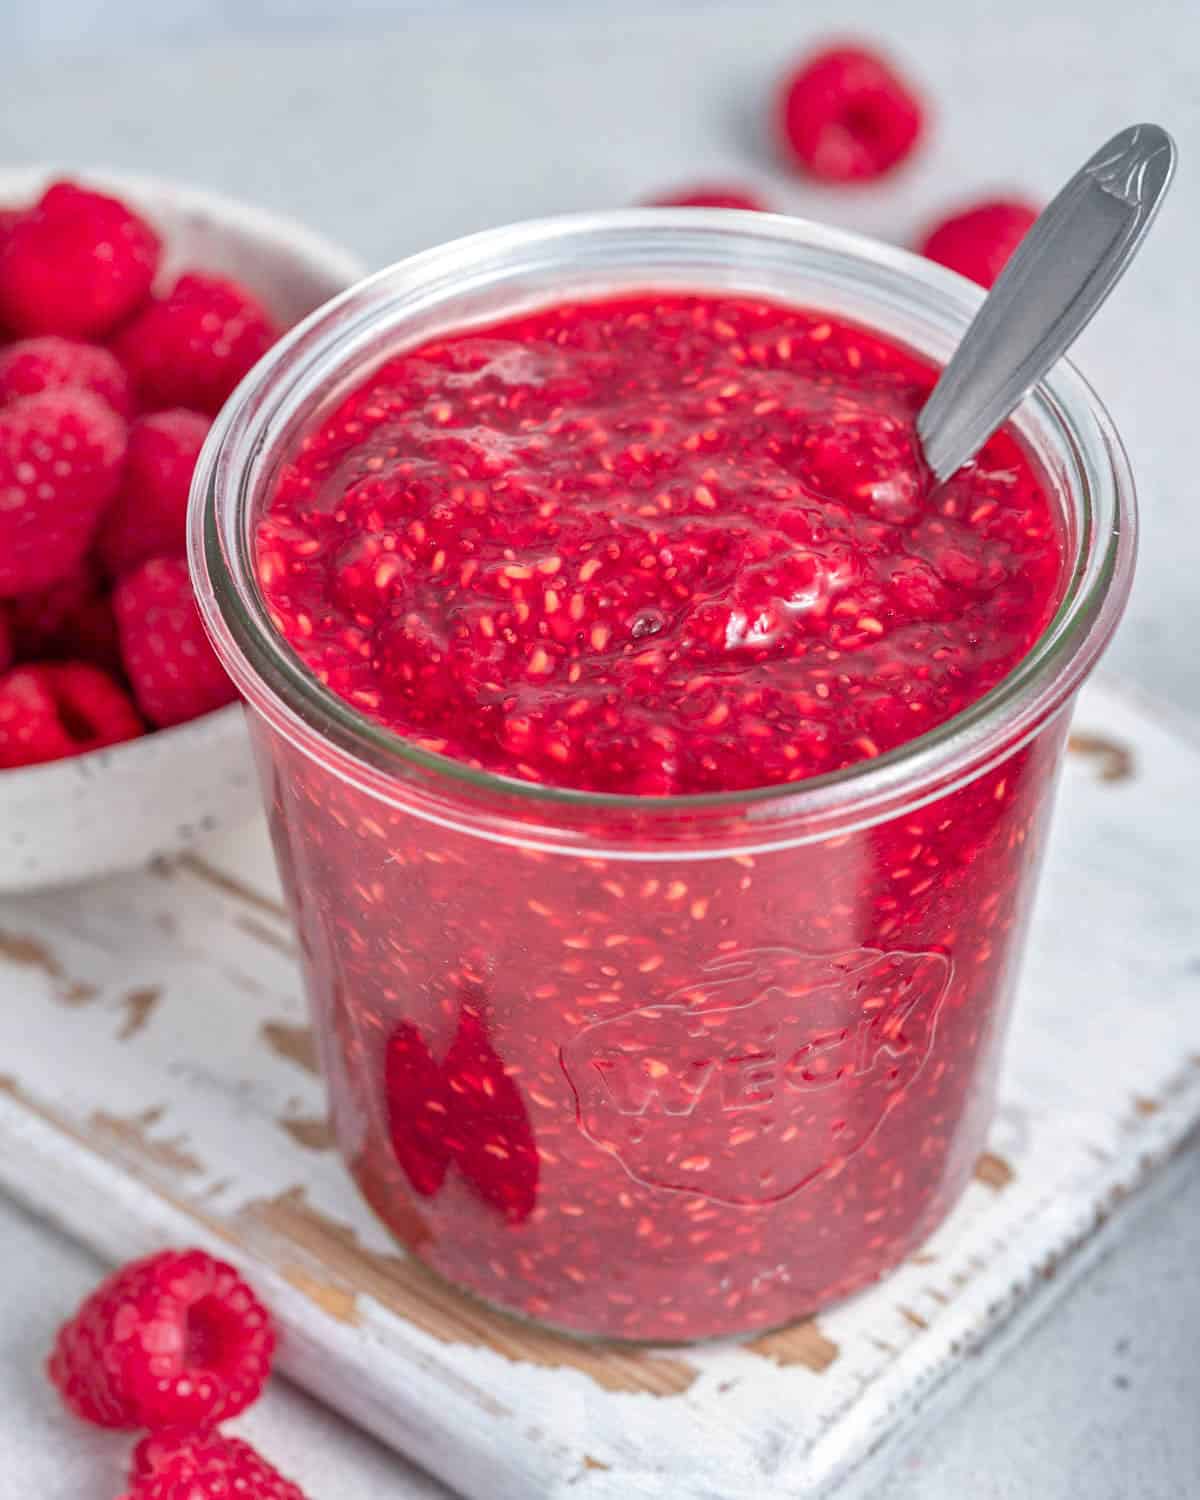
Recipe Overview
The idea of making jam from scratch may seem daunting, but this recipe is a breeze! Ready in just 20 minutes, with no candy thermometer or pectin, it’s so easy to make and will fill your kitchen with a delicious aroma. Spread onto homemade banana bread, swirl into overnight oats, or dollop on chia pudding for that fruity, sweet-tart taste.
A Few Key Ingredients
Below are the key ingredients you’ll need to make Raspberry Jam. The full quantities can be found in the recipe card further down the post.
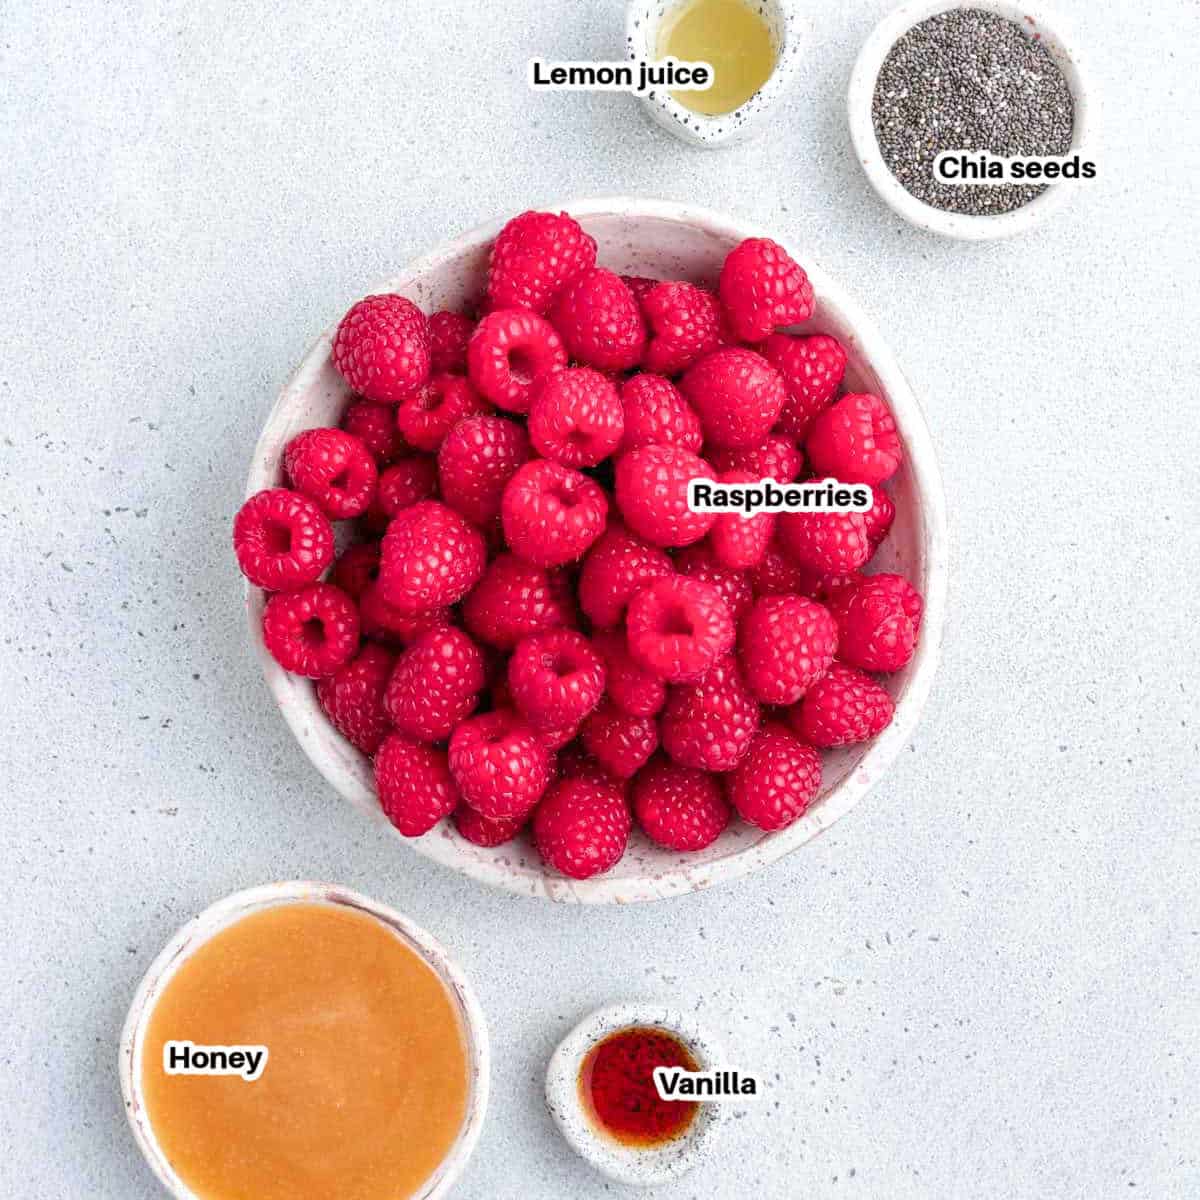
Raspberries: Use fresh or frozen here. Thaw frozen berries first; they release more liquid, so you may need to simmer slightly longer to thicken properly. Other fruits, such as blackberries, strawberries, or blueberries, can also be used for different jam flavors.
Honey: Naturally sweetens the jam. Maple syrup is a good alternative here (and makes the jam vegan), as is granulated sugar, if preferred.
Chia seeds: These swell and form a gel as they absorb liquid from the raspberries, thickening the jam.
Vanilla extract: Enhances the jam’s sweet flavor. This is optional, so you can leave it out if you don’t have any on hand.
Lemon juice: Balances the honey’s sweetness and helps the jam stay fresher longer.
Thickening Jam with Chia Seeds
Traditionally, jams are thickened with pectin, a fiber found in fruits. This can be pectin from the fruit itself or added powdered/liquid pectin to low-pectin fruits. Pectin can be a bit fussy to work with, as it requires certain conditions to set, such as reaching a certain temperature and having a low pH.
Chia seeds are a great alternative for thickening jams. They naturally swell when combined with liquid and create a gel. This not only makes the process less fussy, but also adds healthy fats and fiber to the jam.
How to Make Raspberry Jam
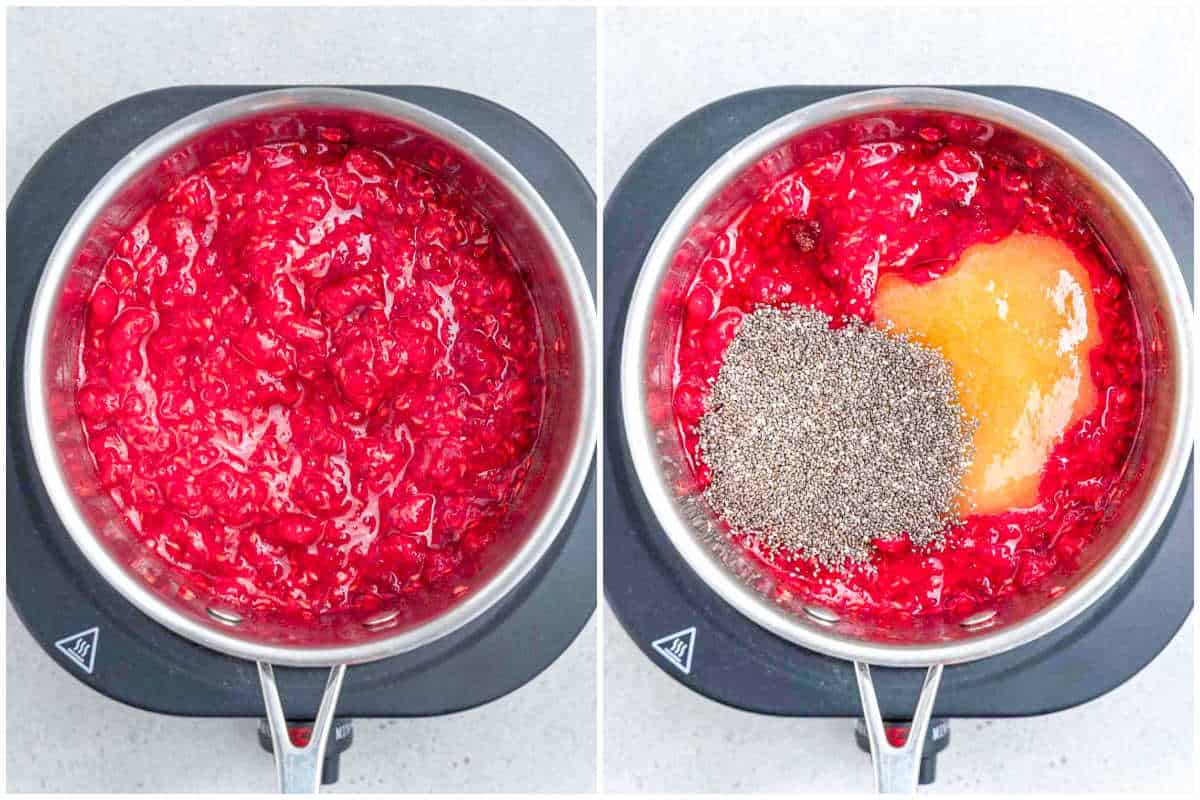
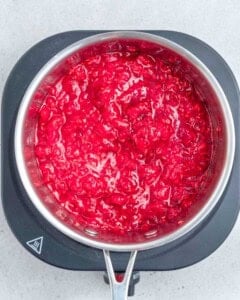
Step 1. Add the raspberries to a medium saucepan and gently mash them with a fork or potato masher.
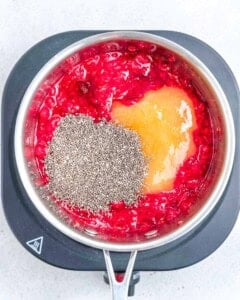
Step 2. Next, add the honey, chia, and vanilla, and bring it to a boil over medium heat. Simmer for about 6-8 minutes.
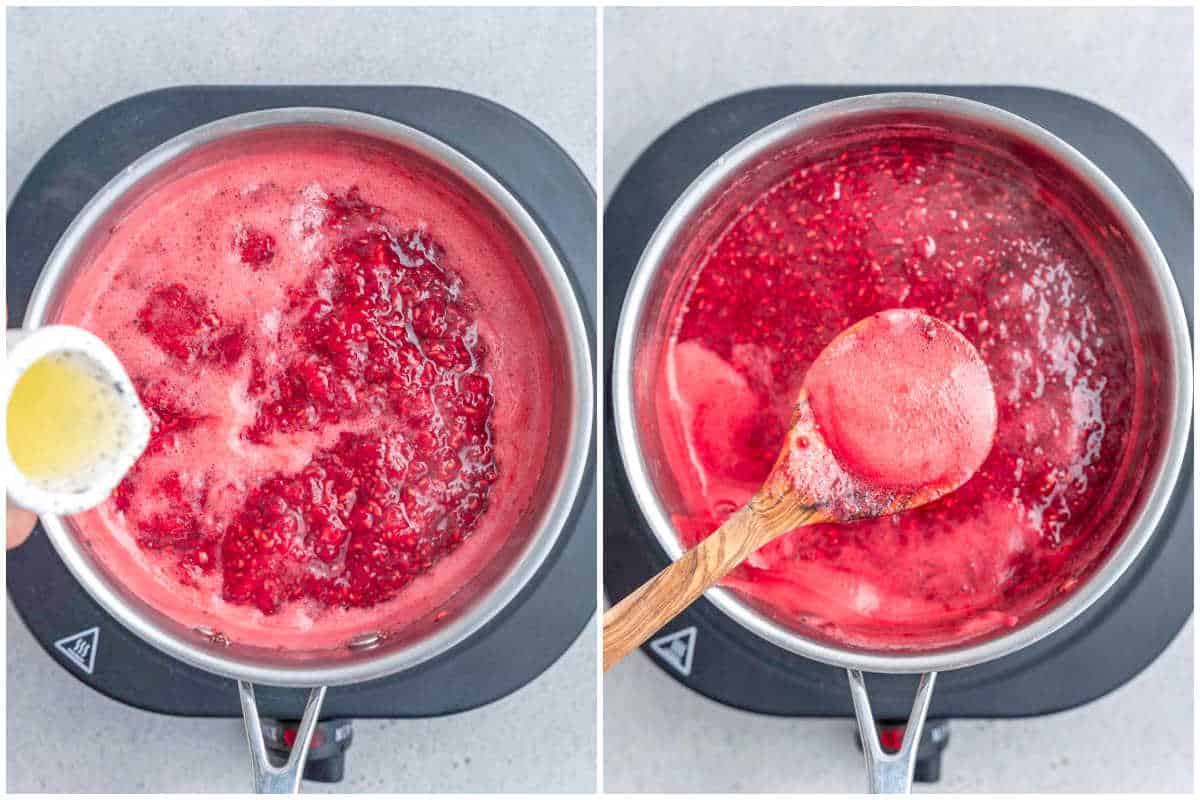
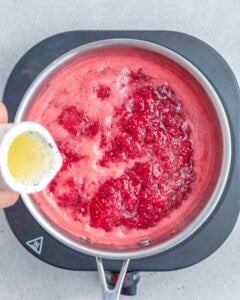
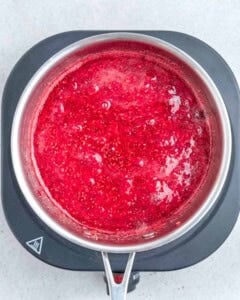
Step 3. Add the lemon juice, reduce the heat, and simmer for another 5 minutes, until it thickens. Scrape any froth that accumulates on the top of the jam or the side of the pan.
Step 4. Turn off the heat and let it sit for 5 minutes to cool.
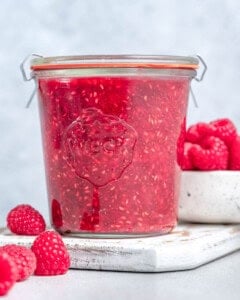
Step 5. Transfer the jam to an airtight container or jar. It will continue to absorb the chia and thicken more as it cools.
Step 6. Store in the fridge until ready to use.
What to Serve with Raspberry Jam
- Spoon over a stack of fluffy cottage cheese Pancakes or cottage cheese Waffles as a sweet topping.
- Swirl into a cozy bowl of cinnamon Oatmeal or blended Overnight Oats.
- Layer creamy Greek yogurt and chia pudding to make a breakfast parfait.
- Spread onto halved Chocolate Muffins, cottage cheese Bagels, or pumpkin Scones.
Recipe Notes
Storage: Store cooled jam in an airtight container in the fridge for up to 1 week.
Freezing: You can freeze the cooled jam in an airtight container for up to 3 months. Thaw overnight in the fridge or at room temperature for a few hours before using.
Sweetness: Some raspberries may taste tarter, so you might need to add a touch more honey or maple syrup to taste until you reach your preferred sweet-tart balance.
No chia seeds: If you’re not a fan of chia seeds, use 1 tbsp cornstarch mixed with 2 tbsp water to make a slurry, then add it to the jam with the lemon juice and simmer until thickened.
Questions I Get Asked a Lot
While sterilizing the storage jar helps extend the shelf life of this jam, it isn’t strictly necessary. The jam should keep in the fridge for up to 1 week, as long as you clean the jar with hot, soapy water and dry it before filling it with jam.
Yes, you can mash the raspberries with a potato masher and stir in the remaining ingredients. Place in a clean, airtight jar and let it sit in the fridge overnight to thicken. The jam won’t be as thick as the cooked version, but will have a gelled texture.
Yes, this recipe doesn’t contain sugar, but it’s sweetened with honey. You can omit the honey and sweeten the jam with a few drops of liquid stevia or monk fruit sweetener to taste. The resulting jam should last for up to 5 days in an airtight container in the fridge.
More Homemade Staples
- Homemade Sweet Chili Sauce
- Homemade Arrabiata Sauce
- Red Enchilada Sauce
- Bang Bang Sauce
- Homemade Pancake Mix
- Pickled Red Onions
- Date Paste
- Pistachio Cream
Thanks so much for being here and cooking along with me. If you try this recipe, I’d love to hear how it turned out. Leave a comment and a ⭐️ rating below.
Homemade Raspberry Jam
Ingredients
- 4 cups fresh raspberries, about 1 pound
- 1/3 cup honey or maple syrup, or ½ cup granulated sugar
- 2 tablespoons chia seeds
- 1 teaspoon vanilla extract
- 1 tablespoon lemon juice
Instructions
- Add the 4 cups fresh raspberries to a medium saucepan and, using a fork or potato masher, gently mash them.

- Next, add in the 1/3 cup honey or maple syrup, 2 tablespoons chia seeds, and 1 teaspoon vanilla extract and bring it to a boil over medium heat. Allow it to simmer and cook for about 6-8 minutes.
- Add the 1 tablespoon lemon juice, reduce the heat, and let it simmer for another 5 minutes until it starts to thicken. Scrape any froth that accumulates on the top of the jam or the side of the pan.
- Turn off the heat and let it sit for 5 minutes to cool.
- Transfer the jam to an airtight container or jar. It will continue to absorb the chia and thicken more as it cools. Store in the fridge until ready to use.
Notes
- Servings: 20
- Serving size: 2 tablespoons
- Yield: About 2½ cups
- Storage: Store cooled jam in an airtight container in the fridge for up to 1 week.
- Freezing: The cooled jam can be frozen in an airtight container for up to 3 months. Thaw overnight in the fridge, or at room temperature for a few hours, before using.
- Sweetness: Some raspberries may taste more tart, so you might need to add a touch more honey or maple syrup to taste, until you’re happy with the sweet-tart balance.
- No chia seeds: If you’re not a fan of chia seeds, you can use 1 tbsp cornstarch mixed with 2 tbsp water to make a slurry, then pour this into the jam along with the lemon juice and simmer until thickened.
Nutrition
Nutrition information is automatically calculated, so should only be used as an approximation.