
This post may contain affiliate links. Please read our disclosure policy.
This Sweet Potato Pie is so easy to make and perfect for Thanksgiving or any holiday gathering! It has a smooth, creamy filling made with roasted sweet potatoes, maple syrup, cinnamon, and nutmeg. You only need a few simple ingredients and a store-bought pie crust to make it.

If you love sweet potatoes as much as I do, you have to try this pie! I like roasting the sweet potatoes instead of boiling them because it brings out their natural sweetness and gives the filling more flavor. I also use maple syrup instead of regular sugar, and you really don’t need a long list of ingredients to make it taste good. It’s a great dessert to make ahead, especially when you have a lot of cooking to do for Thanksgiving.
You may also love my Sweet Potato Brownies and Sweet Potato Cookies.
Recipe Overview
Ingredients Needed
Here’s what you’ll need to make this Sweet Potato Pie Recipe. You’ll find the exact measurements listed in the recipe card further down below.
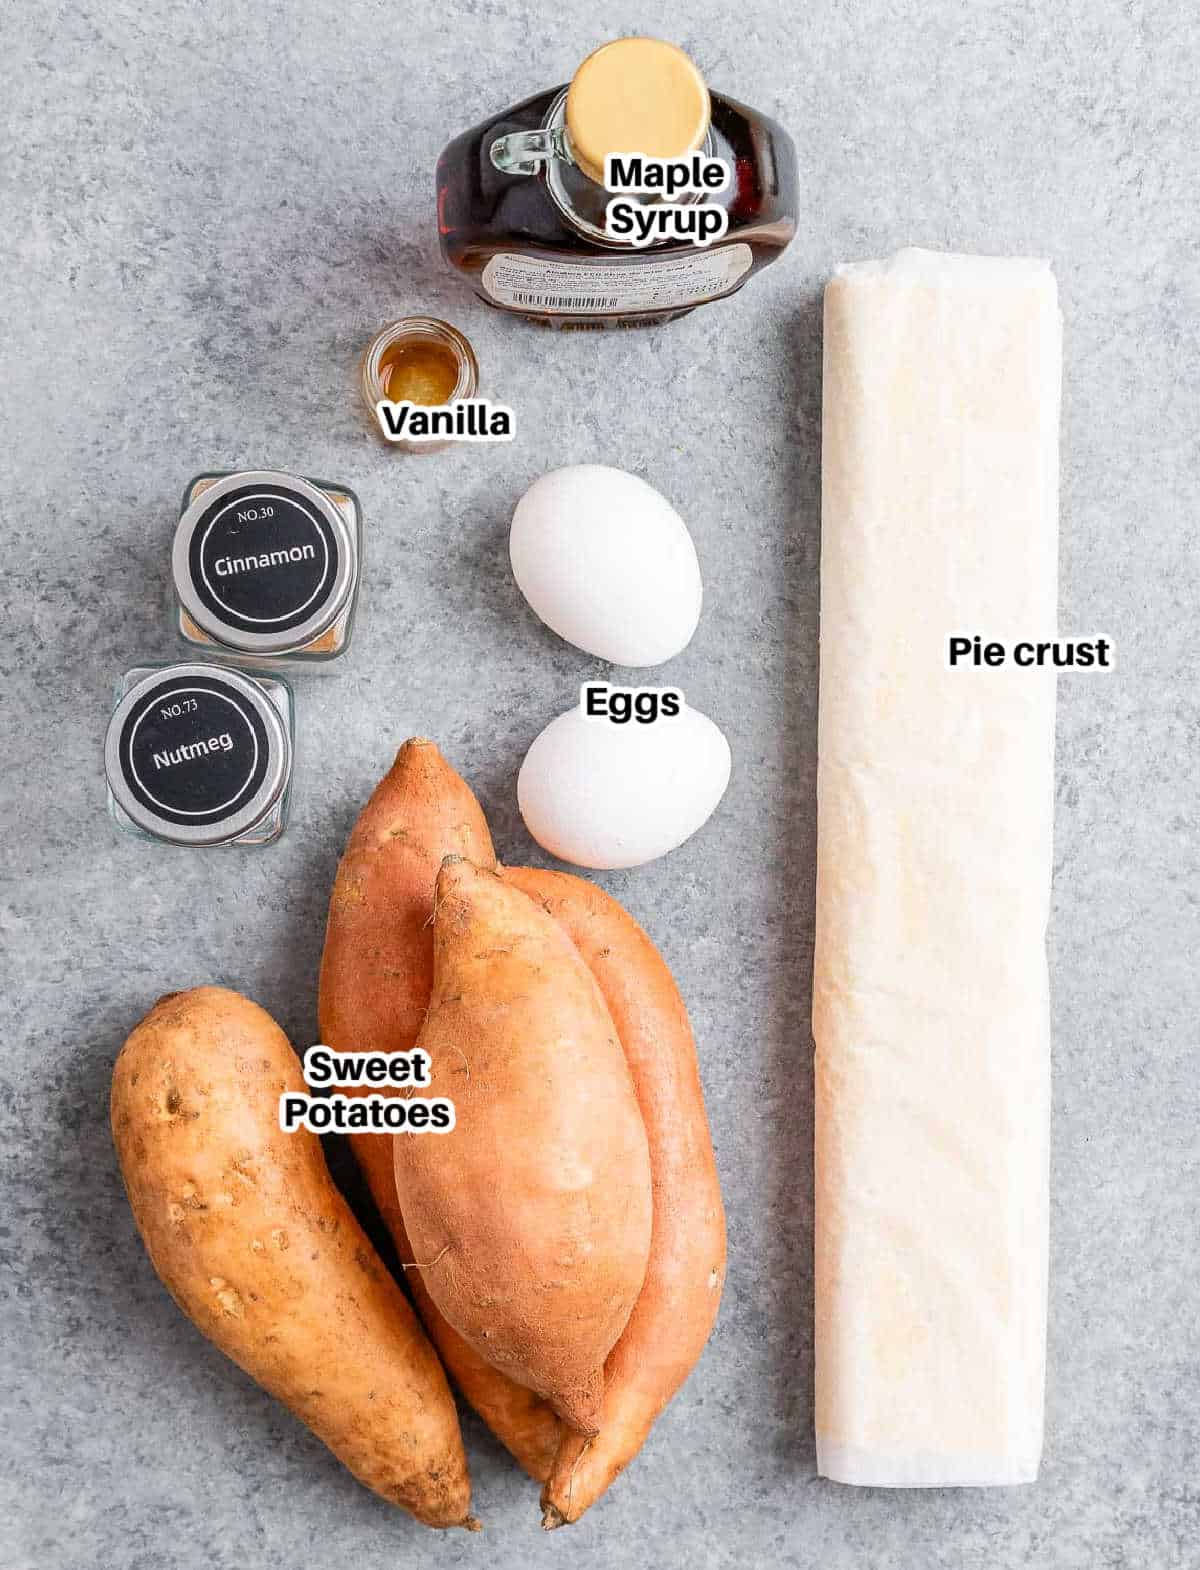
- Pie crust: I use a store-bought pie crust for convenience, but you can use a homemade one if you prefer.
- Sweet potatoes: Roasting them brings out their natural sweetness and gives the pie more flavor. You’ll need about 2 cups of mashed sweet potatoes.
- Eggs: Help the filling set so the pie holds together when sliced.
- Maple syrup: Sweetens the filling without needing granulated sugar.
- Vanilla extract: Adds a little extra flavor.
- Cinnamon and nutmeg: These two spices go so well with sweet potatoes and give the pie its classic flavor.
How to make Sweet Potato Pie
Here’s exactly how to make it come out just right:

Step 1: Preheat your oven to 375°F and position the rack in the center. Prick the sweet potatoes all over with a fork, place them on a baking sheet, and roast for about 40 minutes, until tender.
Step 2: While the potatoes bake, roll your pie crust into a 12-inch circle and fit it into a 10-inch pie dish. Fold the edges under and crimp them neatly with your fingers. Give it a quick fork-prick all over, then pop the crust into the fridge while you finish the filling.
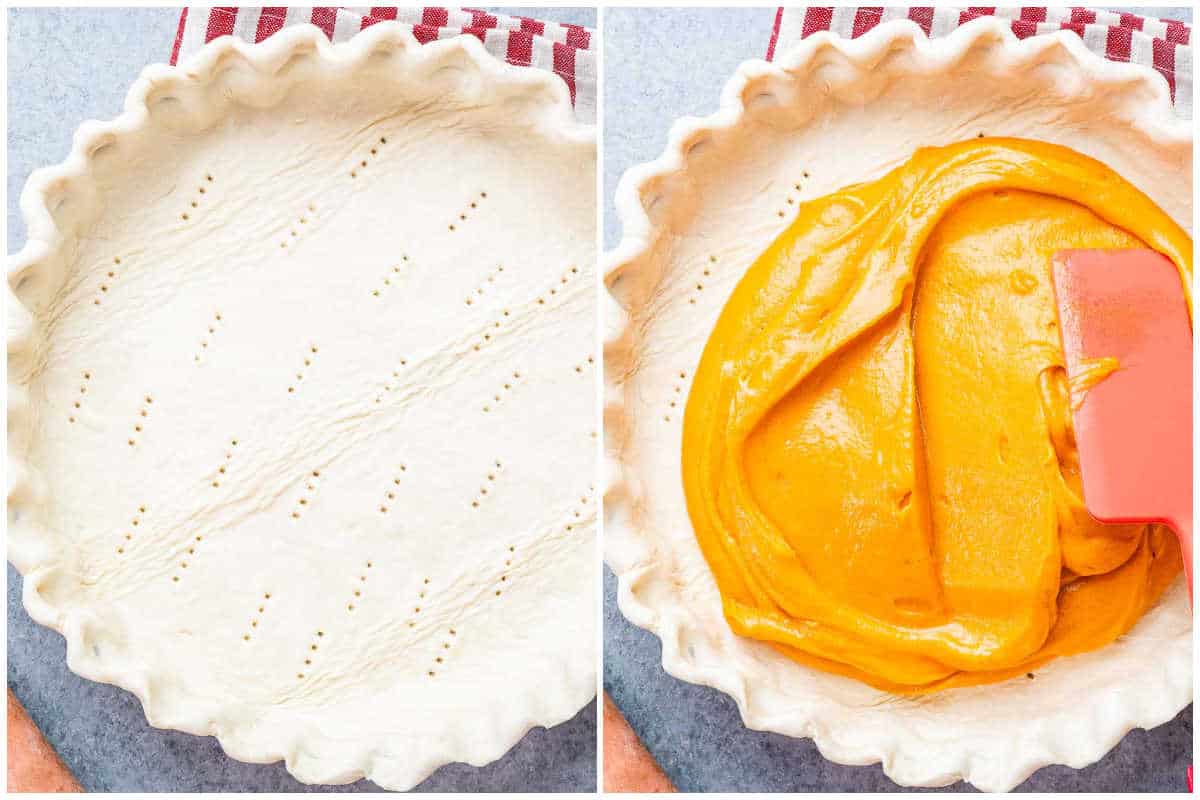
Step 3: Once the sweet potatoes are cooked, scoop out the flesh and discard the skins. Transfer to a food processor or blender and blend until smooth. Add in the eggs, maple syrup, vanilla, cinnamon, and nutmeg. Blend again until creamy and well combined.
Step 4: Pour the sweet potato filling into your chilled crust and use a spatula to spread it out evenly.
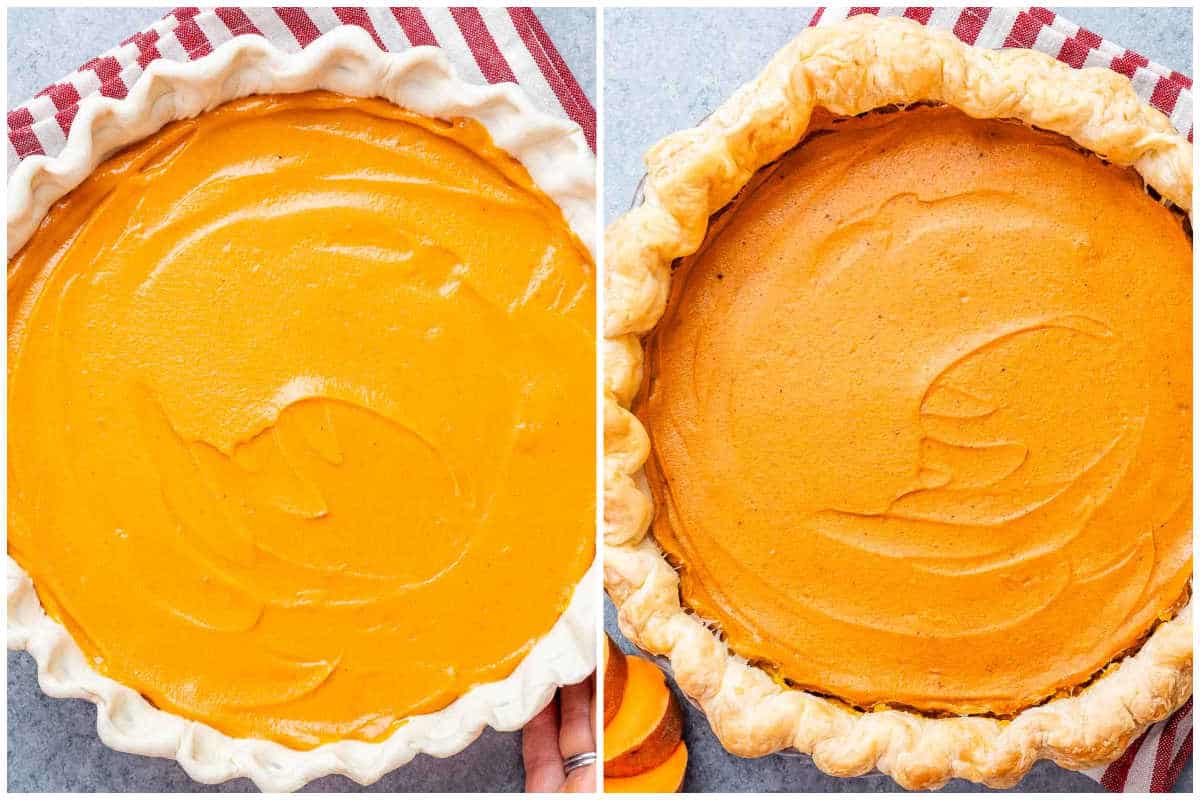
Step 5: Bake for 45 to 60 minutes, until the center is just set and the crust is lightly golden.
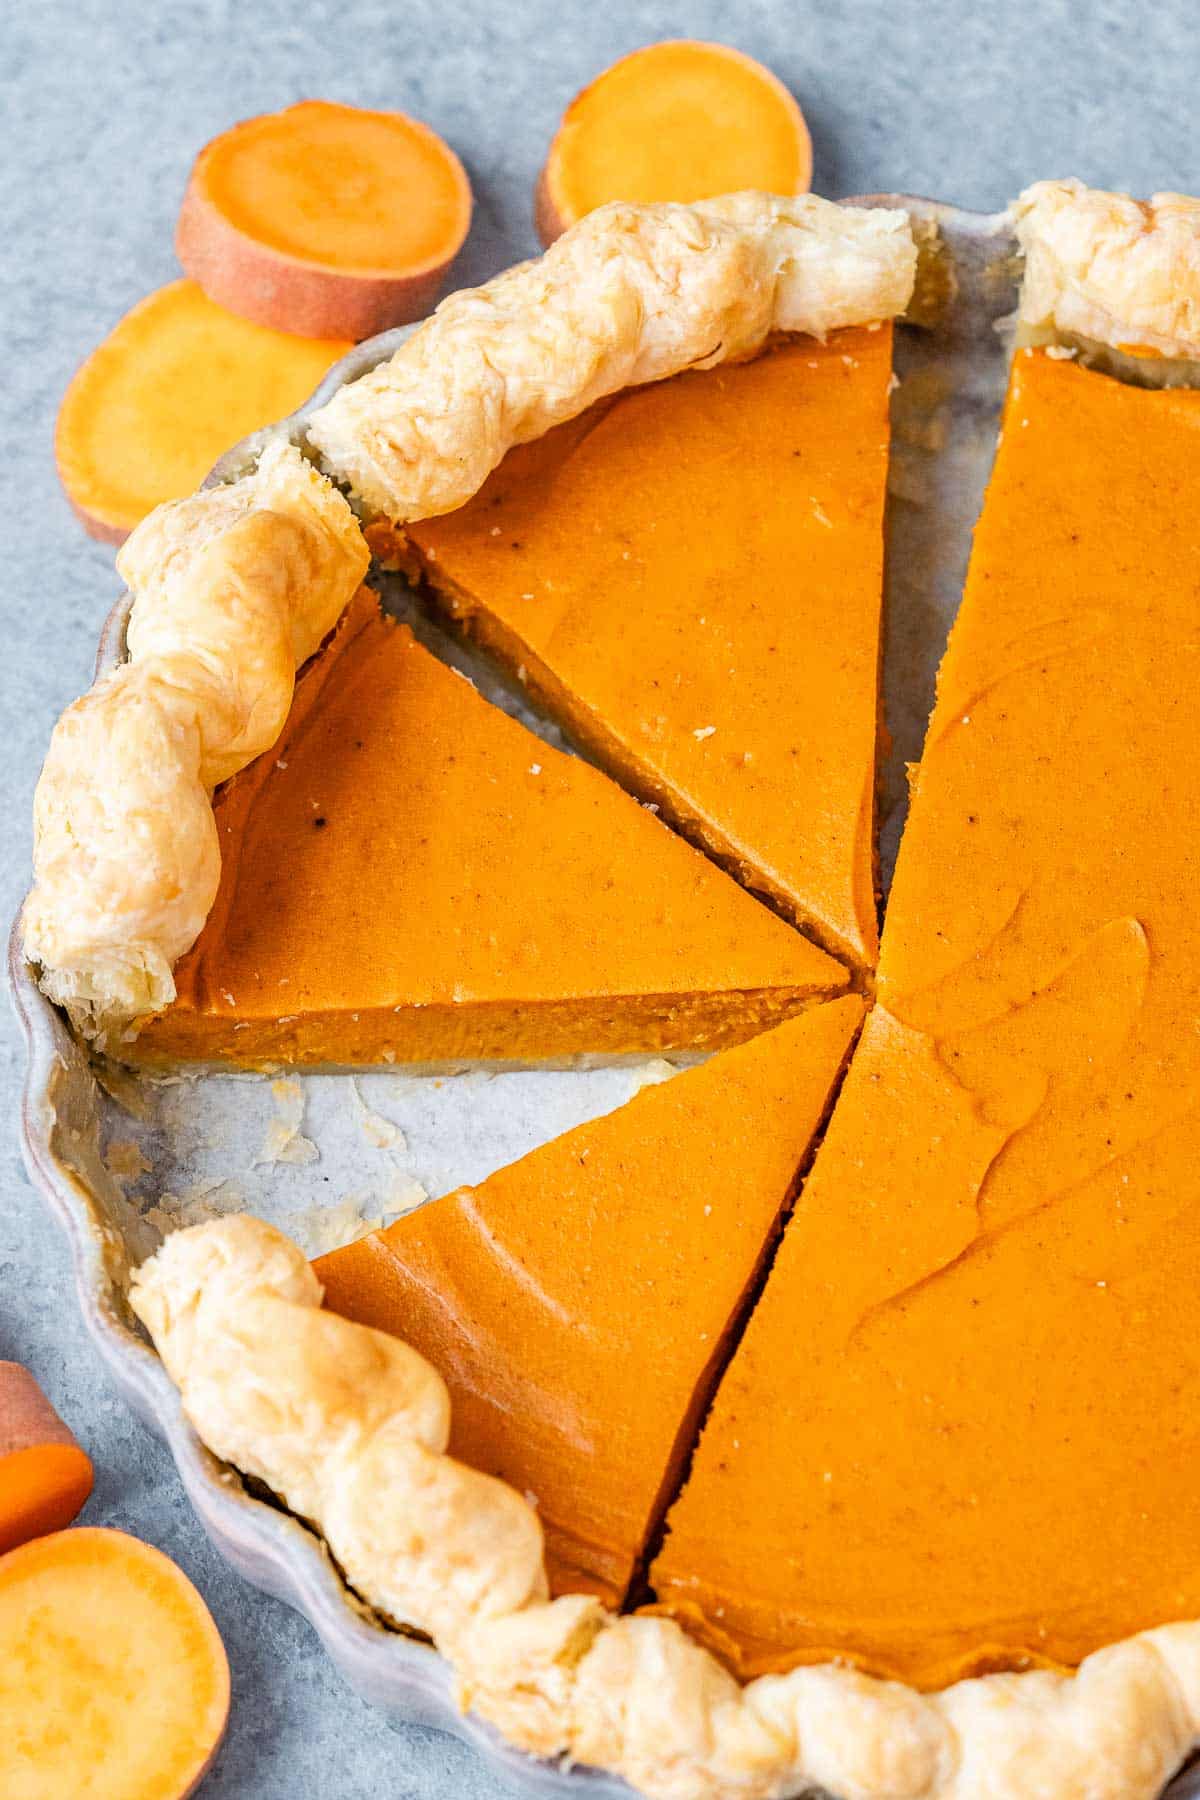
Step 6: Let the pie cool completely before slicing so it holds together nicely when served.
My Tips
- Roast the sweet potatoes until really soft: They should be easy to pierce with a fork. If they’re still firm, the filling won’t blend as smoothly.
- Measure the mashed sweet potatoes: You’ll need about 2 cups. Sweet potatoes come in different sizes, so measuring the cooked flesh is more reliable than going by the number of potatoes.
- Let the potatoes cool a little: You don’t want to add the eggs while the sweet potatoes are piping hot.
- Don’t overbake the pie: The edges should be set, and the center should still jiggle slightly when you gently move the pie dish. It will continue to firm up as it cools.
- Keep an eye on the crust: If the edges start getting too dark before the filling is ready, loosely cover them with foil or a pie crust shield.
- Let it cool before slicing: I know it’s tempting to cut into it right away, but letting the filling set will make clean slices much easier.
Can I Make Sweet Potato Pie Ahead of Time?
Yes! This is actually a great dessert to make ahead for Thanksgiving. You can bake the pie a day before you need it, let it cool, and keep it covered in the fridge until you’re ready to serve.
You can also roast the sweet potatoes a day or two ahead and keep them refrigerated. That way, you just need to prepare the filling and bake the pie.
Common Questions
You can if you’re really short on time, but I’ll be honest, fresh roasted sweet potatoes make a big difference. They give the pie a richer flavor and a smoother texture that canned ones just can’t match. If you do use canned, make sure to drain them really well so the filling doesn’t turn out watery.
I usually go for a simple store-bought crust because it saves time and still turns out flaky and golden. If you love making your own, a classic buttery pie crust works beautifully, too.
It’ll stay fresh for about 4 days; just cover it tightly and pop it in the fridge.
Yes, and it freezes beautifully. Once it’s completely cool, wrap it well in plastic wrap and foil, then freeze for up to 3 months. Thaw overnight in the fridge before serving.
Yes. If boiling, drain them thoroughly and let them sit for a few minutes so you get rid of any excess moisture. Pat dry with a paper towel if needed. Boiling gives a lighter, milder taste to the sweet potato pie. To boost the flavor, add a touch of brown sugar to the filling.
The edges of the filling should look set, but the center can still have a slight jiggle. If the middle looks wet or moves like liquid, it needs more time in the oven. The pie will continue to firm up as it cools
The pie may need more baking time, or the sweet potatoes may have had too much moisture. Make sure the potatoes are fully cooked, measure out 2 cups of the flesh, and let the pie cool completely before slicing.
More fall-inspired bakes
- Pumpkin Banana Bread
- Easy Oatmeal Apple Crumble
- Cinnamon Roll Cake
- Pumpkin Pound Cake (Moist & Flavorful)
- Apple Cinnamon Bread
- Chocolate Chip Pumpkin Bar Recipe
- Easy Apple Cinnamon Muffins
You May Also Like
- Healthy Pecan Pie Bars
- Healthy Pumpkin Pie
- Cottage Cheese Icecream
- Pineapple Upside Down Cake
- Cornbread Muffins
Thanks for stopping by. If you try a recipe and you like it, leave me some feedback in the comments section below, and don’t forget to rate it!
Sweet Potato Pie Recipe

Ingredients
- 1 store-bought pie crust, chilled
- 1½ pound sweet potatoes, about 2 cups mashed
- 2 large eggs, beaten
- ⅔ cup maple syrup, or honey
- 2 teaspoons vanilla extract
- 2 teaspoons ground cinnamon
- ½ teaspoon ground nutmeg
Instructions
- Preheat your oven to 375°F and position the rack in the center. Prick the s1½ pound sweet potatoes all over with a fork, place them on a baking sheet, and roast for about 40 minutes, until tender.

- While the potatoes bake, roll your 1 store-bought pie crust into a 12-inch circle and fit it into a 10-inch pie dish. Fold the edges under and crimp them neatly with your fingers. Give it a quick fork-prick all over, then pop the crust into the fridge while you finish the filling.
- Once the sweet potatoes are cooked, scoop out the flesh and discard the skins. Transfer to a food processor or blender and blend until smooth. Add in the 2 large eggs, ⅔ cup maple syrup, 2 teaspoons vanilla extract, 2 teaspoons ground cinnamon, and ½ teaspoon ground nutmeg. Blend again until creamy and well combined.
- Pour the sweet potato filling into your chilled crust and use a spatula to spread it out evenly.
- Bake for 45 to 60 minutes, until the center is just set and the crust is lightly golden.
- Let the pie cool completely before slicing so it holds together nicely when served.





Notes
- If using a 9-inch pie dish: Start checking at 50 minutes, but it may need 55 to 70 minutes.
- Sweet potatoes: Roast until very soft, then measure out 2 cups of the cooked flesh for the filling.
- Pie crust: Keep the crust chilled until you’re ready to add the filling. If the edges brown too quickly, cover them loosely with foil.
- Baking: The pie is ready when the edges are set, and the center has a slight jiggle.
- Cooling: Let the pie cool completely before slicing. Refrigerate within 2 hours of removing it from the oven.
- Make ahead: Bake the pie a day ahead and refrigerate until ready to serve.
- Storage: Keep covered in the refrigerator for up to 4 days.
- Freezing: Wrap tightly and freeze for up to 3 months. Thaw overnight in the refrigerator.
Nutrition
Nutrition information is automatically calculated, so should only be used as an approximation.


Thanks for this delicious recipe it’s was so good 😊