
This post may contain affiliate links. Please read our disclosure policy.
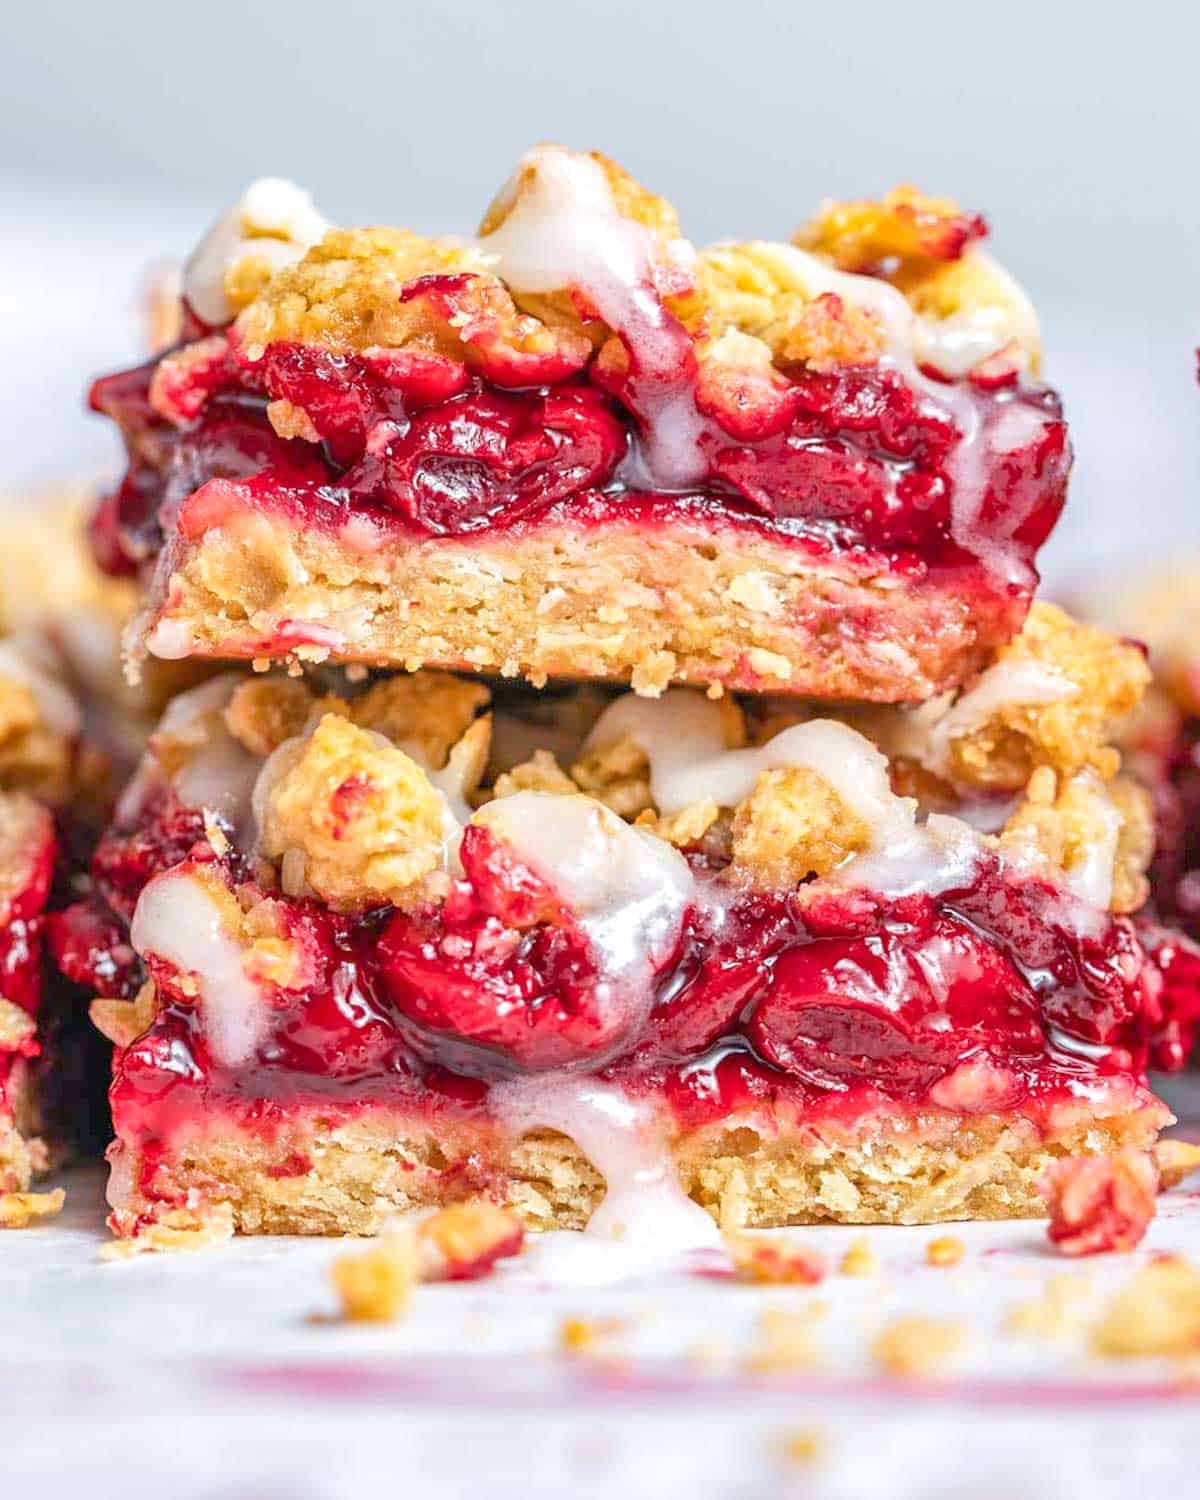
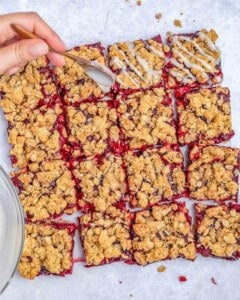
These Cherry Bars have everything I love in a fruity dessert! A buttery oat crust, a thick layer of juicy cherries, and a crumbly streusel topping that adds just the right amount of crunch. They’re sweet with a bit of tartness and absolutely delicious.
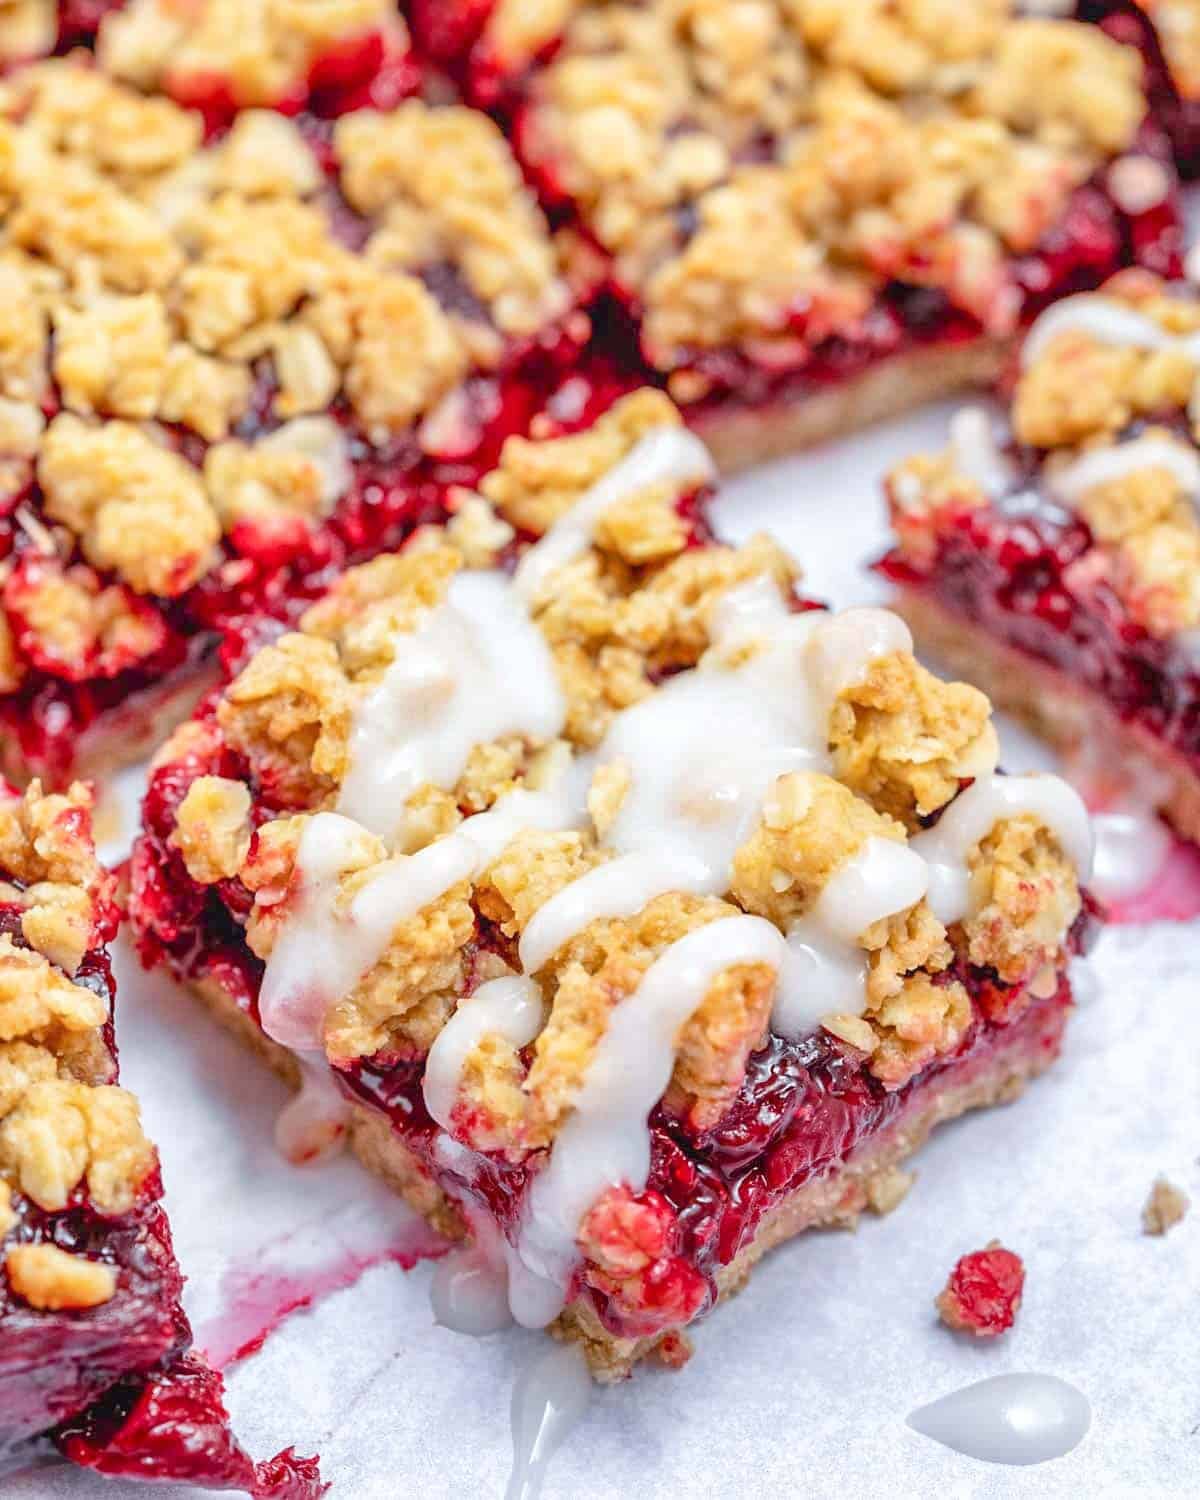
Something about a cherry pie always catches my eye at a bakery. As much as I love making homemade desserts, I don’t always want to deal with pie dough. So when I’m craving cherry pie but want something easier, these bars are my go-to.
They’re a little like a cross between cherry pie and a fruit crisp, with a buttery crust, a sweet, jammy cherry filling, and a crumbly oat topping. My favorite part is that the crust and topping use the same dough! Just stir everything together by hand with melted butter. No rolling, chilling, or shaping pie dough, and so much easier to make.
Recipe Overview
A Few Key Ingredients
You’ll find the full ingredient list and measurements in the recipe card further down the post.
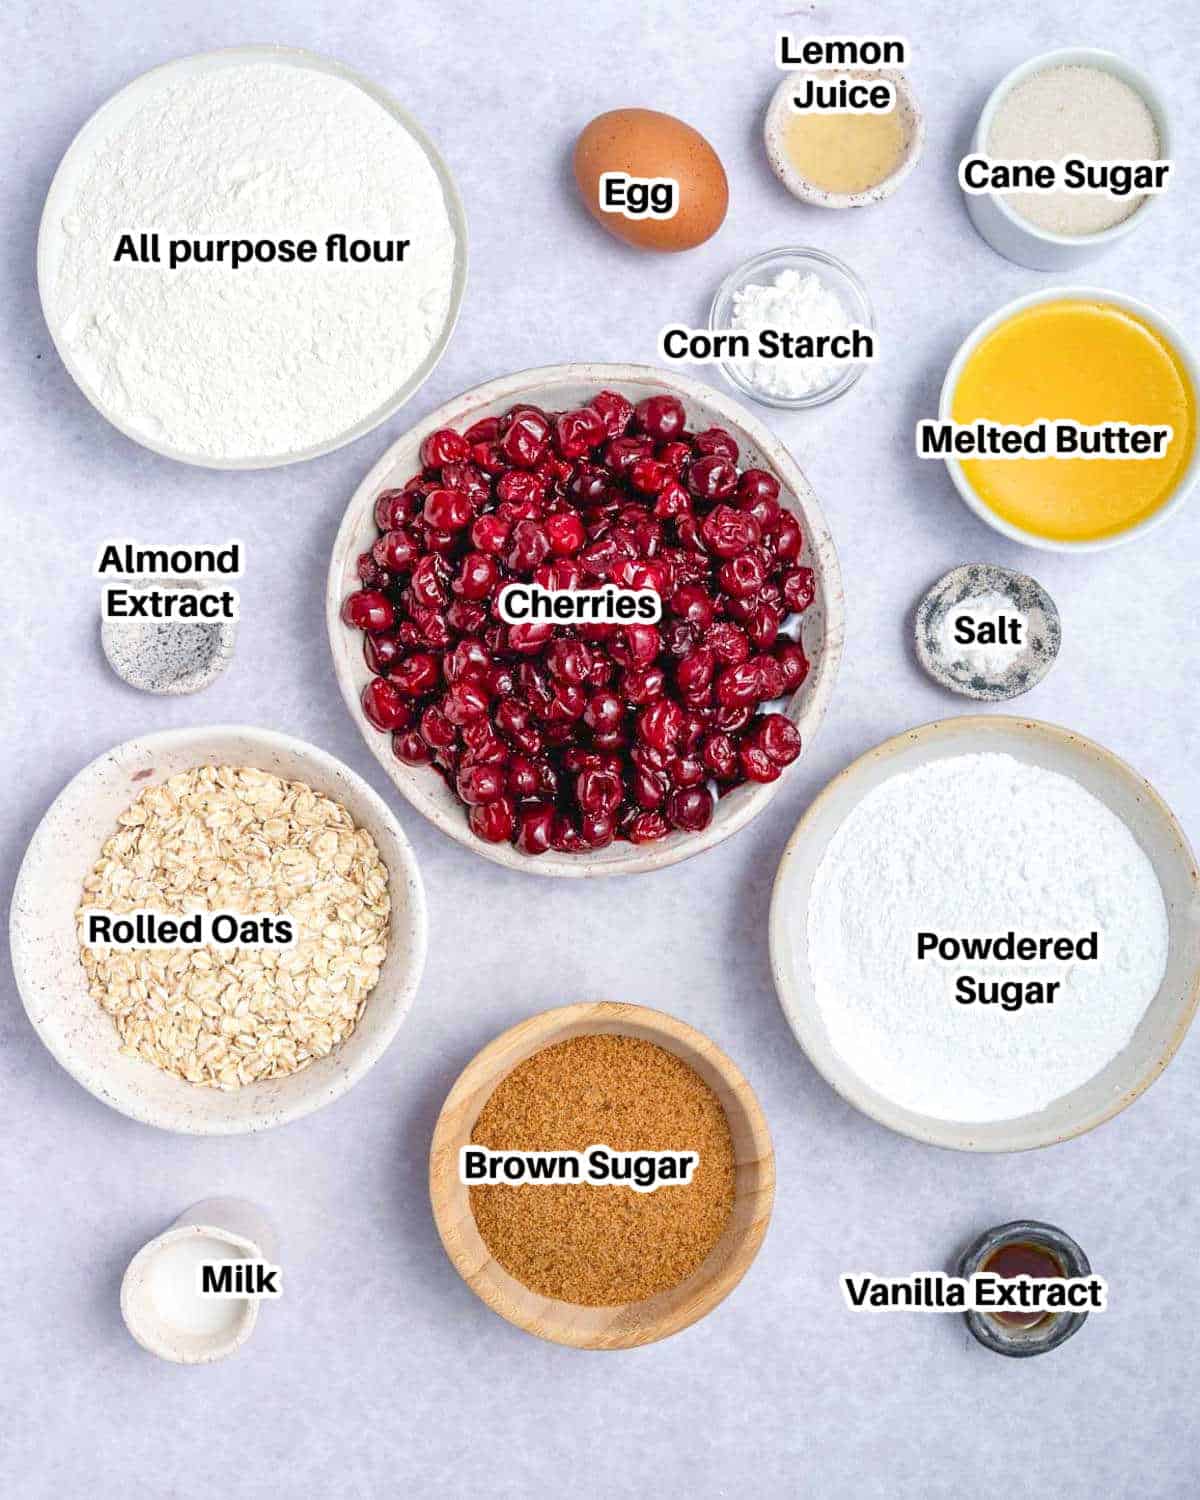
Sweet cherries: For the quickest prep, I like to use frozen (thawed) cherries, as they’re already pitted and taste just as good as fresh. You can absolutely use fresh cherries and pit them yourself!
Cornstarch: Thickens the cherry juices in the filling, preventing the bars from becoming soggy or falling apart.
All-purpose flour: Forms the bulk of the streusel base and topping, giving it a nice, crunchy texture. You can swap half (or all) of the white flour for whole wheat to boost the fiber content.
Old-fashioned oats: Help the streusel form crunchy clusters and add a toasty flavor.
Melted butter: Moistens the crumble mixture and helps it crisp up as it bakes. I like to use unsalted butter, but salted butter works too (just omit the salt from the crumble).
Sugar: I use cane sugar in the filling to sweeten the cherries, as its mild flavor doesn’t overpower the fruity taste. Brown sugar (or coconut sugar) is used in the crumbly base to add a caramelized note.
Glaze: A simple vanilla-almond glaze is an optional extra to drizzle over the bars, which adds a bit more sweetness and decoration.
Tips for Success
- Line the baking pan with parchment paper, leaving a slight overhang so that it’s easy to lift the baked bars out.
- Let the filling cool slightly so it thickens before layering it over the base; otherwise, it can make the base a bit too wet.
- If using frozen, thawed berries, don’t drain their juices, as they’ll cook with the cornstarch in the filling and thicken it.
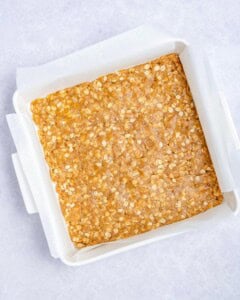
- Make sure the base layer is very firmly packed into the baking pan. Use a flat-bottomed glass, a large spoon, or the bottom of a measuring cup to help.
- When adding the topping, crumble the dough over the cherry filling evenly into small-ish chunks.
- Let the bars cool fully before glazing and slicing. If you pour glaze on warm bars, it will melt into the topping. Slicing cooled bars will give you much cleaner slices.
- You can double the recipe and assemble it in a 9×13-inch rectangular baking dish instead.
How to Make Cherry Bars
Preheat the oven to 350°F. Line an 8×8-inch baking pan with parchment paper.
Prepare the Filling
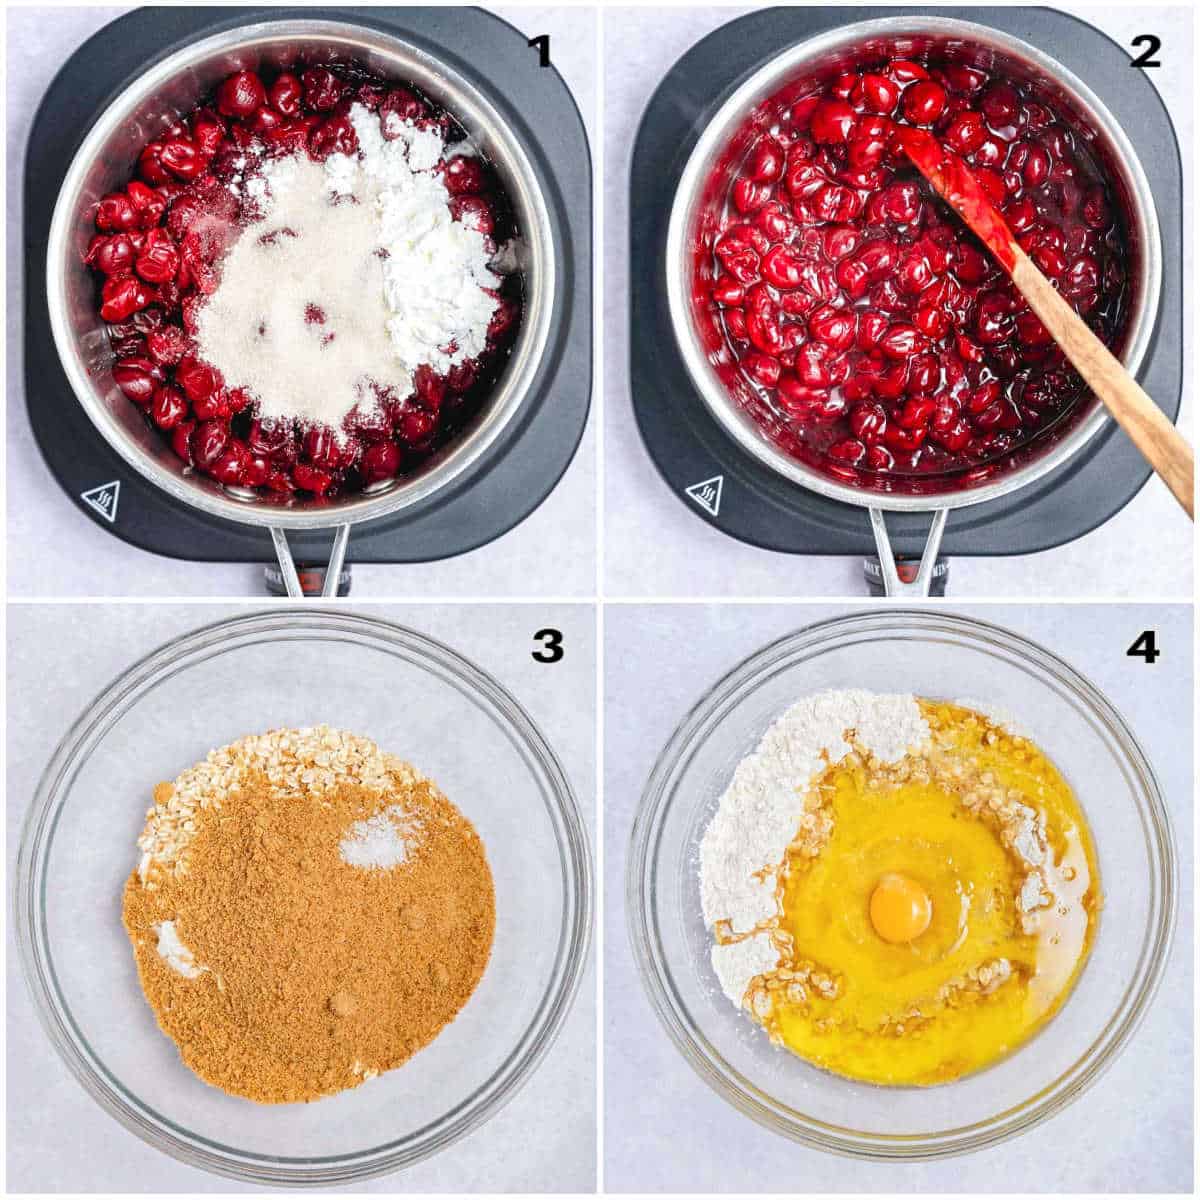
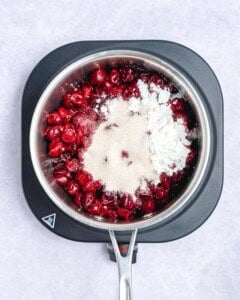
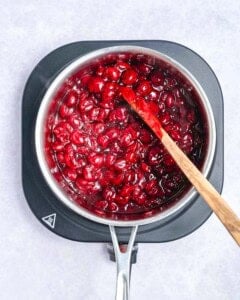
In a saucepan, combine the cherries, sugar, cornstarch, lemon juice, vanilla, and almond extract. Cook over medium heat for 5 to 7 minutes, stirring often, until the mixture thickens. Remove from the heat and let cool slightly.
Make the Crumble
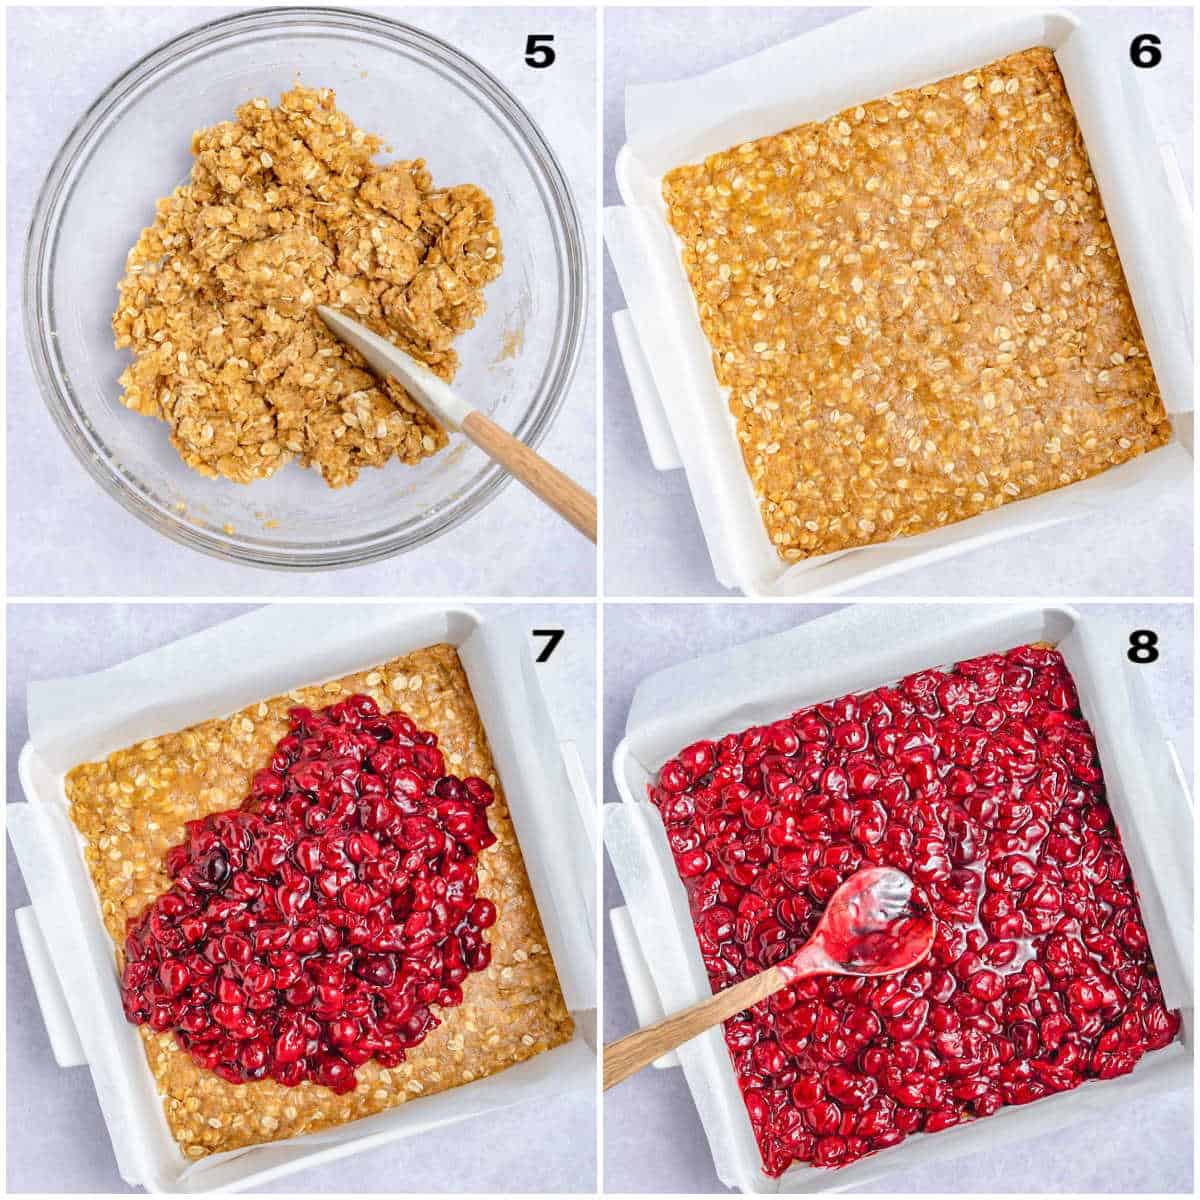
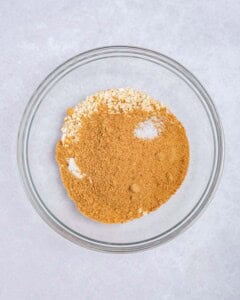
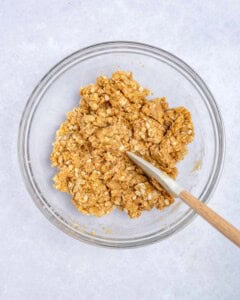
In a large bowl, combine the flour, oats, brown sugar, baking powder, and salt. Add the melted butter, egg, and vanilla. Stir until the mixture forms moist crumbles.
Assemble
Press about two-thirds of the crumble mixture firmly into the prepared pan.
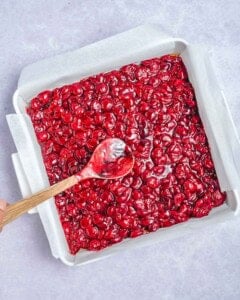
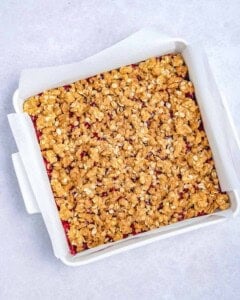
Spread the cherry filling evenly over the crust. Sprinkle the remaining crumble over the top.
Bake
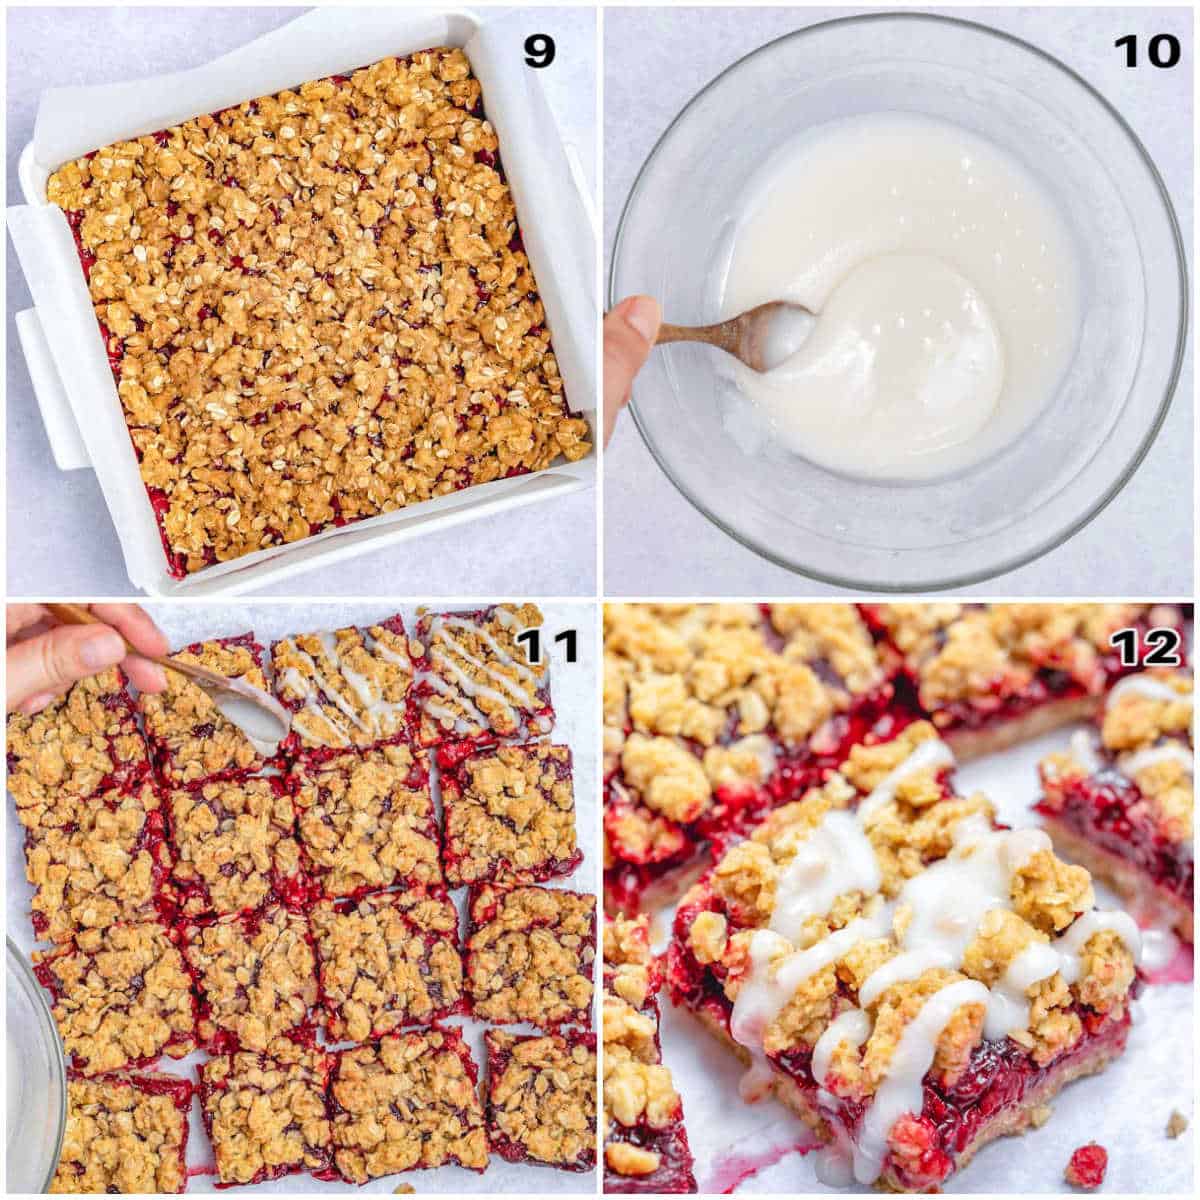
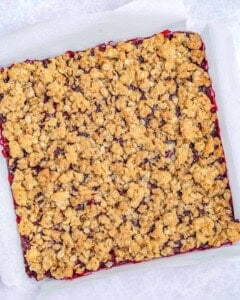
Bake for 35 to 40 minutes, or until the topping is golden brown and the filling is bubbling around the edges. Allow the bars to cool completely before glazing.
Glaze
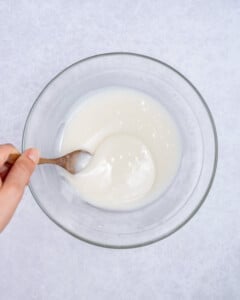
Combine the powdered sugar, vanilla extract, almond extract and milk in a small bowl until you get a smooth glaze. Drizzle over the cooled bars before or after slicing.
Recipe Notes
Gluten-free: Use a gluten-free flour blend from the grocery store (look for one specifically made for baking) or gluten-free oat flour instead of all-purpose flour. Make sure you’re using certified gluten-free old-fashioned oats in the bars.
Dairy-free: Use a solid vegan butter or coconut oil in place of the butter in the crumble. Use non-dairy milk in the glaze.
Storage: Store the cooled bars in an airtight container in the fridge for up to 5 days.
Freezing: Individually wrap the cooled, unglazed bars in plastic wrap and place them in an airtight container. Freeze for up to 3 months. Thaw at room temperature for 1-2 hours before eating.
Questions I Get Asked a Lot
For this recipe, no, you must use fresh (or frozen) cherries. Dried cherries don’t have enough juice to form the juicy filling.
No, canned cherries are already sweetened and have been pre-cooked. Using them here will make the filling too sweet and soft. If you can’t find fresh cherries, frozen cherries are widely available and work great.
I haven’t tested this recipe with pre-made cherry pie filling; however, it should work in theory as long as the filling is thick enough.
No, the parchment paper should be naturally non-stick so it doesn’t need to be greased. The butter in the base will also prevent the bars from sticking. If you can’t easily lift the bars out of the pan, run a butter knife around the edge of the bars before using the parchment to lift them out.
If you’re planning on serving the bars in a few hours, you can leave them (covered) at room temperature. For longer-term storage, they need to be refrigerated, as the wet fruit filling can spoil easily at room temperature.
Yes, quick oats will work, but the topping/base will have a slightly finer texture.
You May Also Like
- Cranberry Bliss Bars
- Pineapple Upside Down Cake
- Brownie Cookies
- Chocolate Protein Cookies
- No Bake Pumpkin Cheesecake
- Lemon Pound Cake
- Greek Yogurt Cinnamon Rolls
- Blueberry Cobbler
Thanks so much for being here and cooking along with me. If you try this recipe, I’d love to hear how it turned out. Leave a comment and a ⭐️ rating below.
Cherry Bars
Ingredients
For the Cherry Filling
- 4 cups sweet cherries, pitted and halved, fresh or frozen, thawed
- ⅓ cup granulated cane sugar
- 1 tablespoon cornstarch
- 1 tablespoon fresh lemon juice
- 1 teaspoon vanilla extract
- ¼ teaspoon almond extract, optional, but highly recommended
For the Bars
- 2 cups all-purpose flour
- 1 cup old-fashioned rolled oats
- ¾ cup light brown sugar, or coconut sugar
- ½ teaspoon baking powder
- ½ teaspoon salt
- ¾ cup unsalted butter, melted
- 1 large egg
- 1 teaspoon vanilla extract
For the glaze
- 1 cup powdered sugar
- 1/4 teaspoon vanilla extract
- 1/4 teaspoon almond extract
- 2 tablespoons milk
Instructions
- Preheat the oven to 350°F. Line an 8×8-inch baking pan with parchment paper.
Prepare the Filling
- In a saucepan, combine the 4 cups sweet cherries (pitted and halved, thawed if frozen), ⅓ cup granulated cane sugar, 1 tablespoon cornstarch, 1 tablespoon fresh lemon juice, 1 teaspoon vanilla extract, and ¼ teaspoon almond extract (if using).

- Cook over medium heat for 5 to 7 minutes, stirring often, until the mixture thickens. Remove from the heat and let cool slightly.
Make the Crumble
- In a large bowl, combine the 2 cups all-purpose flour, 1 cup old-fashioned rolled oats, ¾ cup light brown sugar (or coconut sugar), ½ teaspoon baking powder, and ½ teaspoon salt.
- Add the ¾ cup unsalted butter (melted), 1 large egg, and 1 teaspoon vanilla extract. Stir until the mixture forms moist crumbles.
Assemble
- Press about two-thirds of the crumble mixture firmly into the prepared pan.
- Spread the cherry filling evenly over the crust.
- Sprinkle the remaining crumble over the top.
Bake
- Bake for 35 to 40 minutes, or until the topping is golden brown and the filling is bubbling around the edges. Allow the bars to cool completely
Glaze (optional)
- In a small bowl, mix the 1 cup powdered sugar, 1/4 teaspoon vanilla extract, 1/4 teaspoon almond extract, and 2 tablespoons milk to form a smooth glaze.
- Pour over the cooled bars before or after slicing.
Notes
- Fresh or frozen cherries: Both work well. If using frozen cherries, thaw and drain any excess liquid before making the filling.
- Don’t skip the cornstarch: It helps thicken the cherry filling so the bars hold together when sliced.
- Almond extract: A little goes a long way! It complements the cherries beautifully, but you can leave it out if you prefer.
- Use the same mixture for the crust and topping: Press part of the oat mixture firmly into the pan for the base and crumble the remaining mixture over the cherry filling.
- Let them cool: Allow the bars to cool completely before slicing so the filling has time to set.
- Glaze: Drizzle over the cooled bars. Add a little more milk if needed to reach your desired consistency.
- Storage: Keep in an airtight container in the refrigerator for up to 5 days.
Nutrition
Nutrition information is automatically calculated, so should only be used as an approximation.


This so yummy 😋